Table of Contents
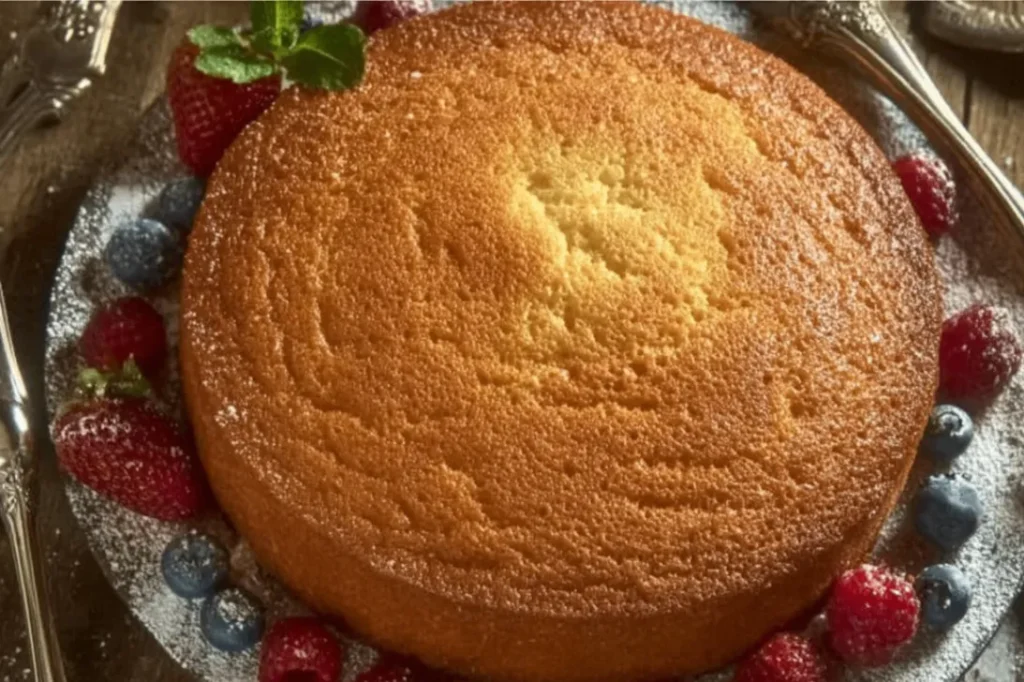
There’s something magical about a cake that comes together in just minutes with ingredients you likely already have in your pantry. My easy blender sponge cake recipe has been a game-changer in my kitchen for over a decade, and I’m thrilled to share this foolproof method with you today.
I discovered this incredible blender sponge cake technique during one of those hectic weekday afternoons when my daughter announced she needed cupcakes for school the next morning. With limited time and a messy kitchen already, I turned to my trusty blender and created what has now become our family’s go-to cake recipe. The beauty of this method lies in its simplicity – no electric mixer required, minimal cleanup, and consistently perfect results every single time.
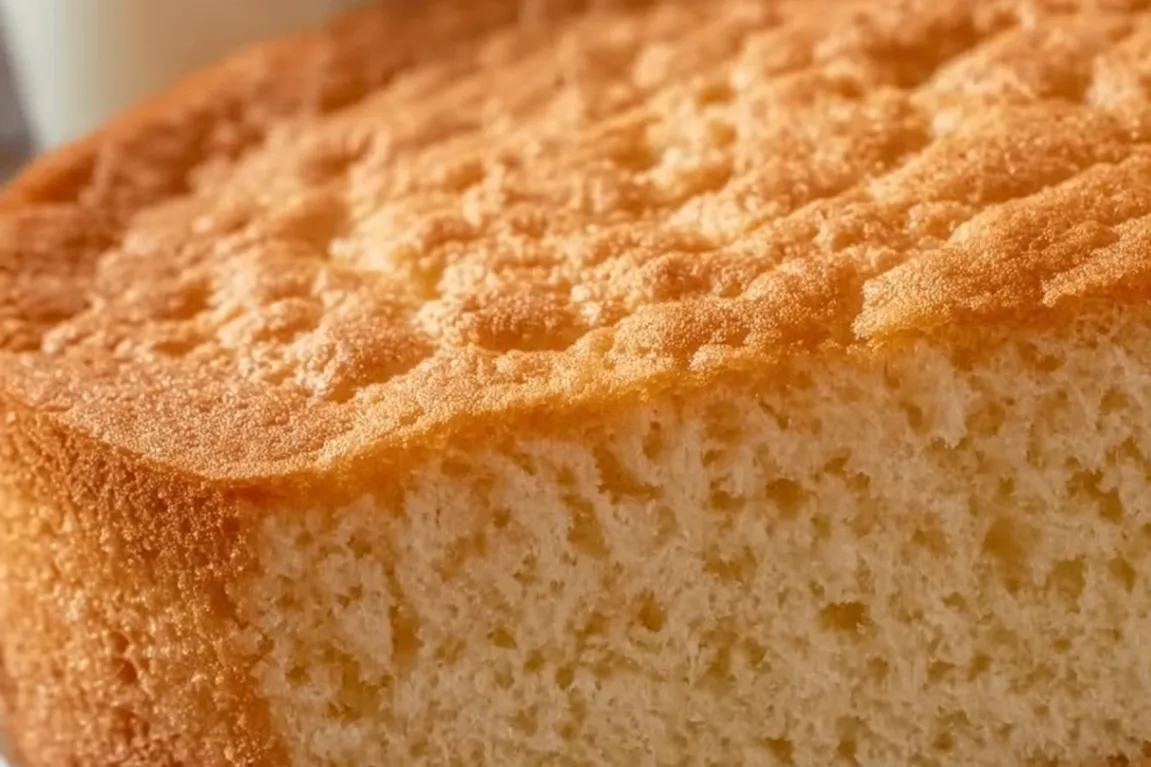
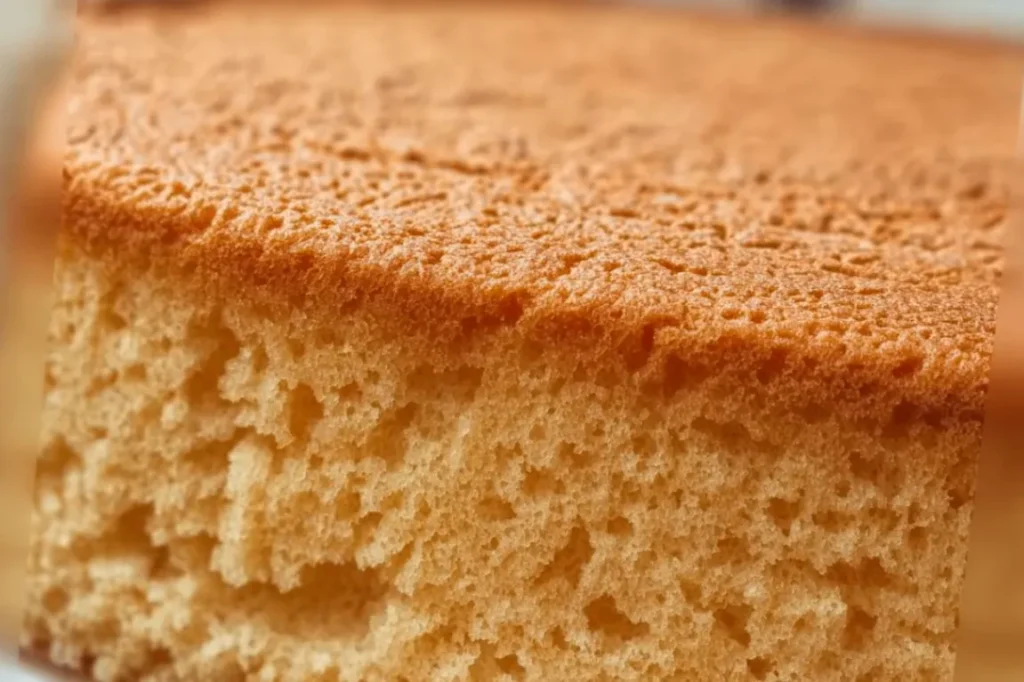
What makes this blender sponge cake recipe so special is how the hot milk technique creates an incredibly moist, tender crumb while the blender ensures perfect incorporation without the risk of overmixing. Whether you’re a beginner baker or a seasoned pro looking for a quick solution, this recipe will become your new best friend.
Easy Blender Sponge Cake Recipe
A foolproof blender sponge cake that’s incredibly moist, light, and ready in minutes using simple pantry ingredients. Perfect for beginners and busy bakers.
Ingredients
Instructions
- 1Preheat oven to 350°F (175°C). Grease and flour a 9-inch round pan.
- 2In a blender, combine eggs, oil, and sugar. Blend on medium-high speed for 5 minutes.
- 3With blender running on low, slowly add hot milk.
- 4Add flour and pulse 3-4 times until just combined.
- 5Turn off blender, add baking powder and vanilla extract, and fold gently with a spoon.
- 6Pour batter into prepared pan and bake 30-35 minutes until golden brown and a toothpick inserted comes out clean.
Ingredients: The Foundation of Perfect Blender Sponge Cake
Key Ingredients and Their Essential Roles
Every ingredient in this easy blender sponge cake serves a specific purpose that I’ve learned through years of baking experience:
Eggs (3 large): These are the backbone of our sponge structure, providing both lift and richness. I always use room temperature eggs because they blend more easily and create better volume. If you forget to take them out early, simply place them in warm water for 5 minutes.
Vegetable Oil (½ cup): Unlike butter, oil keeps this cake incredibly moist for days. I prefer neutral oils like canola or vegetable oil, though light olive oil works beautifully too. The oil also makes this cake more tender than traditional butter cakes.
Sugar (1½ cups): This amount gives us the perfect sweetness while also contributing to the cake’s tender texture. The sugar dissolves completely in the blender, creating a smooth batter.
Hot Milk (1 cup): Here’s where the magic happens! The hot milk is my secret weapon for creating an exceptionally moist blender sponge cake. It helps dissolve the sugar completely and creates steam during baking, resulting in that perfect light texture.
All-Purpose Flour (2 cups): I always spoon and level my flour rather than scooping directly from the bag. This prevents dense, heavy cake – a lesson I learned the hard way in my early baking days.
Baking Powder (1 tablespoon): Fresh baking powder is crucial for proper rise. I replace mine every six months and always do the fizz test (mix a teaspoon with hot water) to ensure it’s still active.
Vanilla Extract (1 tablespoon): Pure vanilla extract makes all the difference, though I’ve successfully used almond, lemon, or even rum extract for variety.
How to Choose High-Quality Ingredients for Your Blender Sponge Cake
After years of perfecting this recipe, I’ve learned that ingredient quality directly impacts the final result. Here are my tried-and-true tips:
Choose fresh, large eggs from pasture-raised chickens when possible – they have richer yolks that contribute to better flavor and color. For the milk, I prefer whole milk for richness, but 2% works well too. Avoid skim milk as it can make the cake less tender.
When selecting flour, stick with unbleached all-purpose flour for the best flavor. I store my flour in airtight containers to maintain freshness and prevent any off-flavors that can affect your easy blender sponge cake.
For oil, choose a neutral-tasting variety that’s fresh – rancid oil will ruin even the best recipe. I keep my oils in a cool, dark place and replace them regularly.
Smart Substitutions That Actually Work
Through extensive testing (and a few kitchen disasters), I’ve discovered these reliable substitutions for my blender sponge cake recipe:
Egg Substitutes: Each egg can be replaced with ¼ cup unsweetened applesauce or a commercial egg replacer. The texture will be slightly denser but still delicious.
Milk Alternatives: Oat milk, almond milk, or coconut milk work beautifully. For coconut milk, use the canned variety for richness, but warm it gently before adding.
Oil Substitutes: You can replace half the oil with unsweetened applesauce for a lighter version, though the cake won’t stay moist as long.
Flour Options: For a slightly nuttier flavor, substitute up to ½ cup of the all-purpose flour with whole wheat pastry flour.

Preparation Steps: Mastering the Perfect Blender Sponge Cake
How I Prepare Before Cooking
Success with any blender sponge cake starts with proper preparation. I always preheat my oven to 350°F (175°C) and position the rack in the center. This ensures even baking from the moment the cake goes in.
I generously grease my 9-inch round pan with butter or cooking spray, then dust with flour, tapping out the excess. This double protection prevents sticking – something I learned after losing a few beautiful cakes to stubborn pans.
Before starting, I warm my milk in the microwave for about 1 minute until it’s hot but not boiling. Having everything at the right temperature makes blending smoother and more effective.
Step-by-Step Instructions with Pro Tips
Step 1: Add eggs, oil, and sugar to your blender. Blend on medium-high speed for exactly 5 minutes. This extended blending time is crucial – it incorporates air and creates the light texture that makes this easy blender sponge cake so special. The mixture should be pale and slightly increased in volume.
Step 2: With the blender running on low speed, slowly pour in the hot milk. The mixture will thin out considerably – this is normal and expected.
Step 3: Add the flour all at once, then pulse the blender just 3-4 times until the flour disappears. This is the most critical step in achieving the perfect blender sponge cake – overmixing here will result in a tough, dense cake.
Step 4: Turn off the blender completely. Add the baking powder and vanilla extract, then gently fold them in with a spoon using no more than 5-6 gentle strokes.
Step 5: Immediately pour the batter into your prepared pan. Give the pan a gentle tap on the counter to release any large air bubbles.
Step 6: Bake for 30-35 minutes, until the top is golden brown and a toothpick inserted in the center comes out clean or with just a few moist crumbs.
Common Mistakes to Avoid (From My Real Kitchen Trials)
In my years of making this blender sponge cake recipe, I’ve seen (and made) every mistake possible:
Overmixing the flour: This is the number one cake killer. The moment you see no dry flour, stop blending. I learned this lesson after producing several hockey pucks instead of tender cakes.
Using cold milk: Cold milk won’t dissolve the sugar properly and can cause the batter to separate. Always use hot milk for the best texture.
Opening the oven door too early: I know it’s tempting, but resist checking before 25 minutes. The sudden temperature change can cause the cake to sink.
Measuring flour incorrectly: Scooping flour directly from the bag packs it down, resulting in too much flour and a dry cake. Always spoon and level.
Serving & Final Touches for Your Blender Sponge Cake
Beautiful and Creative Presentation Ideas
This versatile easy blender sponge cake is like a blank canvas for creativity. For everyday enjoyment, I simply dust it with powdered sugar and serve with fresh berries. The cake’s tender crumb pairs beautifully with the fruit’s natural acidity.
For special occasions, I split the cake into two layers and fill it with whipped cream and seasonal fruit. During summer, strawberries and cream make it feel like a classic shortcake. In fall, I use caramelized apples with a hint of cinnamon.
One of my favorite presentations involves brushing the warm cake with a simple syrup made from equal parts sugar and water, infused with lemon zest or rum. This adds moisture and flavor depth that elevates the entire dessert.
Best Sides and Pairings (Family-Tested Favorites)
Through countless family dinners and gatherings, I’ve discovered the perfect companions for this blender sponge cake:
Fresh fruit compotes work wonderfully – try strawberry-rhubarb in spring or mixed berry in summer. The slight tartness balances the cake’s sweetness perfectly.
Warm custard or crème anglaise turns this simple cake into an elegant dessert. I make a quick version using instant pudding mix thinned with warm milk.
Coffee or tea pairings have become a specialty in our house. The cake’s subtle vanilla flavor complements both bold espresso and delicate Earl Grey tea.
For children’s parties, I serve it with vanilla ice cream and let kids choose their own toppings – sprinkles, chocolate chips, or fresh fruit.
Storing and Reheating Leftovers Safely
One of the best features of this blender sponge cake recipe is its excellent keeping quality. The oil-based formula means it stays moist for up to 5 days when properly stored.
I wrap cooled cake tightly in plastic wrap or store it in an airtight container at room temperature. Avoid refrigerating unless you’ve added perishable toppings – the cold actually makes the texture slightly tough.
For longer storage, this cake freezes beautifully for up to 3 months. I wrap individual slices in plastic wrap, then place them in freezer bags. They thaw quickly at room temperature and taste freshly baked.
To refresh day-old cake, warm slices in the microwave for 10-15 seconds, or wrap the whole cake in foil and warm in a 300°F oven for 10 minutes.
Frequently Asked Questions About Blender Sponge Cake
1. Can I prepare this blender sponge cake recipe in advance? Absolutely! This cake actually improves after resting for a day, as the flavors meld beautifully. I often bake it the night before serving. You can also make the batter up to 2 hours ahead and keep it covered in the refrigerator, though it’s best baked immediately for optimal rise.
2. What’s the best way to store leftover blender sponge cake? Thanks to the oil content, this cake stays incredibly moist when stored properly. Wrap it tightly in plastic wrap or store in an airtight container at room temperature for up to 5 days. I’ve found that placing a piece of bread in the container helps maintain moisture even longer.
3. How can I make this easy blender sponge cake healthier? I’ve successfully reduced the sugar to 1 cup and substituted half the oil with unsweetened applesauce. You can also replace up to ½ cup of flour with whole wheat pastry flour for added fiber. These modifications create a slightly denser but still delicious cake.
4. Can I double the ingredients for a larger party cake? Yes, but I recommend making two separate batches rather than doubling in one go. Most home blenders can’t handle double quantities effectively, and you risk overmixing. I use two 9-inch pans or one large sheet pan when feeding a crowd.
5. What’s the biggest mistake people make with this blender sponge cake? Overmixing the flour is the most common error I see. The moment you add flour, pulse only until it’s just incorporated. I tell everyone to think of it as folding rather than mixing – gentle is the key to that perfect light texture.
 DINNER
 LUNCH
LUNCH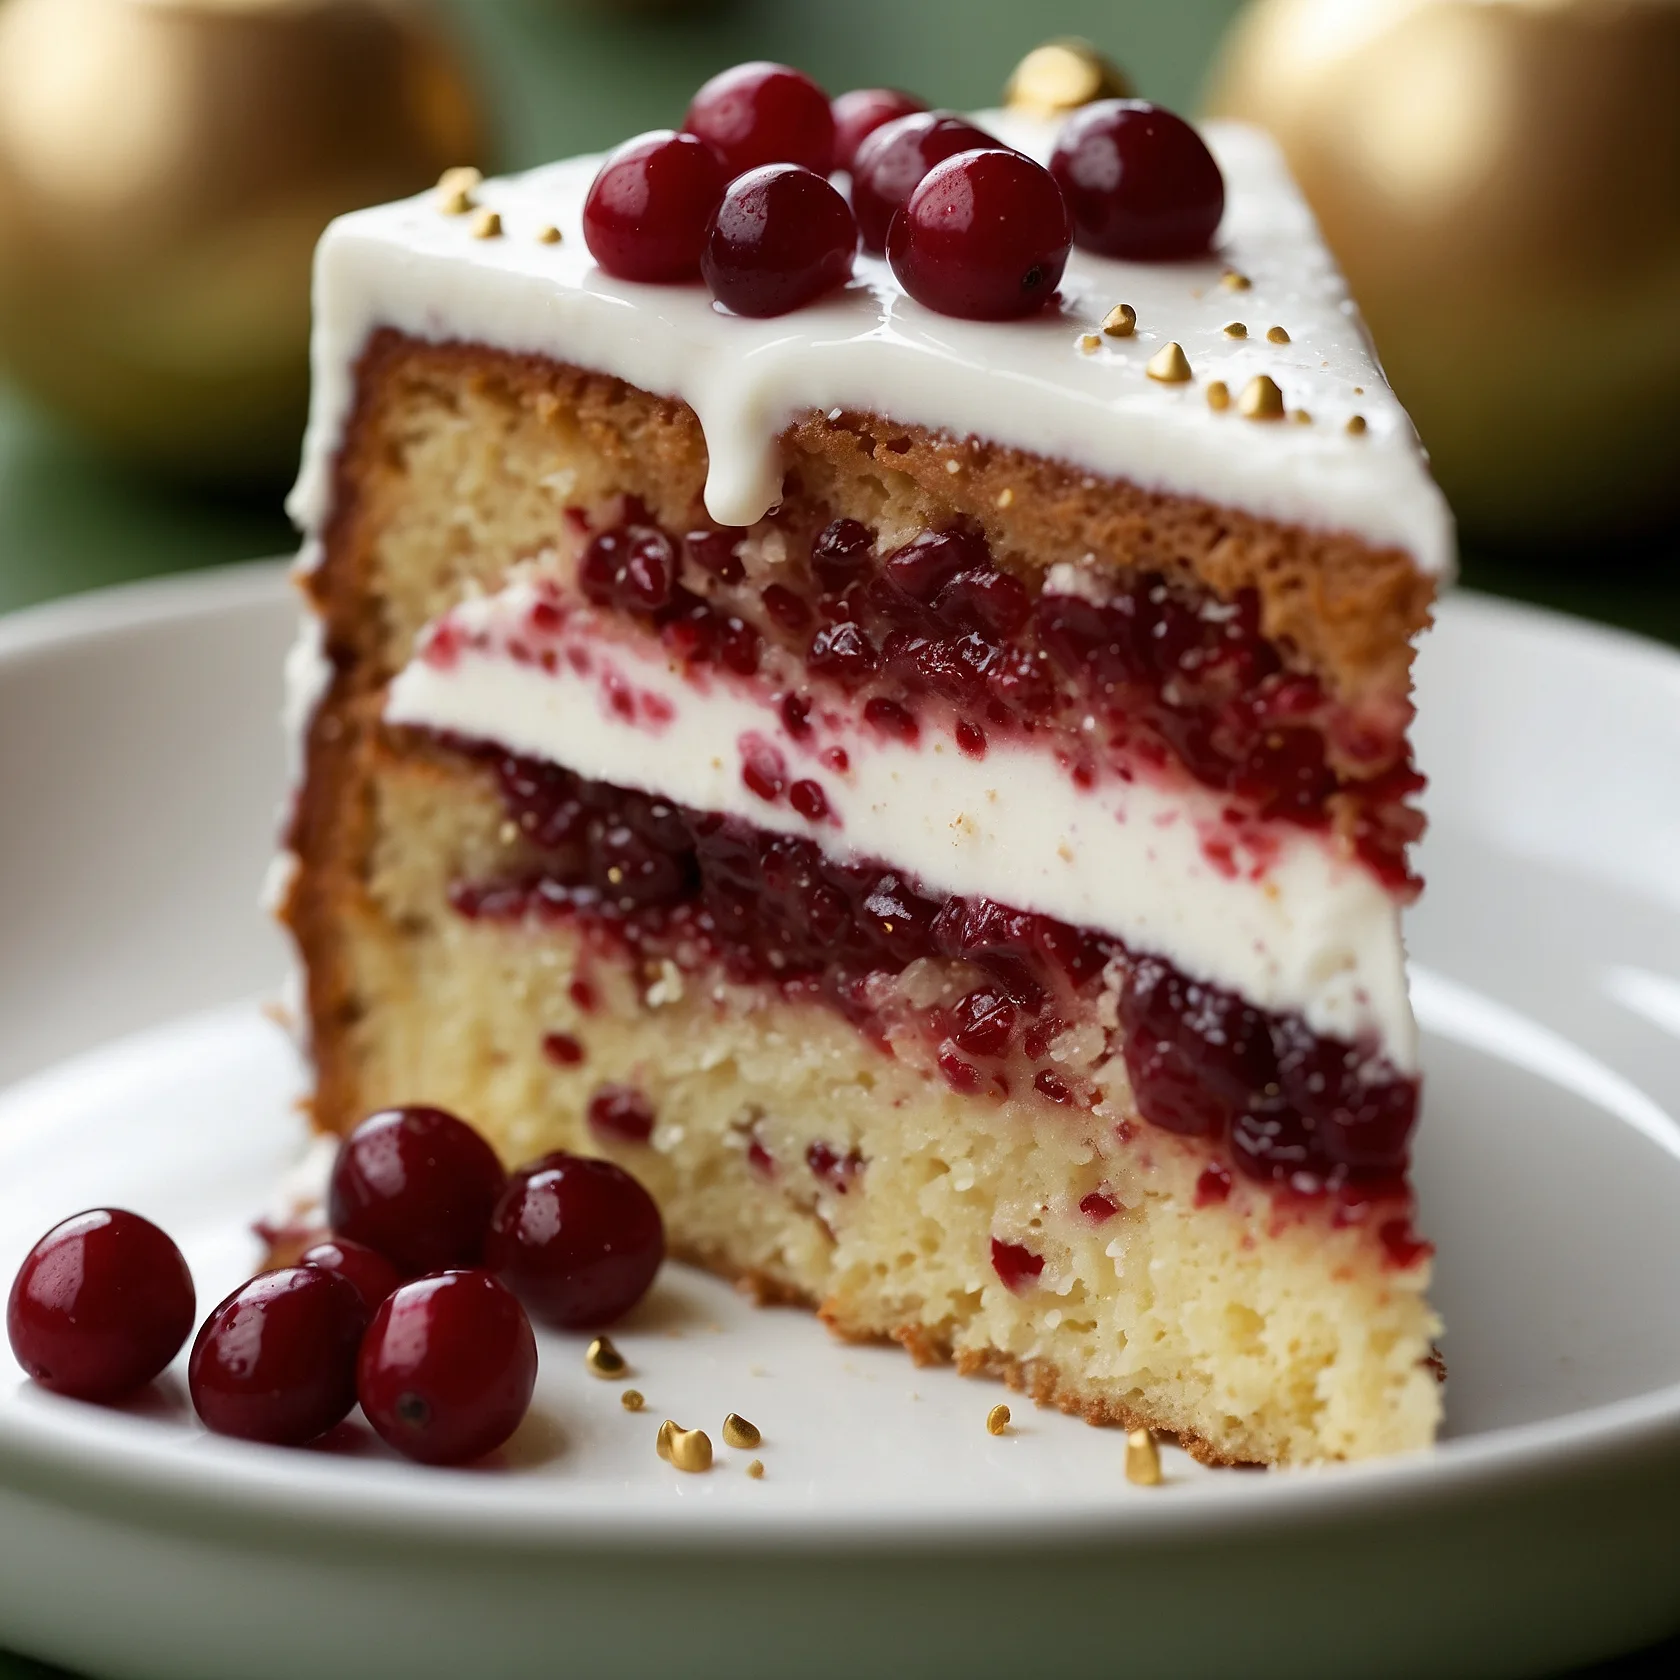 CAKE
CAKE BREAKFAST
For more amazing recipes, be sure to check out our other sections to explore a variety of ideas that will enrich your cooking experience. Each section offers its own unique flavors to ensure a delightful culinary journey:
- Easy and Quick Recipes: A collection of dishes that guarantee delicious meals with minimal effort and time.
- Healthy Recipes: Discover healthy and delicious options that fit your lifestyle.
- Desserts: A diverse selection of sweets that will add a special touch of sweetness to your table.
- Lunch Recipes: Tasty lunch ideas that you can easily prepare to delight your family.
- Dinner Recipes: Delicious and easy-to-make recipes that will make your dinner a memorable occasion.
Final Thoughts: Your New Go-To Cake Recipe
This easy blender sponge cake has been my kitchen companion through countless birthdays, last-minute dinner parties, and quiet Sunday afternoons when we just wanted something sweet. Its simplicity never ceases to amaze me – how something so effortless can taste so incredibly good.
The beauty of this blender sponge cake recipe lies not just in its convenience, but in its reliability. Whether you’re a nervous beginner or someone who simply wants delicious results without fuss, this recipe delivers every single time.
I encourage you to make this cake your own. Try different extracts, experiment with toppings, or use it as the base for your favorite layer cake. Most importantly, don’t forget to share it with people you love – after all, the best recipes are meant to bring joy to others.
Have you tried this recipe yet? I’d love to hear about your experience and any creative variations you’ve discovered. Leave a comment below and share photos of your beautiful blender sponge cake – there’s nothing I enjoy more than seeing how this recipe travels from my kitchen to yours!