Table of Contents
Introduction
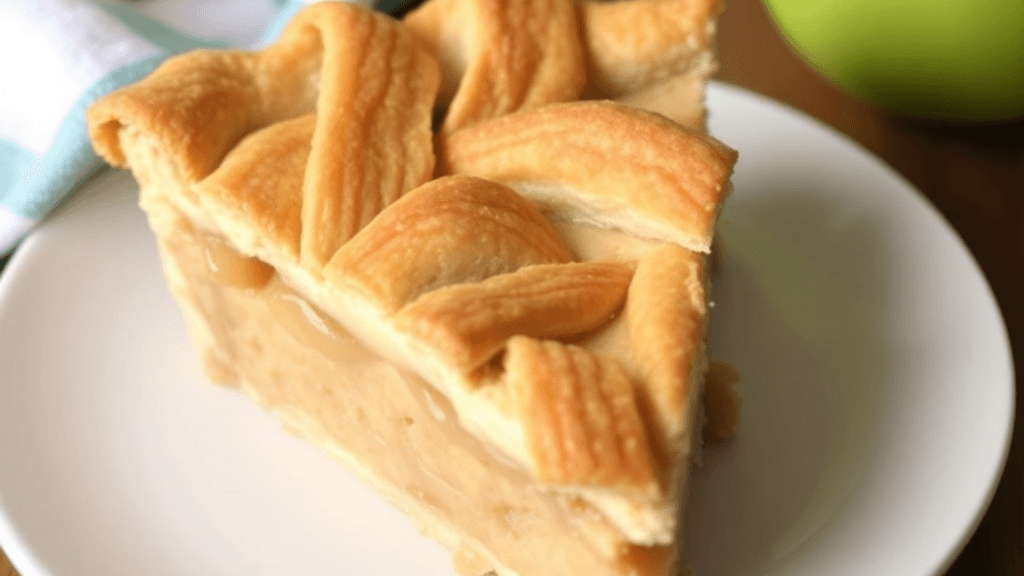
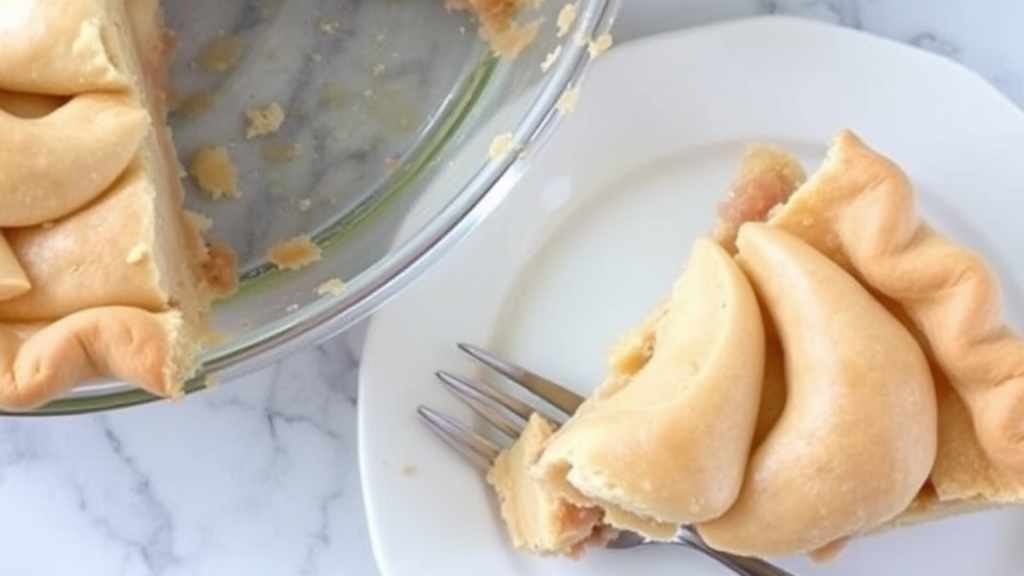
Nothing captures the cozy essence of Christmas quite like a Classic Apple Pie. With its buttery, flaky crust and warm, spiced apple filling, this timeless dessert is a holiday favorite that brings family and friends together. Whether served with a scoop of vanilla ice cream or a dollop of whipped cream, apple pie is the perfect way to end your Christmas feast on a sweet and comforting note. Follow this guide to bake a pie that tastes as good as it looks, and make this holiday truly memorable!
Selecting the Best Classic Apple Pie for Christmas
Sweet vs. Tart Apples: Which to Choose?
Choosing the right balance of sweet and tart apples is crucial for a flavorful apple pie. Sweet apples like Fuji and Gala add natural sweetness, while tart apples like Granny Smith bring a tangy contrast that balances the dish. Combining both types creates a harmonious flavor profile that enhances your pie.
Best Apple Varieties for Baking

When it comes to baking, not all apples are created equal. Look for firm varieties that hold their shape during cooking, such as:
- Granny Smith: Ideal for tartness and structure.
- Honeycrisp: Adds sweetness with a satisfying crunch.
- Braeburn: Perfect for a mix of sweet and tart.
- Golden Delicious: Softens beautifully while maintaining a mild sweetness.
Preparing and Slicing Apples for Consistency
Proper preparation ensures even cooking and texture in your pie.
- Peel and Core Apples: To avoid tough skin and seeds in your filling.
- Slice Uniformly: Aim for 1/4-inch slices to ensure all apples cook evenly.
- Prevent Browning: Toss apple slices in lemon juice to preserve their color and freshness before adding them to the filling.
Crafting the Perfect Pie Crust
Ingredients for a Buttery and Flaky Crust

The secret to a perfect pie crust lies in using high-quality, well-measured ingredients. Here’s what you’ll need:
- All-Purpose Flour: Ensures the right balance of structure and tenderness.
- Unsalted Butter: Keep it cold to create flaky layers.
- Ice Water: Helps bind the dough without making it sticky.
- Salt and Sugar: Enhance flavor and balance sweetness.
Pro Tip: Use a food processor to blend the butter and flour quickly to prevent overmixing and maintain a light texture.
Techniques for Rolling Out the Dough
Rolling out the dough evenly is key to achieving a uniform crust.
- Chill the Dough: Refrigerate for at least 30 minutes to make it easier to handle.
- Use a Lightly Floured Surface: Prevents sticking without over-drying the dough.
- Roll from the Center Outwards: Rotate the dough frequently to maintain an even circle.
- Check Thickness: Aim for about 1/8 inch for optimal baking results.
Tips for Crimping and Decorating the Edges
Beautiful edges add a professional touch to your pie.
- Classic Crimp: Use your fingers or a fork to press and seal the edges.
- Braided Edge: Roll small strips of dough and braid them for an elegant finish.
- Leaf Cutouts: Use cookie cutters to create festive shapes and attach them to the edges with a bit of water or egg wash.
Pro Tip: Brush the edges with an egg wash (beaten egg mixed with a splash of water) to give your crust a golden, shiny finish.
Preparing the Spiced Apple Filling
Essential Ingredients for the Filling
To create a rich and flavorful apple pie filling, gather these key ingredients:
- Apples: A mix of sweet and tart varieties, peeled, cored, and sliced.
- Brown Sugar and Granulated Sugar: For sweetness and a caramelized flavor.
- Flour or Cornstarch: Acts as a thickening agent to prevent a runny filling.
- Butter: Adds a luxurious texture and flavor.
- Lemon Juice: Enhances brightness and prevents browning.
Pro Tip: Adjust the sugar amount based on the natural sweetness of your apples.
Achieving the Perfect Balance of Spices
Spices are the heart of a spiced apple pie. Here’s how to master the mix:
- Cinnamon: The star spice for warmth and depth.
- Nutmeg: A pinch for a subtle, earthy undertone.
- Cloves or Allspice: Use sparingly for a bold, festive aroma.
- Vanilla Extract: A dash to enhance the overall flavor.
Pro Tip: Taste your spice blend before adding it to the apples, ensuring it’s balanced and not overpowering.
Pre-Cooking Apples for a Juicier Pie
Pre-cooking apples prevents a watery pie and ensures consistent texture:
- Cook in a Skillet: Sauté apple slices with butter, sugar, and spices until slightly softened.
- Avoid Overcooking: Keep apples firm enough to hold their shape during baking.
- Reduce Excess Liquid: Simmer until the juices thicken slightly to avoid a soggy crust.
Pro Tip: Let the filling cool completely before adding it to the pie crust to maintain its structure and flavor.
Assembling and Baking Your Apple Pie
Layering the Filling for Even Baking
Properly layering the apple filling ensures even baking and perfect texture:
- Spread Apples Evenly: Arrange the pre-cooked apple slices evenly in the pie shell.
- Avoid Gaps: Press the filling gently to eliminate air pockets.
- Distribute Spices and Juices: Drizzle any remaining spiced juices over the apples for added flavor.
Pro Tip: Avoid overloading the pie; a slightly domed top is ideal to prevent spillage.
Adding a Lattice or Solid Top Crust
The top crust not only seals the pie but adds aesthetic appeal:
- Lattice Crust: Cut dough into strips and weave them in a crisscross pattern for a classic look.
- Solid Crust: Place the rolled-out dough over the pie and cut small vents to allow steam to escape.
- Seal the Edges: Crimp or flute the edges to secure the top crust to the bottom.
Pro Tip: Brush the top with egg wash (a mix of beaten egg and water or milk) for a glossy, golden finish. Sprinkle with sugar for added sparkle.
Baking Tips for Golden Perfection
To bake your apple pie to perfection, follow these tips:
- Preheat the Oven: Start at a high temperature (around 425°F/220°C) to set the crust.
- Lower the Heat: Reduce to 375°F/190°C after 15-20 minutes to cook the filling evenly.
- Check for Doneness: The crust should be golden brown, and the filling should bubble through the vents.
- Prevent Over-Browning: Cover the edges with foil if they brown too quickly.
Pro Tip: Allow the pie to cool for at least 2 hours before slicing to let the filling set and flavors meld.
Serving and Storing Your Classic Apple Pie
Best Ways to Serve Apple Pie
Serve your apple pie to highlight its warm, spiced flavors:
- Fresh Out of the Oven: Allow the pie to cool slightly before slicing to avoid messy servings.
- Room Temperature: Perfect for highlighting the buttery crust and tender filling.
- Reheated: Warm individual slices in the oven or microwave for that just-baked taste.
Pro Tip: Use a sharp knife and pie server to make clean, even slices.
Pairing with Ice Cream or Whipped Cream
Elevate your apple pie with delicious pairings:
- Vanilla Ice Cream: The creamy, cold texture contrasts beautifully with the warm pie.
- Whipped Cream: Lightly sweetened whipped cream adds a fluffy, complementary touch.
- Caramel Drizzle: For an extra indulgent twist, drizzle caramel sauce over the top.
Pro Tip: Sprinkle a dash of cinnamon or nutmeg on the cream or ice cream for added holiday flair.
For more amazing recipes, be sure to check out our other sections to explore a variety of ideas that will enrich your cooking experience. Each section offers its own unique flavors to ensure a delightful culinary journey:
- Easy and Quick Recipes: A collection of dishes that guarantee delicious meals with minimal effort and time.
- Healthy Recipes: Discover healthy and delicious options that fit your lifestyle.
- Desserts: A diverse selection of sweets that will add a special touch of sweetness to your table.
- Lunch Recipes: Tasty lunch ideas that you can easily prepare to delight your family.
- Dinner Recipes: Delicious and easy-to-make recipes that will make your dinner a memorable occasion.
Storing Leftovers to Keep Them Fresh
Ensure your pie stays delicious for days:
- Room Temperature: Keep covered with foil or plastic wrap for up to 2 days.
- Refrigeration: Store in an airtight container for up to 4-5 days to maintain freshness.
- Freezing: Wrap individual slices tightly in plastic wrap, then foil, and freeze for up to 3 months.
Pro Tip: To reheat frozen slices, bake them at 350°F (175°C) for about 15 minutes for a fresh-from-the-oven experience.
Conclusion
End your festive feast on a high note with the timeless charm of a Classic Apple Pie for Christmas. Its buttery crust, spiced apple filling, and irresistible aroma make it the perfect centerpiece for any holiday dessert table. By following these steps, you’ll create a pie that’s not just a treat for the taste buds but also a cherished tradition. Serve it warm with your favorite toppings, and watch as smiles light up around the table.
FAQs
Q1: What are the best apples for making apple pie?
The best apples for pie include Granny Smith for their tartness and firmness or a mix of Granny Smith and Honeycrisp for a balance of sweet and tart flavors.
Q2: Can I make the pie crust ahead of time?
Yes, pie crust can be made in advance! Wrap it tightly in plastic wrap and refrigerate for up to 3 days or freeze for up to 3 months.
Q3: How do I prevent a soggy bottom crust?
To avoid a soggy crust, preheat a baking sheet in the oven and place your pie on it. You can also brush the bottom crust with egg wash before adding the filling to create a moisture barrier.
Q4: Can I freeze an apple pie?
Absolutely! Apple pie can be frozen either baked or unbaked. For a baked pie, let it cool completely, wrap it tightly, and freeze for up to 3 months. Reheat in the oven for best results.
Q5: How long should I let the pie cool before serving?
Allow your pie to cool for at least 2 hours. This helps the filling set, making it easier to slice and serve neatly.


