Introduction
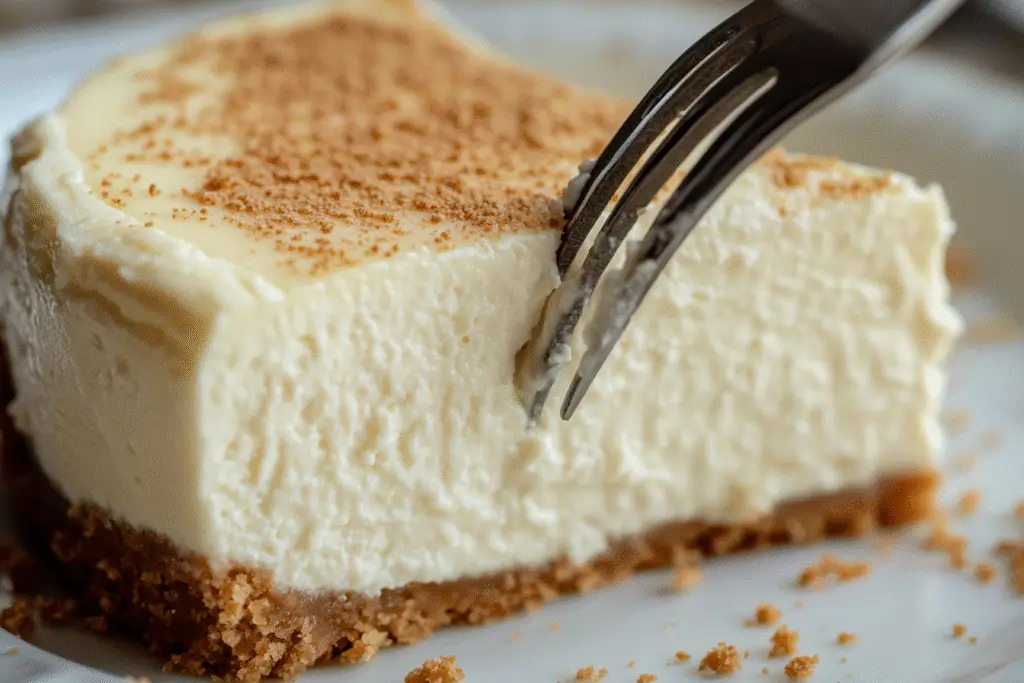
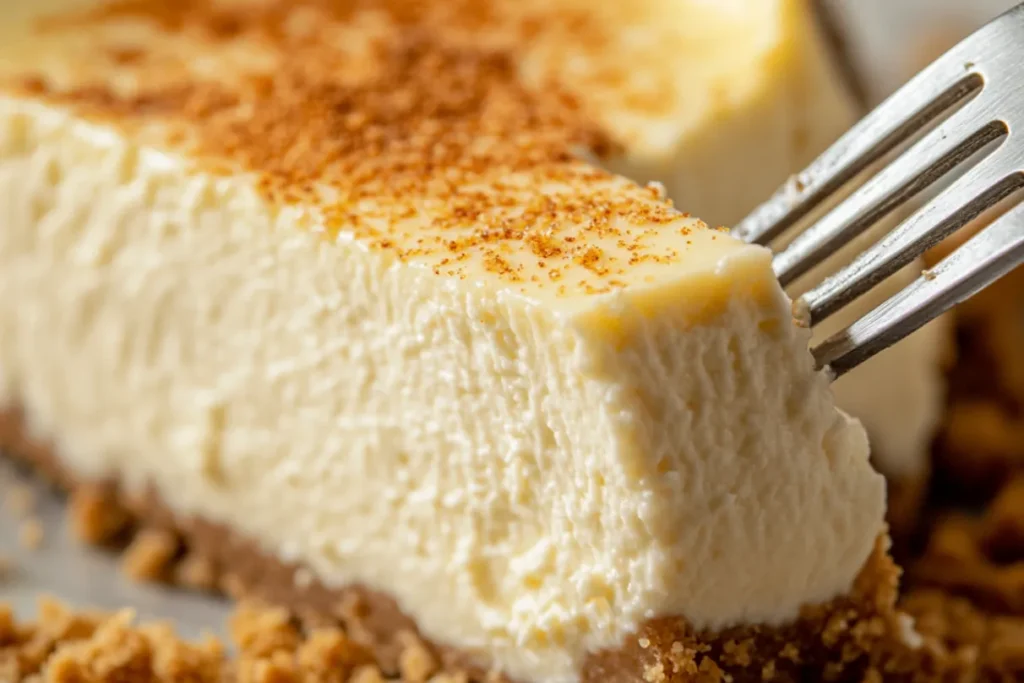
There’s something magical about the moment when you slice into a perfect classic vanilla cheesecake – that satisfying crack of the smooth surface giving way to reveal the creamy, velvety interior beneath. After years of experimenting in my kitchen and countless family gatherings where this dessert has stolen the show, I can confidently say that mastering a classic vanilla cheesecake is one of those skills that will serve you for a lifetime.
My journey with this beloved dessert began when I stumbled upon Anna Olson’s cheesecake techniques during a particularly challenging holiday season. I was determined to create something special for my family, and her approach to achieving that perfect texture inspired me to develop my own twist on the timeless recipe. What started as a single attempt has evolved into my most requested dessert – one that has graced birthday tables, holiday spreads, and countless “just because” moments with loved ones.
In this comprehensive guide, I’ll share everything I’ve learned about creating the perfect classic vanilla cheesecake, from selecting the finest ingredients to mastering the art of preventing cracks. Whether you’re a beginner baker or someone looking to refine your cheesecake skills, you’ll discover the techniques and insider tips that have transformed my kitchen adventures into consistent successes.

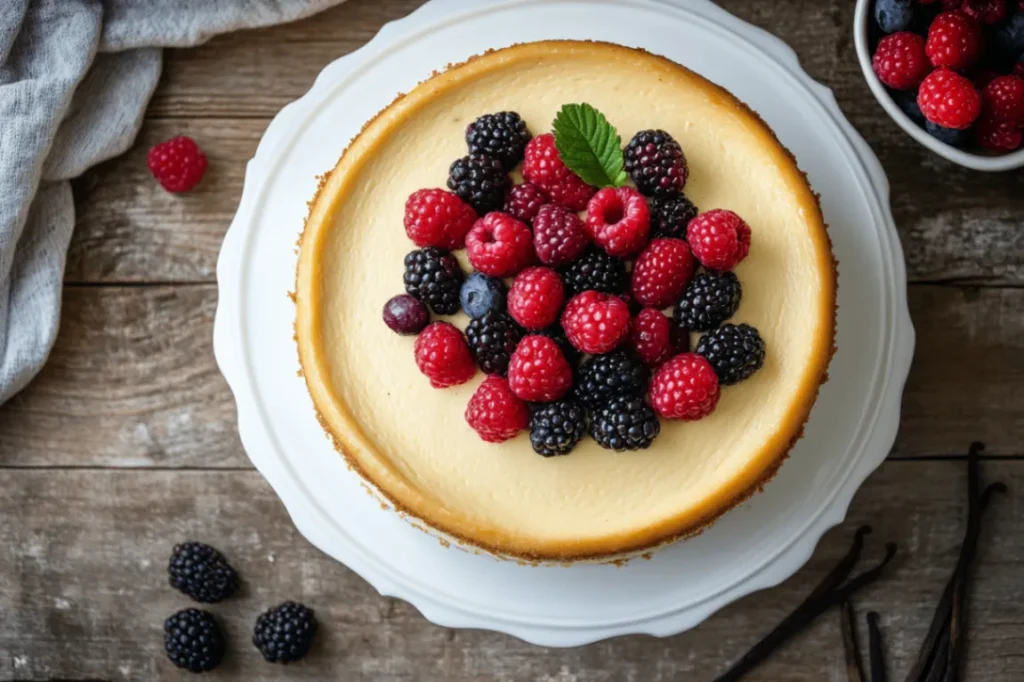
Classic Vanilla Cheesecake
A smooth and creamy classic vanilla cheesecake recipe with a graham cracker crust. Perfect for any occasion.
Ingredients
Instructions
- 1Mix graham cracker crumbs, melted butter, and sugar. Press the mixture into the bottom of a springform pan. Bake at 160°C (320°F) for 10 minutes and let it cool.
- 2Beat the cream cheese until smooth. Gradually add sugar, then eggs one at a time. Add vanilla and sour cream, mixing gently until combined.
- 3Pour filling over crust. Cover pan with foil. Place the pan in a water bath and bake at 160°C (320°F) for 50-60 minutes until set but slightly jiggly in the center.
- 4Turn off oven, crack open the door, and let cheesecake cool for 1 hour. Refrigerate overnight before serving.
Ingredients – The Foundation of Perfect Classic Vanilla Cheesecake
Creating an exceptional classic vanilla cheesecake starts long before you preheat your oven. The quality and preparation of your ingredients will make or break your final result, and I’ve learned this lesson through both triumphant successes and humbling failures.
Key Ingredients and Their Essential Roles
The beauty of a classic vanilla cheesecake lies in its simplicity, but each ingredient plays a crucial role in achieving that perfect balance of flavor and texture. For the crust, I rely on graham crackers, butter, and a touch of sugar – a trio that creates the ideal foundation. The crackers provide structure and that beloved honey-sweet flavor, while the butter binds everything together and adds richness.
The filling is where the magic truly happens. Cream cheese forms the heart of any great cheesecake, and I’ve found that using full-fat varieties produces the silkiest results. Eggs serve as both binder and leavening agent, creating that characteristic dense yet light texture. Sugar sweetens and helps achieve the proper consistency, while vanilla extract – the star of our classic vanilla cheesecake – infuses every bite with warm, aromatic notes.
Sour cream or heavy cream adds the final touch of tanginess and richness that elevates a good cheesecake to greatness. I’ve experimented with both, and while sour cream provides more tang, heavy cream creates an incredibly smooth finish. The choice often depends on your family’s preferences and the occasion.
Choosing High-Quality Ingredients for Superior Results
After years of testing different brands and varieties, I’ve learned that ingredient quality directly impacts your final result. For cream cheese, I always choose full-fat varieties from reputable brands, ensuring they’re fresh with a sell-by date well into the future. Room temperature cream cheese is non-negotiable – cold cream cheese creates lumps that no amount of mixing can fully eliminate.
When selecting vanilla extract, invest in pure vanilla rather than imitation. The depth of flavor in real vanilla extract shines through in a classic vanilla cheesecake, creating those complex notes that make people ask for your secret. I prefer Madagascar vanilla for its rich, creamy profile, though Tahitian vanilla offers interesting floral notes if you’re feeling adventurous.
Fresh eggs make a noticeable difference in both flavor and texture. I source mine from local farms when possible, as the richer yolks contribute to the cheesecake’s beautiful golden color and luxurious mouthfeel. For graham crackers, I’ve found that crushing your own yields better texture control than pre-made crumbs, allowing you to achieve the perfect balance between fine powder and small chunks.
Tried-and-True Substitutions That Actually Work
Throughout my cheesecake journey, I’ve discovered several substitutions that maintain the integrity of a classic vanilla cheesecake while accommodating different dietary needs or ingredient availability. Greek yogurt can replace up to half the cream cheese for a lighter version, though you’ll need to strain it overnight to remove excess moisture.
For those avoiding dairy, I’ve had success using cashew-based cream cheese alternatives, though the flavor profile changes slightly. When eggs are a concern, I’ve found that aquafaba (the liquid from canned chickpeas) works surprisingly well as a substitute, using three tablespoons per egg. The texture remains creamy, though slightly less dense than traditional versions.
Honey or maple syrup can replace granulated sugar, but reduce the liquid ingredients slightly to compensate for the added moisture. For the crust, digestive biscuits or vanilla wafers create interesting variations, while nuts like pecans or almonds add sophisticated flavor profiles that complement the vanilla beautifully.
Preparation Steps – Mastering the Art of Classic Vanilla Cheesecake
The difference between a good cheesecake and an extraordinary one often lies in the preparation details that many recipes gloss over. Through trial and error, I’ve developed a systematic approach that consistently produces that coveted smooth, crack-free surface and perfectly creamy interior.
My Pre-Baking Preparation Ritual
Success with classic vanilla cheesecake begins hours before you start mixing ingredients. I always begin by removing cream cheese from the refrigerator at least two hours before baking, sometimes longer in winter when my kitchen runs cool. Room temperature ingredients blend more easily and create fewer lumps, resulting in that silky texture we’re after.
While the cream cheese softens, I prepare my springform pan by wrapping the bottom and sides with heavy-duty aluminum foil. This waterproofing is essential for the water bath method that prevents cracking and ensures even cooking. I also place a roasting pan on the lower oven rack, ready to hold the boiling water that creates the gentle, humid environment our cheesecake needs.
Preheating the oven to 325°F (163°C) gives me time to prepare the crust and let the cream cheese reach optimal temperature. I’ve learned that patience during this preparation phase pays dividends in the final result – rushing this step has led to some of my less successful attempts.
Step-by-Step Instructions with Professional Tips
Creating the Perfect Crust: I start by crushing graham crackers in a food processor until I achieve a mixture of fine crumbs with some slightly larger pieces for texture. Mixing these crumbs with melted butter and sugar, I press the mixture firmly into the bottom of my prepared springform pan. The key is applying even pressure – I use the bottom of a measuring cup to ensure uniformity. Pre-baking this crust for 10 minutes creates a barrier that prevents soggy bottoms.
Mastering the Filling: With my stand mixer on low speed, I beat the softened cream cheese until completely smooth, scraping down the bowl frequently. This process cannot be rushed – lumps at this stage will remain throughout. Gradually adding sugar allows it to incorporate fully, creating a smooth base for our classic vanilla cheesecake.
Eggs go in one at a time, mixing just until incorporated. Overbeating at this stage introduces air bubbles that can cause cracking during baking. The vanilla extract and cream fold in gently, creating a mixture that’s smooth but not overmixed. I often strain the mixture through a fine-mesh sieve to catch any remaining lumps.
The Water Bath Technique: Pouring the filling over the pre-baked crust, I tap the pan gently to release air bubbles. Placing the wrapped pan in the roasting pan, I add enough boiling water to reach halfway up the sides of the springform pan. This water bath, or bain-marie, provides gentle, even heat that prevents the dramatic temperature fluctuations that cause cracking.
Common Mistakes to Avoid (Learned Through Experience)
My early cheesecake attempts taught me valuable lessons about what not to do. The most common mistake I see (and made myself) is using cold ingredients. Cold cream cheese creates lumps that persist despite vigorous mixing, resulting in a grainy texture that no amount of baking can fix.
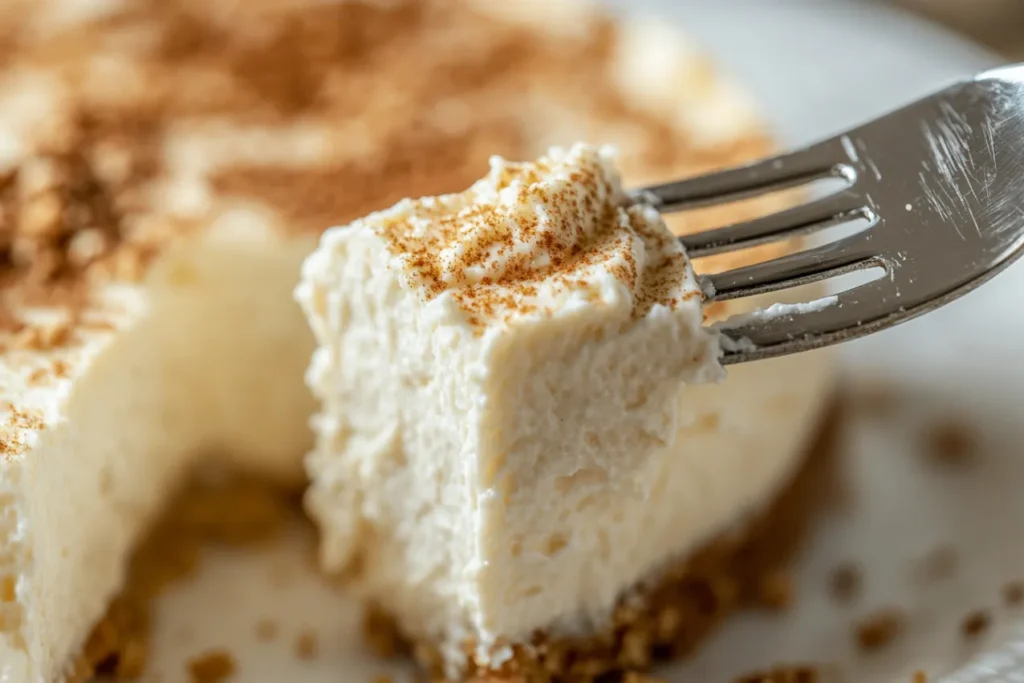
Overbaking ranks as another frequent pitfall. A perfectly baked classic vanilla cheesecake should still jiggle slightly in the center when you remove it from the oven. The residual heat continues cooking the cheesecake as it cools, and that slight wobble ensures a creamy rather than rubbery texture.
Temperature shock causes most cracking issues. I learned to turn off the oven when the cheesecake is done and let it cool gradually with the oven door slightly ajar. This prevents the rapid temperature change that causes the surface to contract and crack. Opening the oven door repeatedly during baking also causes temperature fluctuations that lead to imperfections.
Serving & Final Touches – Presenting Your Masterpiece
A beautifully executed classic vanilla cheesecake deserves presentation that matches its elegance. After perfecting the baking process, I’ve developed techniques for serving and storing that maintain the dessert’s integrity while creating memorable dining experiences.
Beautiful and Creative Presentation Ideas
The classic vanilla cheesecake’s simple elegance provides a perfect canvas for creative presentation. I prefer letting the cheesecake chill overnight before serving, as this allows the flavors to meld and the texture to set properly. When ready to serve, I run a thin knife under hot water, wiping it clean between cuts to achieve those picture-perfect slices.
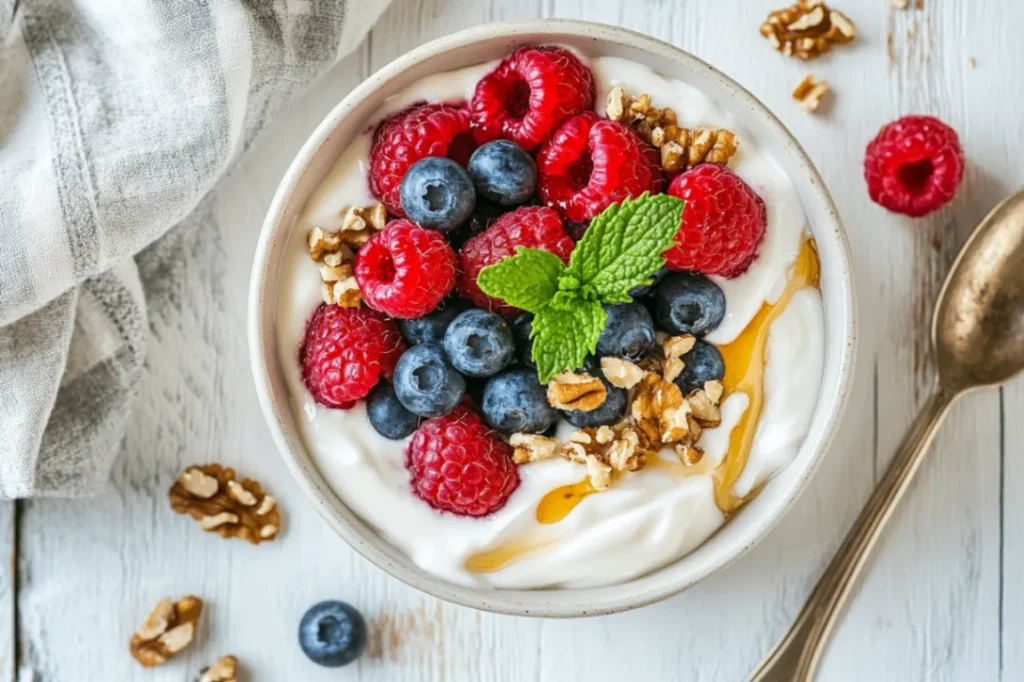
For special occasions, I create simple but stunning garnishes that enhance rather than compete with the vanilla flavor. Fresh berries arranged artfully on top provide color contrast and a touch of acidity that cuts through the richness. A light dusting of powdered sugar through a fine-mesh sieve creates an elegant finish, while a drizzle of berry coulis adds both visual appeal and complementary flavors.
During holiday seasons, I’ve found that edible flowers like pansies or violets create sophisticated presentations that photograph beautifully. Candied citrus peels offer another elegant option, providing both visual interest and subtle flavor complexity that enhances the vanilla notes.
Family-Tested Pairings and Accompaniments
Through years of serving this classic vanilla cheesecake to family and friends, I’ve discovered combinations that consistently delight. Fresh strawberries remain the most popular pairing, their natural acidity and sweetness creating perfect balance with the rich, creamy filling. I often macerate the berries with a touch of sugar and lemon juice, creating a light syrup that pools beautifully around each slice.
Coffee and espresso provide natural companions to cheesecake, their slight bitterness complementing the dessert’s sweetness. I’ve served this combination at dinner parties where guests lingered over dessert, savoring the interplay of flavors. For wine pairings, I’ve found that dessert wines like Moscato or late-harvest Riesling enhance the vanilla notes without overwhelming the palate.
During summer gatherings, I’ve discovered that serving slightly chilled cheesecake with warm fruit compotes creates delightful temperature contrasts. Peach compote with a hint of vanilla and cinnamon has become a family favorite, while mixed berry compotes provide beautiful color and fresh flavors that brighten the rich dessert.
Safe Storage and Reheating Guidelines
Proper storage ensures your classic vanilla cheesecake maintains its quality for days after baking. I always cover my cheesecake tightly with plastic wrap, pressing it directly onto the surface to prevent skin formation. Stored in the refrigerator, a properly made cheesecake remains delicious for up to five days, though it rarely lasts that long in my household.
For longer storage, cheesecake freezes beautifully for up to three months. I wrap individual slices in plastic wrap, then place them in freezer bags for easy portion control. Thawing should happen gradually in the refrigerator over several hours – never at room temperature, which can compromise texture and food safety.
While cheesecake is traditionally served cold, I’ve experimented with slightly warming slices for cozy winter desserts. A brief stay in a low oven (200°F for just a few minutes) creates an interesting textural contrast with the cooled exterior and slightly warmed center, though this technique works best with fresh rather than previously frozen cheesecake.
Frequently Asked Questions About Classic Vanilla Cheesecake
Can I prepare this classic vanilla cheesecake recipe in advance?
Absolutely! In fact, I strongly recommend making your classic vanilla cheesecake at least one day ahead. The flavors develop and improve over time, and the texture becomes more cohesive after a full night in the refrigerator. I often prepare mine two days before serving, which also reduces last-minute stress when entertaining. The cheesecake can be fully assembled and stored covered in the refrigerator for up to five days before serving.
What’s the best way to store leftover cheesecake safely?
I store leftover classic vanilla cheesecake by covering it tightly with plastic wrap, ensuring the wrap touches the surface to prevent drying out. It keeps beautifully in the refrigerator for up to five days. For individual servings, I wrap each slice separately, which makes grabbing a quick dessert convenient. Never leave cheesecake at room temperature for more than two hours, as the dairy content requires refrigeration for food safety.
How can I make my classic vanilla cheesecake healthier without sacrificing taste?
Through experimentation, I’ve found several ways to lighten classic vanilla cheesecake while maintaining its beloved texture and flavor. Replacing half the cream cheese with strained Greek yogurt reduces calories while adding protein. Using a nut-based crust instead of graham crackers increases healthy fats and reduces processed carbohydrates. I’ve also had success reducing sugar by one-third and adding extra vanilla extract to maintain flavor intensity.
Can I successfully double this recipe for large gatherings?
Yes, but I recommend making two separate cheesecakes rather than doubling the recipe in one large pan. Doubling the recipe often leads to uneven baking and longer cooking times that can result in overbaking. Two standard-sized cheesecakes also provide more serving flexibility and reduce the risk of cracking that sometimes occurs with very large cheesecakes. Plus, you can experiment with different toppings on each one!
What’s the biggest mistake people make when attempting classic vanilla cheesecake?
The most common error I see is using cold ingredients, particularly cream cheese. Cold cream cheese creates lumps that persist despite mixing, resulting in a grainy texture. Always allow cream cheese and eggs to reach room temperature before beginning – this usually takes 2-3 hours. The second biggest mistake is overbaking; remember that cheesecake continues cooking as it cools, so a slight jiggle in the center is exactly what you want when removing it from the oven.
 DINNER
 LUNCH
LUNCH CAKE
CAKE BREAKFAST
For more amazing recipes, be sure to check out our other sections to explore a variety of ideas that will enrich your cooking experience. Each section offers its own unique flavors to ensure a delightful culinary journey:
- Easy and Quick Recipes: A collection of dishes that guarantee delicious meals with minimal effort and time.
- Healthy Recipes: Discover healthy and delicious options that fit your lifestyle.
- Desserts: A diverse selection of sweets that will add a special touch of sweetness to your table.
- Lunch Recipes: Tasty lunch ideas that you can easily prepare to delight your family.
- Dinner Recipes: Delicious and easy-to-make recipes that will make your dinner a memorable occasion.
Conclusion
Creating the perfect classic vanilla cheesecake has been one of my most rewarding culinary journeys, transforming from an intimidating challenge into a beloved family tradition. This recipe, inspired by Anna Olson’s techniques and refined through countless kitchen experiments, has become my go-to dessert for celebrations both big and small.
The beauty of mastering this classic vanilla cheesecake lies not just in the final result, but in the confidence it builds for tackling other challenging desserts. Each smooth, creamy slice represents hours of patient preparation and attention to detail – qualities that elevate home cooking from mere sustenance to genuine artistry.
I encourage you to embrace the process, from the careful preparation of ingredients to the gentle cooling that prevents cracks. Don’t be discouraged if your first attempt isn’t perfect; some of my most valuable lessons came from cheesecakes that didn’t turn out exactly as planned. Each experience teaches something new about technique, timing, or ingredient behavior.
I’d love to hear about your classic vanilla cheesecake adventures! Please share your results, modifications, and creative presentations in the comments below. Did you try any of the substitutions I suggested? What unique toppings or flavor combinations did you discover? Your experiences help build our community of passionate home bakers, and I’m always excited to learn new tips and techniques from fellow cooking enthusiasts.
Remember, the best recipes are those shared with people we care about. So gather your ingredients, preheat that oven, and create some delicious memories with this timeless classic vanilla cheesecake recipe
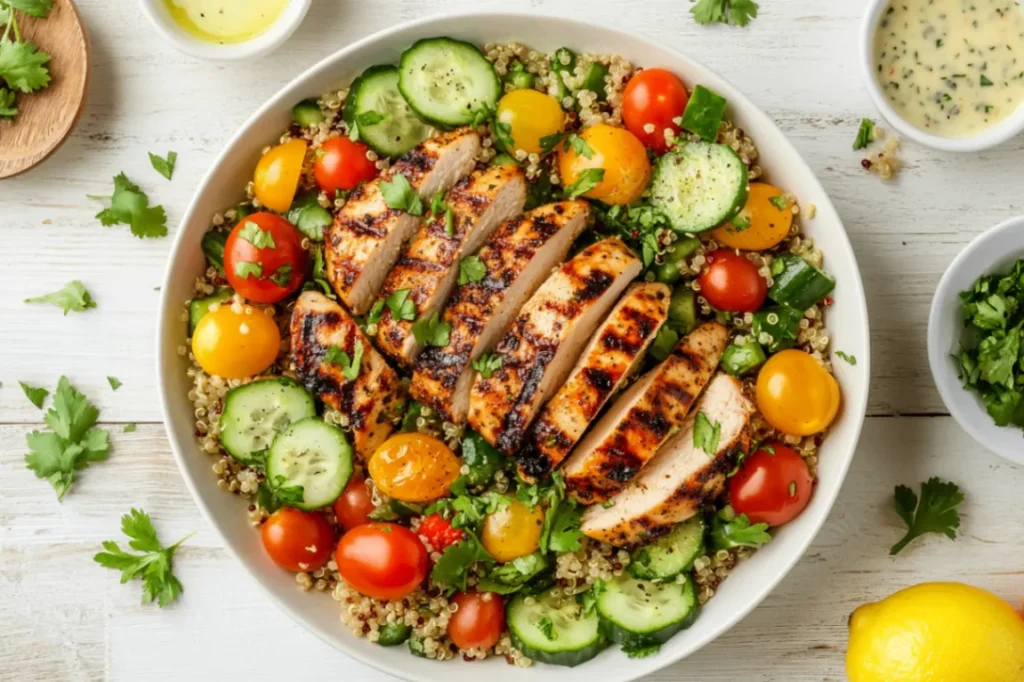
Light Summer Dinner Recipe to Keep You Cool and Satisfied
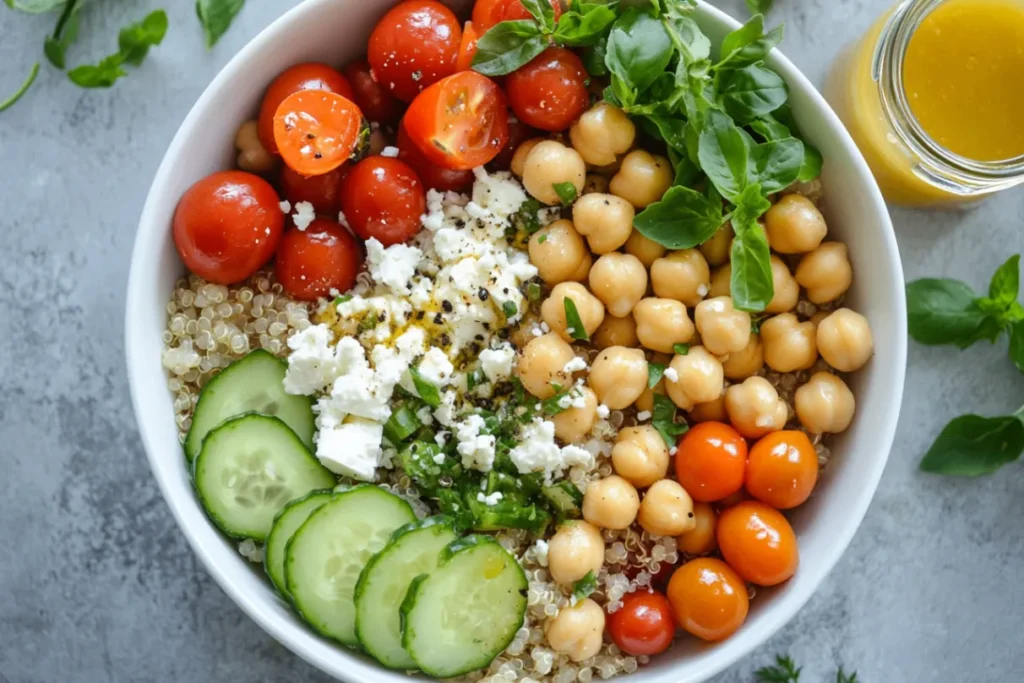
Healthy Summer Recipe for a Fresh and Nutritious Meal: Quinoa Power Bowl
Classic Vanilla Cheesecake – My Homemade Twist Inspired by Anna Olson
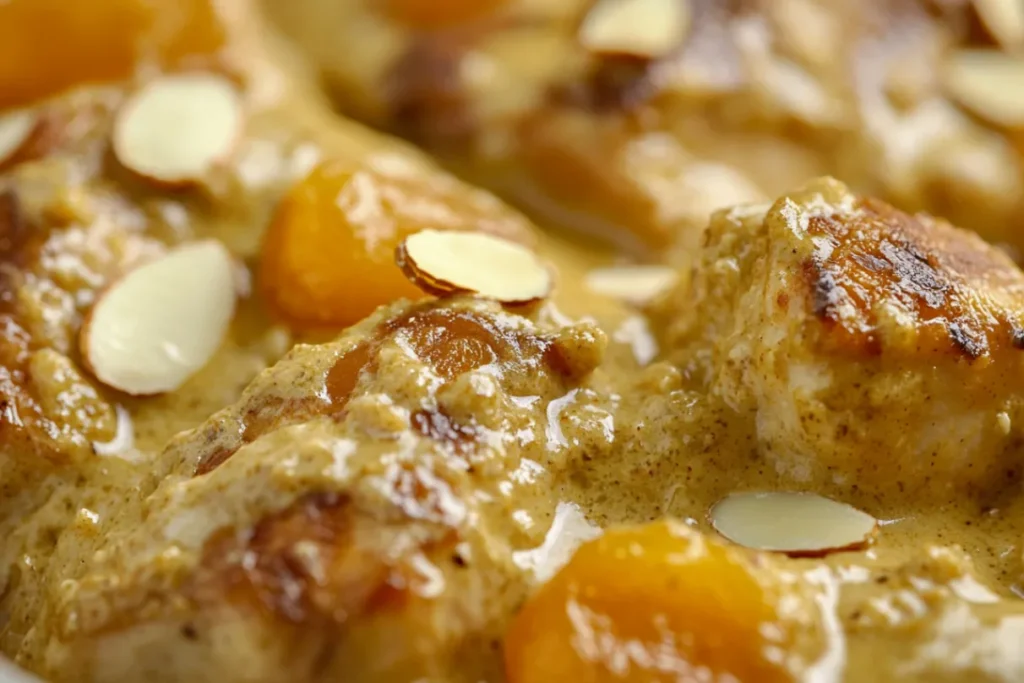
The Ultimate Coronation Chicken Recipe: A Royal Dish Made Simple
Creamy Mushroom and Chicken Risotto: A Family Favorite That Never Fails