Table of Contents
Introduction Corn Snack Recipe
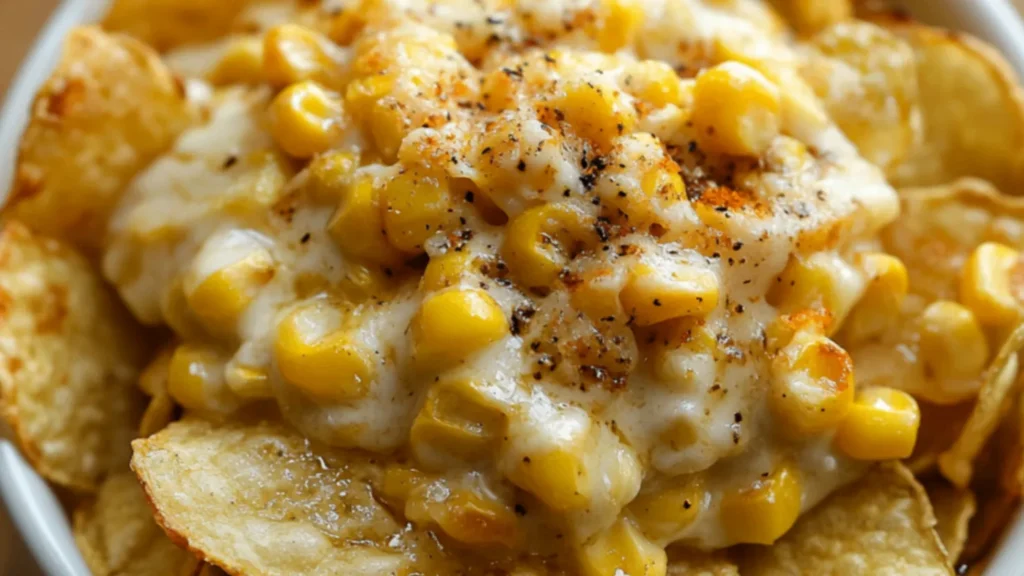
Let me tell you about one of my absolute favorite discoveries in the world of easy homemade recipes – a simple 3-ingredient Corn Snack Recipe that has become a staple in my kitchen and the hearts of everyone who tries it. I stumbled upon this delightful creation during one of those late-night snack cravings when my pantry was nearly empty, and I had nothing but a can of corn, some butter, and a lonely piece of cheese in my refrigerator. What started as a desperate attempt to satisfy my hunger turned into what I now consider one of the most satisfying and versatile family favorite recipes in my collection.
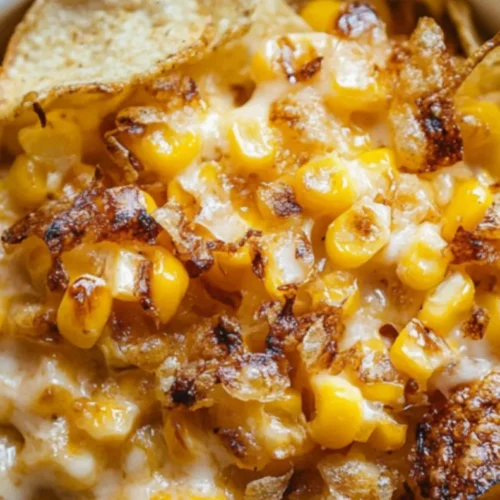
The beauty of this cheesy Corn Snack Recipe lies not just in its incredible simplicity, but in how it transforms three humble ingredients into something that tastes like pure comfort food magic. Over the years, I’ve served this to unexpected guests, whipped it up for movie nights, and even brought it to potluck dinners where it consistently steals the show. The combination of sweet corn kernels coated in rich, melted butter and cheese creates a harmony of flavors that speaks to the soul – it’s like receiving a warm hug from your kitchen.
What makes this recipe particularly special in the culinary world is how it challenges the notion that delicious dishes require complicated ingredient lists or hours of preparation. In a time when we’re all looking for ways to create meaningful, satisfying meals without the stress, this 3-ingredient wonder proves that sometimes the most memorable flavors come from the simplest combinations. It’s become my go-to example of how cooking doesn’t have to be intimidating to be extraordinary.
3-Ingredient Corn Snack Recipe – Quick, Cheesy & Delicious
Ingredients
- 1 can corn drained
- 1 heaping teaspoon butter
- 1 tablespoon cheese cheddar, mozzarella, or choice
Ingredients
Understanding Your Key Players
The magic of this corn snack recipe lies in the perfect synergy between three carefully chosen ingredients, each playing a crucial role in creating the final masterpiece. Let’s start with corn – the star of our show. Corn brings natural sweetness and a satisfying texture that forms the foundation of this delicious dish. The kernels provide that delightful pop when you bite into them, releasing bursts of flavor that pair beautifully with our other ingredients. When selecting canned corn, you’re getting convenience without sacrificing taste, as the kernels are picked at peak ripeness and preserved to maintain their natural sweetness.
Butter serves as our flavor conductor, bringing richness and depth that elevates the humble corn kernels into something truly special. The butter doesn’t just add fat – it creates a silky coating that helps distribute flavors evenly while adding that comforting, indulgent quality that makes this snack so satisfying. When heated, butter develops nutty undertones that complement the corn’s sweetness perfectly, creating layers of flavor that belie the recipe’s simplicity.
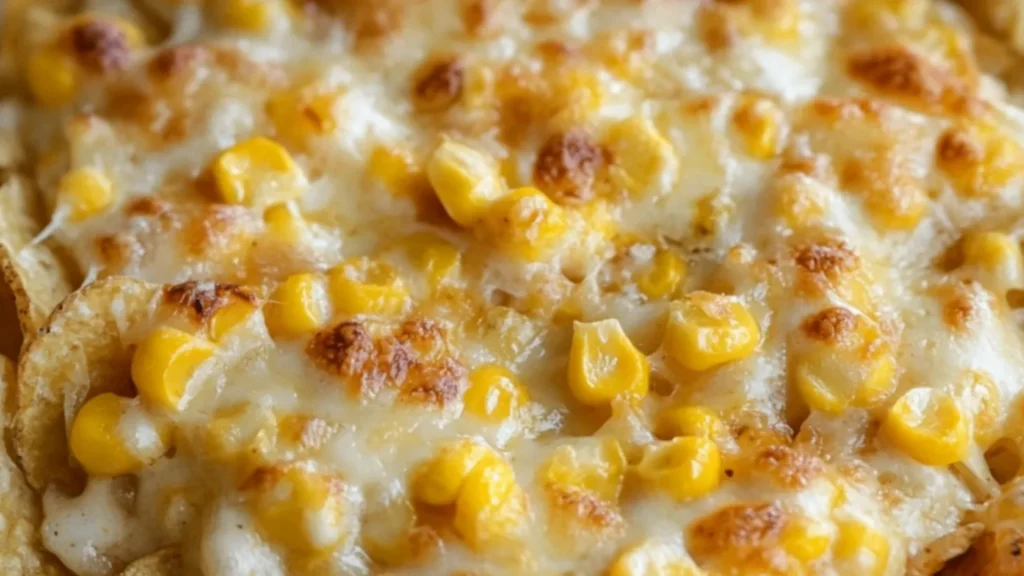
Cheese is our final ingredient, and it’s where the real magic happens. Whether you choose sharp cheddar for its tangy bite, creamy mozzarella for its mild richness, or any other variety, cheese transforms this simple mixture into something that feels like a complete, satisfying snack. The cheese melts into the butter, creating a luscious sauce that coats each kernel while adding protein and calcium to make this treat more nutritionally balanced than your typical snack food.
Selecting the Best Quality Ingredients Corn Snack
When it comes to creating the perfect corn snack, ingredient quality can make the difference between good and absolutely amazing. For corn, I always recommend choosing canned corn that’s packed in water rather than brine, as this gives you better control over the final flavor profile. Look for brands that list corn as the first ingredient and avoid those with added sugars or excessive sodium. If you’re feeling adventurous and it’s the right season, fresh corn cut from the cob can elevate this recipe to restaurant-quality levels, though frozen corn works beautifully as a middle ground between convenience and flavor.
Your butter choice matters more than you might think. I always reach for real butter rather than margarine or butter substitutes – the flavor difference is remarkable and worth the small extra cost. European-style butter, with its higher fat content, creates an even richer result, but standard unsalted butter works perfectly well. The key is using unsalted butter so you can control the saltiness of your final dish, especially important since some cheeses can be quite salty on their own.
For cheese selection, freshness is paramount. Pre-shredded cheese is convenient, but freshly grated cheese melts more smoothly and provides better flavor. The anti-caking agents in pre-shredded cheese can sometimes create a slightly grainy texture when melted. If you do use pre-shredded cheese, look for brands that use minimal additives. Block cheese that you grate yourself will always give you the smoothest, most flavorful results, and it’s often more economical too.
Smart Substitutions and Creative Alternatives
One of the most beautiful aspects of this easy homemade recipe is its flexibility – it serves as a perfect canvas for creativity and dietary adaptations. For those following dairy-free diets, coconut oil or vegan butter work wonderfully in place of regular butter, while nutritional yeast can provide that cheesy flavor without actual cheese. Plant-based cheese alternatives have come so far in recent years that many melt and taste remarkably similar to traditional dairy cheese.
If you’re looking to boost the nutritional profile, consider substituting part of the corn with other vegetables. Diced bell peppers add crunch and vitamin C, while small cubes of zucchini or yellow squash blend seamlessly with corn and add fiber. For protein boost, consider stirring in some cooked quinoa or small white beans – they absorb the buttery cheese coating beautifully and make this snack more substantial.
Spice lovers can transform this mild family favorite into something with more kick by adding jalapeño slices, a pinch of cayenne pepper, or even some hot sauce mixed into the melted butter. For those who enjoy herbs, fresh chives, parsley, or cilantro stirred in at the end add freshness and color. Garlic powder or onion powder can add depth without overwhelming the corn’s natural sweetness, making this versatile enough to serve alongside different types of meals.
Preparation Steps Corn Snack
Initial Preparation and Smart Setup Tips
Success in creating the perfect corn snack starts before you even turn on the heat, and proper preparation makes the difference between a smooth cooking experience and a chaotic scramble. Begin by gathering all your ingredients and having them measured and ready – this French technique called “mise en place” is especially important for quick recipes like this one where timing matters. Since this recipe moves quickly once you start cooking, you want everything within arm’s reach.
The most crucial first step is properly draining your corn. Don’t just quickly drain it in the colander and call it good – excess water is the enemy of achieving that perfect texture. After draining, let the corn sit in the colander for a few extra minutes, then gently pat it dry with paper towels. This extra step prevents splattering when the corn hits the hot butter and ensures that your final dish isn’t watery. Water and hot oil don’t mix well, so this attention to detail keeps you safe and improves your results.
Set up your cooking station with everything you need: your pan (a non-stick or well-seasoned cast iron works best), a wooden spoon or spatula for stirring, and your measured ingredients arranged in the order you’ll use them. Have your serving dish or plates ready, because this snack is best enjoyed immediately while the cheese is still melty and the corn is piping hot. Consider warming your serving dish slightly – it helps maintain the temperature longer and shows attention to detail that your family and guests will notice.
Step-by-Step Cooking with Professional Secrets
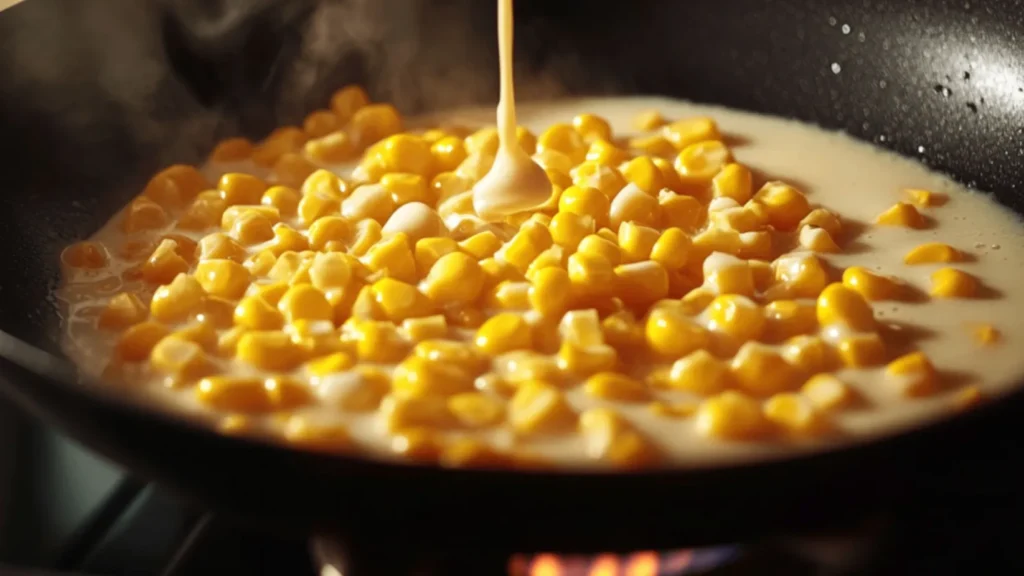
The cooking process for this delicious dish is straightforward, but small professional techniques make a world of difference in the final result. Start by heating your pan over medium heat – this is crucial because too high heat will brown the butter before the corn is heated through, while too low heat won’t create the slight caramelization that adds depth to the flavor. Add your butter and let it melt completely, swirling the pan gently to ensure even coverage.
Here’s a secret that elevates this simple recipe: let the butter foam slightly before adding the corn. This indicates that the water in the butter has evaporated and the milk solids are just beginning to brown, creating what chefs call “beurre noisette” or brown butter. This adds a subtle nutty flavor that transforms the entire dish. The moment you see the foam and smell that nutty aroma, immediately add your corn to stop the browning process – you want just a hint of this flavor, not burnt butter.
When you add the corn, you should hear a gentle sizzle – this tells you the temperature is perfect. Stir the corn gently but consistently for 2-3 minutes, ensuring every kernel gets coated with that beautiful brown butter. The corn should heat through completely and start to look slightly glossy. Now comes the cheese magic: reduce heat to low and add your cheese gradually, stirring constantly. This prevents the cheese from seizing up or becoming stringy. The residual heat from the corn and pan will melt the cheese perfectly while continuous stirring creates that silky, coating consistency you’re after.
Avoiding Common Pitfalls
Even with such a simple recipe, there are several common mistakes that can turn your perfect corn snack into a disappointing mess, but knowing what to watch for keeps you on track to success. The biggest mistake I see people make is adding cheese to a pan that’s too hot. When cheese hits high heat directly, it can seize up into a rubbery, separated mess instead of melting into that smooth, creamy coating we want. Always reduce your heat to low before adding cheese, and add it gradually while stirring.
Another frequent error is not draining the corn thoroughly enough. I’ve watched people dump wet corn into hot butter, causing dangerous splattering and resulting in a watery final dish that lacks the rich, concentrated flavors we’re after. Take the extra minute to drain properly and pat dry – your safety and your taste buds will thank you. Similarly, using frozen corn without thawing and draining it first creates the same problems with excess water.
Timing is everything with this recipe, and leaving the corn on heat too long after adding cheese is another common pitfall. Once the cheese is melted and incorporated, remove the pan from heat immediately. Continuing to cook will cause the cheese to separate and become oily, and the corn can become mushy. Remember, residual heat will continue cooking even after you remove from the burner, so err on the side of caution. If you need to keep it warm for serving, the lowest possible heat setting with frequent stirring is your best bet, but really, this dish is meant to be served immediately for the best experience.

Serving & Final Touches
Creative Presentation Ideas That Wow
The way you present this simple corn snack can transform it from a casual family favorite into something that looks restaurant-worthy and Instagram-ready. Start with your choice of serving vessel – while this tastes amazing straight from the pan, transferring it to a warmed serving bowl elevates the entire experience. Choose bowls with wide, shallow shapes that allow the corn to spread out rather than pile up, making it easier for people to serve themselves and showcasing the beautiful golden color of the buttery, cheesy coating.
For casual family meals, consider serving this in individual small bowls or ramekins, which makes portion control easier and gives each person their own special serving. Add a small spoon to each bowl, and consider garnishing with a sprinkle of fresh herbs like chopped chives or parsley for color contrast. The bright green against the golden corn creates an appealing visual that makes this simple dish look intentional and thoughtful.
When entertaining or wanting to make this snack feel more special, try serving it in small cast iron skillets or copper serving dishes if you have them. The rustic, homey appearance of cast iron plays perfectly with the comfort food vibe of this recipe. For parties, consider making multiple small batches with different cheese varieties and arranging them on a wooden board with small serving spoons and little signs indicating the cheese types – this creates an interactive corn tasting experience that guests love.
Perfect Pairings and Meal Integration
While this corn snack is absolutely delicious on its own, pairing it thoughtfully with other foods can create complete, satisfying meals or enhance your entertaining spread. This cheesy corn pairs beautifully with grilled meats, particularly chicken, pork, or beef, where the sweet corn provides a nice contrast to smoky, savory flavors. It’s also wonderful alongside Mexican or Tex-Mex dishes – think of it as a simplified version of Mexican street corn that complements tacos, quesadillas, or enchiladas perfectly.
For lighter meals, this corn snack works wonderfully as part of a vegetarian plate alongside fresh salads, roasted vegetables, or grain bowls. The richness of the butter and cheese balances beautifully with crisp greens or acidic elements like tomatoes or vinaigrette-dressed salads. Consider serving it with some crusty bread for scooping – this combination turns your simple snack into a more substantial meal that’s perfect for lunch or a light dinner.
Beverage pairings can enhance the overall experience too. The sweetness of the corn and richness of the cheese pair wonderfully with crisp white wines like Sauvignon Blanc or Pinot Grigio, but don’t overlook beer pairings – a light lager or wheat beer complements the corn flavors beautifully. For non-alcoholic options, sparkling water with a splash of citrus cuts through the richness nicely, while iced tea provides a classic comfort food pairing that feels like home.
Storage Solutions and Reheating Mastery
While this corn snack is absolutely best enjoyed fresh and hot, sometimes you’ll have leftovers or want to prep ahead, and knowing how to store and reheat properly ensures you can enjoy delicious results even the second time around. If you have leftovers, transfer them to an airtight container and refrigerate for up to three days. The key to successful storage is letting the corn cool completely before refrigerating to prevent condensation from making it soggy.
When it comes to reheating, resist the temptation to use the microwave if possible – while convenient, microwaving can make the corn tough and the cheese coating uneven. Instead, reheat gently in a non-stick pan over low heat, stirring frequently and adding a small pat of butter if needed to restore that silky texture. You might need to add a tiny bit of additional cheese if the coating seems thin after reheating. The gentle stovetop method brings back most of the original texture and flavor.
For meal prep enthusiasts, you can prepare the components ahead of time and assemble when ready to serve. Drain and dry your corn, grate your cheese, and measure your butter, storing each separately in the refrigerator. When you’re ready to eat, the cooking process takes just minutes and you’ll have a fresh, hot snack without any of the prep work. This advance preparation is particularly helpful when entertaining, allowing you to focus on your guests while still serving something that tastes freshly made.
 DINNER
  LUNCH
LUNCH  CAKE
CAKE  BREAKFAST
 For more amazing recipes, be sure to check out our other sections to explore a variety of ideas that will enrich your cooking experience. Each section offers its own unique flavors to ensure a delightful culinary journey:
- Easy and Quick Recipes: A collection of dishes that guarantee delicious meals with minimal effort and time.
- Healthy Recipes: Discover healthy and delicious options that fit your lifestyle.
- Desserts: A diverse selection of sweets that will add a special touch of sweetness to your table.
- Lunch Recipes: Tasty lunch ideas that you can easily prepare to delight your family.
- Dinner Recipes: Delicious and easy-to-make recipes that will make your dinner a memorable occasion.
Frequently Asked Questions
Q: Can I use fresh corn instead of canned corn for this recipe? A: Absolutely! Fresh corn can make this recipe even more delicious. You’ll need about 1 cup of fresh corn kernels cut from 2-3 ears of corn. Make sure to cook the fresh corn slightly longer (4-5 minutes instead of 2-3) to ensure it’s tender. Fresh corn adds a wonderful sweetness and crunch that takes this simple recipe to the next level, especially during peak corn season.
Q: What’s the best type of cheese to use for the creamiest result? A: For the creamiest, smoothest melting, I recommend using cheeses with good melting properties like cheddar, Monterey Jack, or Gruyère. Avoid hard cheeses like Parmesan alone, as they don’t melt as smoothly. If you want to use Parmesan, mix it with a softer cheese. Freshly grated cheese always melts better than pre-shredded, so grate it yourself when possible for the best texture.
Q: How can I make this recipe healthier without sacrificing flavor? A: There are several ways to lighten this recipe while keeping it delicious. Use half the butter and add a tablespoon of olive oil, choose a reduced-fat cheese, or add diced vegetables like bell peppers or zucchini to increase the vegetable content. You can also use Greek yogurt mixed with a small amount of cheese for creaminess with added protein and less fat.
Q: Can I make this recipe ahead of time for meal prep? A: While this dish is best fresh, you can prep the components ahead. Drain and dry the corn, grate the cheese, and store them separately in the refrigerator for up to 2 days. When ready to serve, the cooking process takes less than 5 minutes. If you must make it completely ahead, store the finished dish for up to 3 days refrigerated and reheat gently on the stovetop with a bit of extra butter.
Q: My cheese became stringy and clumpy when I added it. What went wrong? A: This happens when the cheese is added to heat that’s too high or when it’s not stirred consistently. Always reduce heat to low before adding cheese, add it gradually while stirring constantly, and remove from heat as soon as it’s melted. If this happens, try stirring in a tablespoon of cold butter or cream to help smooth it out, though prevention is always better than fixing.
Conclusion
This 3-ingredient corn snack recipe represents everything I love about cooking – it’s proof that the most satisfying, memorable dishes don’t require complicated techniques or expensive ingredients, just thoughtful preparation and quality components. In our busy lives, having recipes like this in your repertoire means you’re always just minutes away from something delicious and comforting. Whether you’re looking for a quick after-school snack for the kids, an easy side dish for dinner, or something special to bring to a potluck, this versatile recipe delivers every single time.
What makes this recipe truly special is how it brings people together. I’ve watched families bond over making this simple dish, seen kids get excited about helping in the kitchen because it’s so approachable, and witnessed dinner guests ask for the recipe before they’ve even finished eating. It’s become one of those family favorite recipes that gets passed down and adapted, creating new memories with each generation.
I encourage you to make this recipe your own – try different cheese combinations, add your favorite herbs or spices, or serve it alongside your family’s favorite meals. Most importantly, don’t keep this delicious discovery to yourself. Share it with friends, make it for someone who needs a comfort food hug, or teach it to young cooks in your life. Food is love, and sometimes the simplest recipes carry the most love of all.
Take a few minutes today to gather these three simple ingredients and create something wonderful. I’d love to hear about your experience – did you try any creative variations? What cheese did you choose? Share your corn snack adventures and let’s build a community around these simple pleasures that make life a little more delicious.
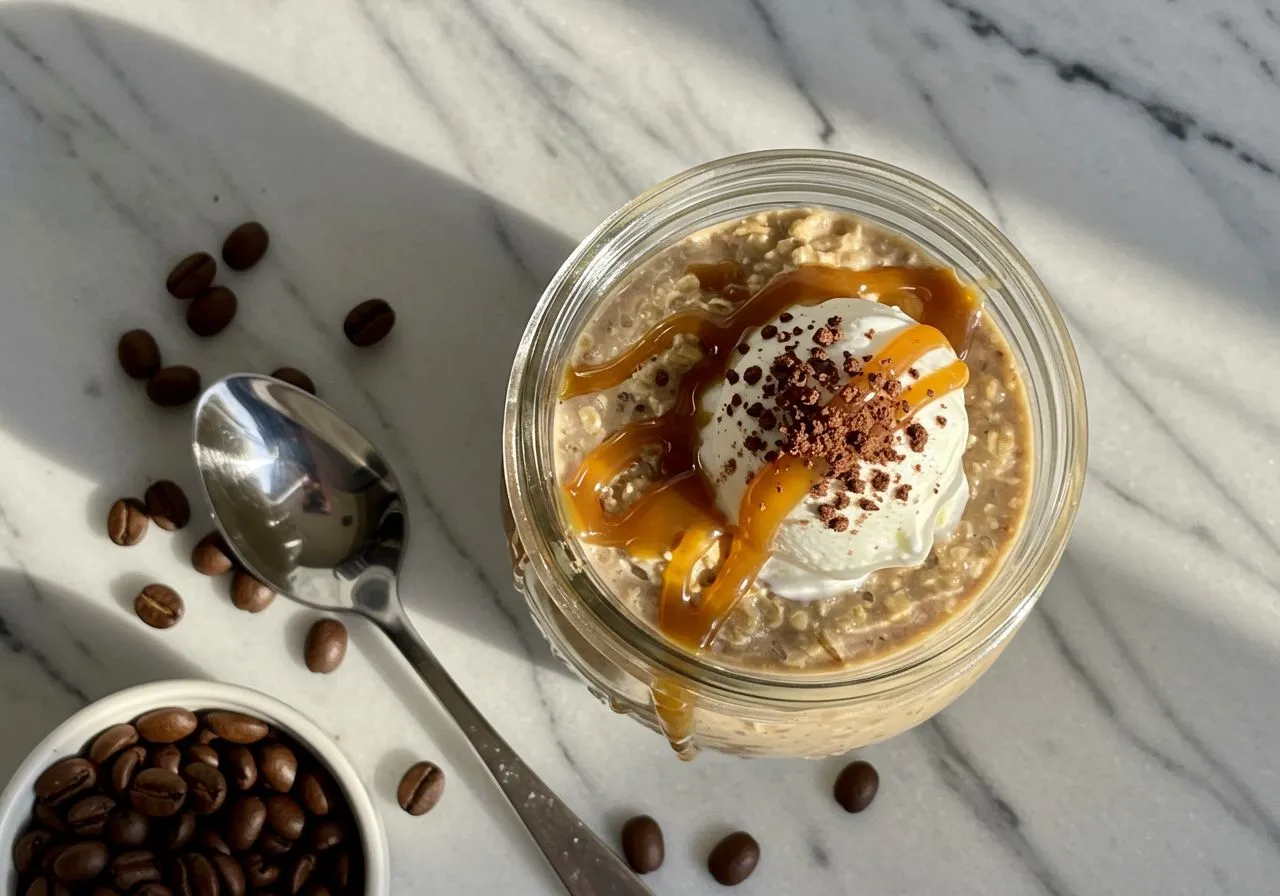
Espresso Overnight Oats (Viral Coffee Breakfast)
Delicious espresso overnight oats recipe that is creamy and packed with coffee flavor — a perfect breakfast to start your day.
Read More →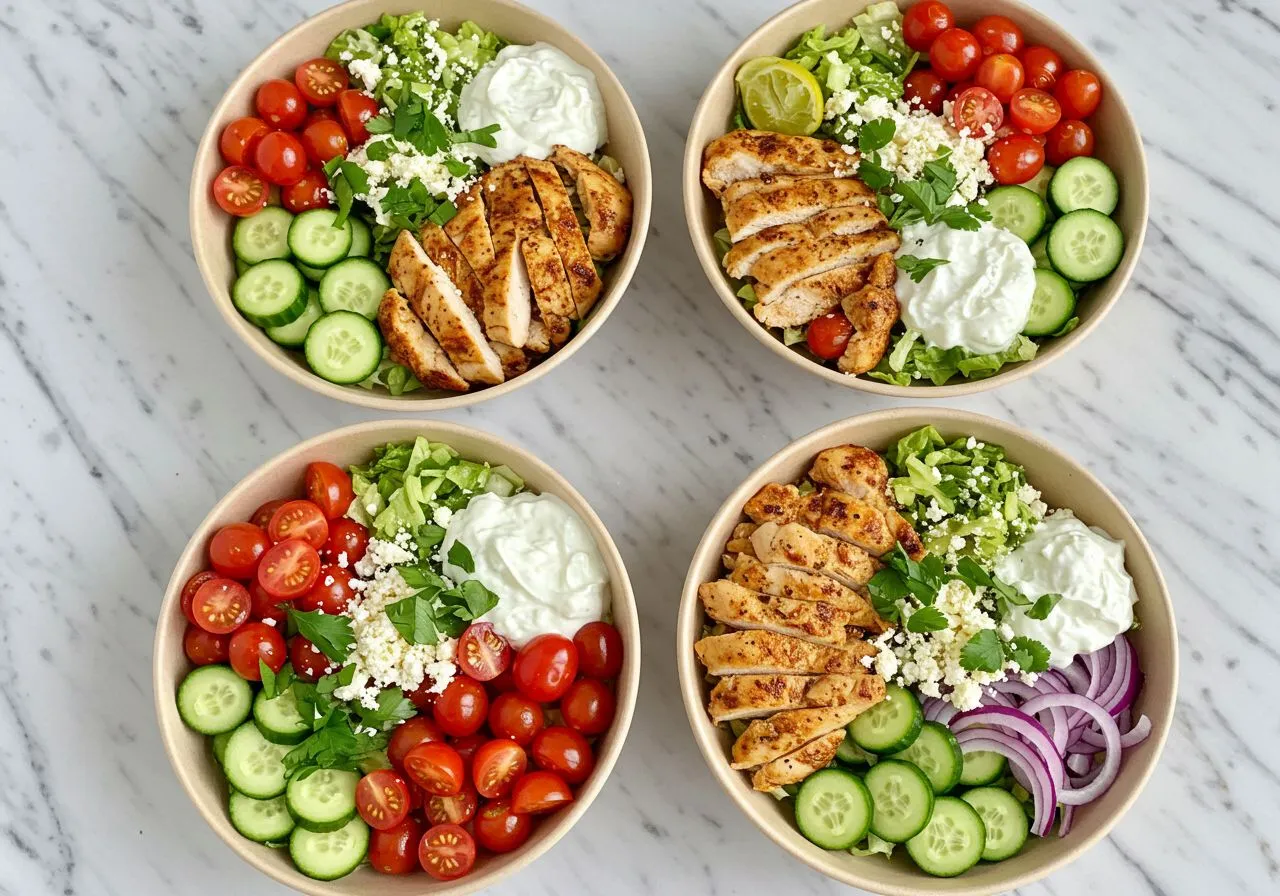
Greek Chicken Gyro Bowls
Fresh and flavorful Greek chicken gyro bowls with tzatziki sauce and veggies — a healthy, easy meal.
Read More →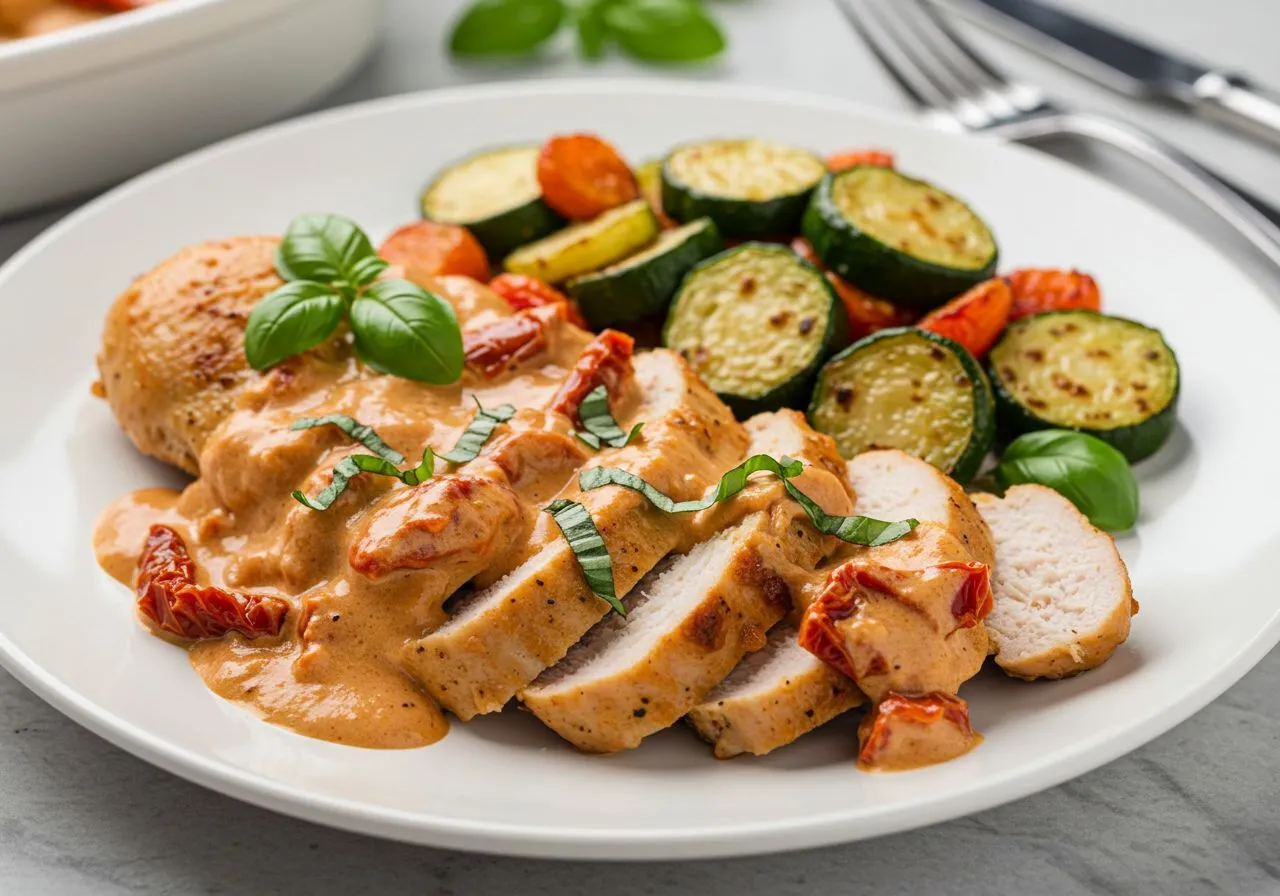
Marry Me Chicken Recipe
A creamy, savory chicken recipe that lives up to its name — perfect for a special dinner.
Read More →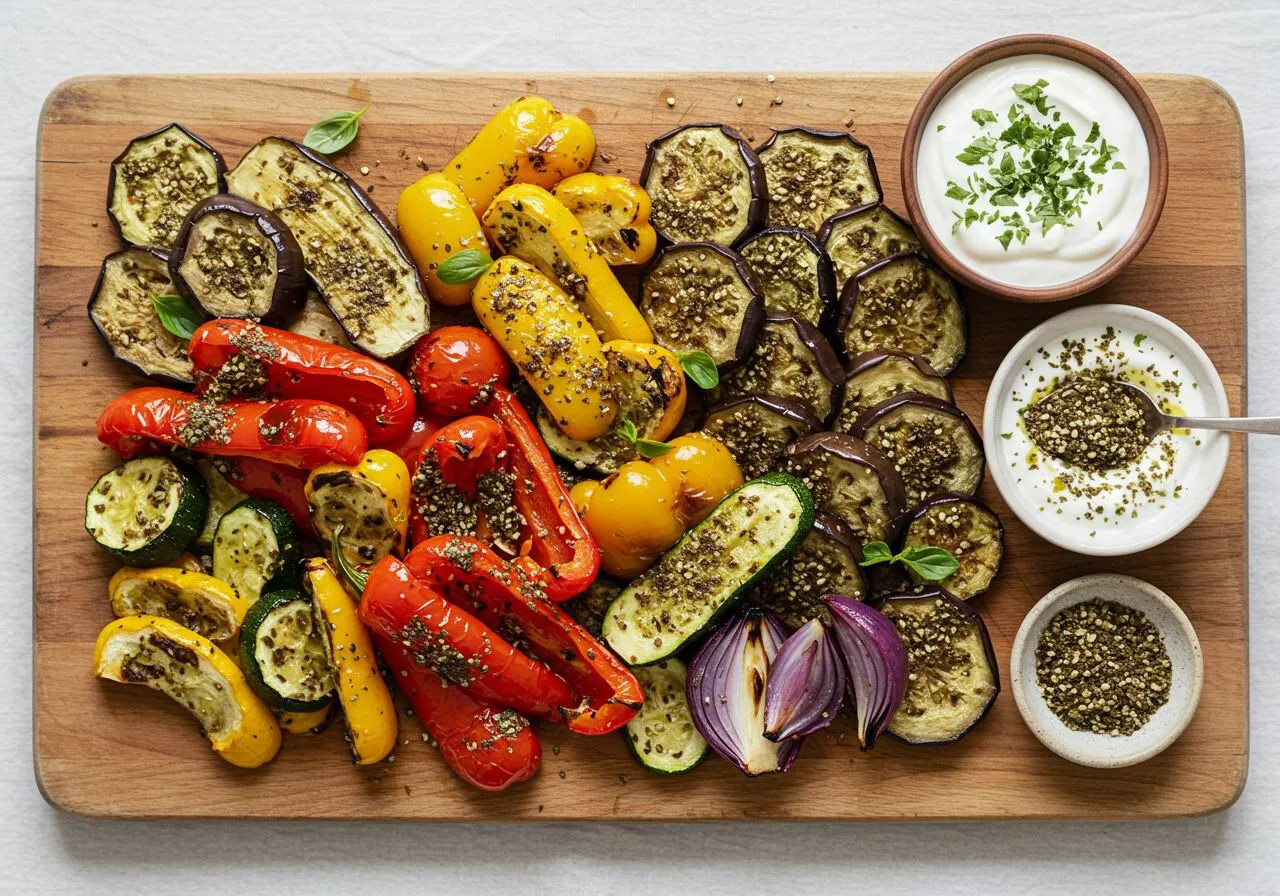
Zaatar Roasted Vegetables with Yogurt Sauce
Roasted veggies with fragrant zaatar and a cooling yogurt sauce — a perfect side dish.
Read More →
Make Homemade Fruit
Easy steps to make delicious homemade fruit snacks and preserves.
Read More →
Stuffed Bell Peppers with Ground Beef
Classic stuffed bell peppers with seasoned ground beef — hearty and comforting.
Read More →
Arabic Rice Pilaf with American Twist
A fusion of classic Arabic rice pilaf with a modern American twist for a unique taste.
Read More →
Lebanese Chicken Shawarma Bowls
Tender chicken shawarma served with fresh veggies in a bowl — easy and flavorful.
Read More →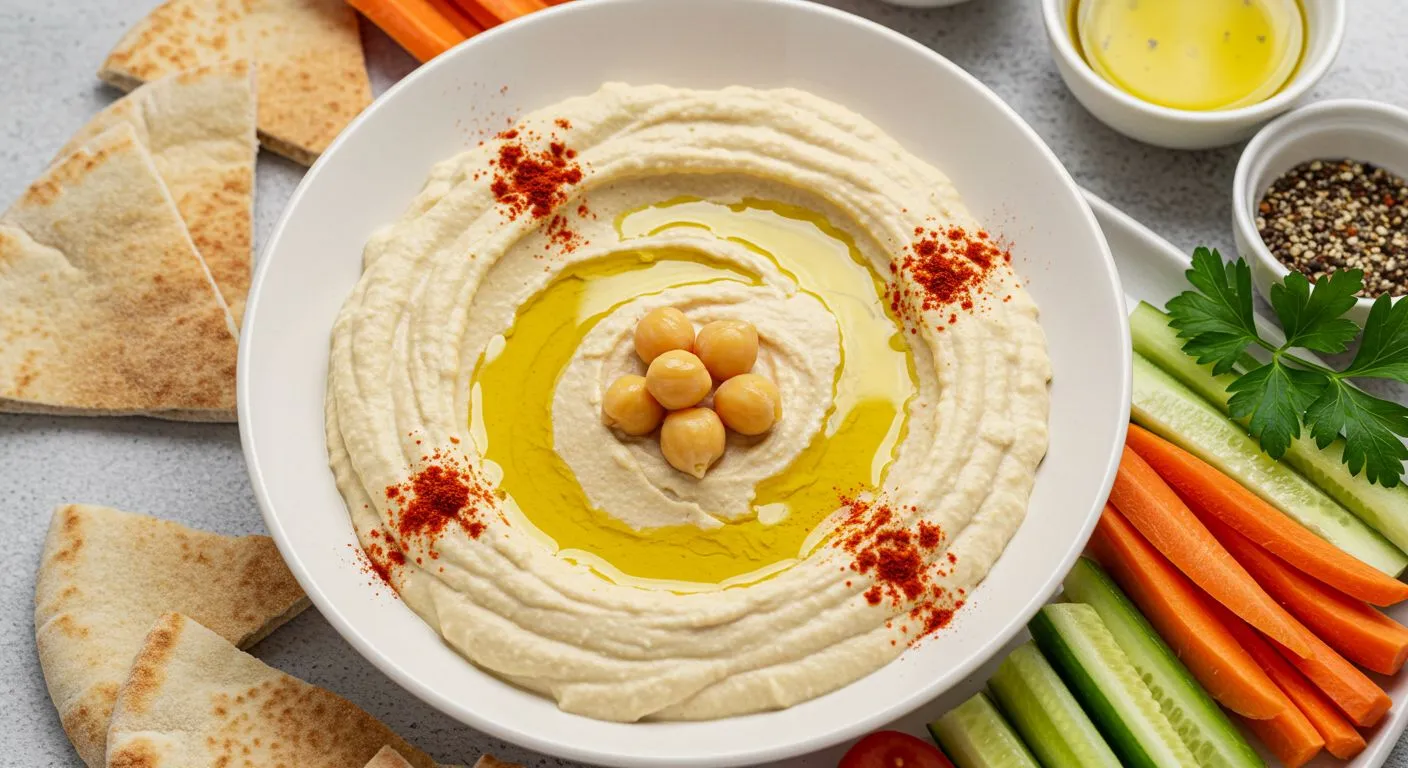
Homemade Hummus Better Than Store
Learn how to make creamy and flavorful homemade hummus that beats any store-bought version.
Read More →
Mango Lassi Recipe
Refreshing and creamy mango lassi recipe — perfect for summer or as a cooling drink.
Read More →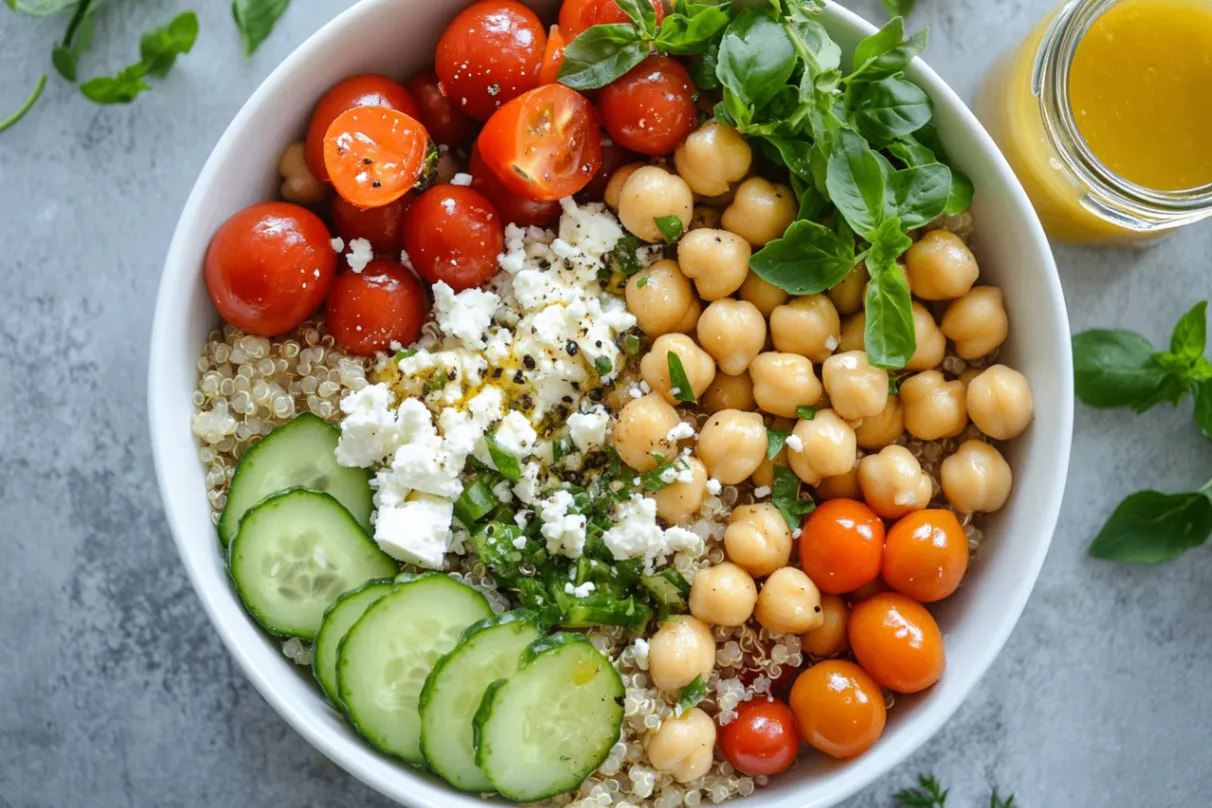
Vegan Quinoa Salad
Healthy and vibrant vegan quinoa salad with fresh vegetables and tangy dressing.
Read More →