
Table of Contents
Introduction
There’s something magical about opening your refrigerator and seeing a jar of thick, creamy homemade Greek yogurt that you crafted with your own hands. As someone who’s been making yogurt for over a decade, I can tell you that the day I discovered how simple it was to create this protein-packed wonder at home was the day my breakfast game changed forever.
I remember my grandmother telling me stories about how her mother would make yogurt in clay pots, wrapping them in warm blankets overnight. While we don’t need clay pots today, that same spirit of patience and care goes into every batch of homemade Greek yogurt. The question isn’t whether you can make Greek yogurt at home – it’s whether you’re ready to discover just how much better it can be than anything you’ll find on store shelves.
In this comprehensive guide, we’ll explore everything you need to know about homemade Greek yogurt versus store bought options, from the essential ingredients to the perfect preparation techniques, and finally how to serve and store your creamy creation. Whether you’re a seasoned home cook or just starting your culinary journey, this easy homemade recipe will become one of your family favorite recipes.
Homemade Greek Yogurt
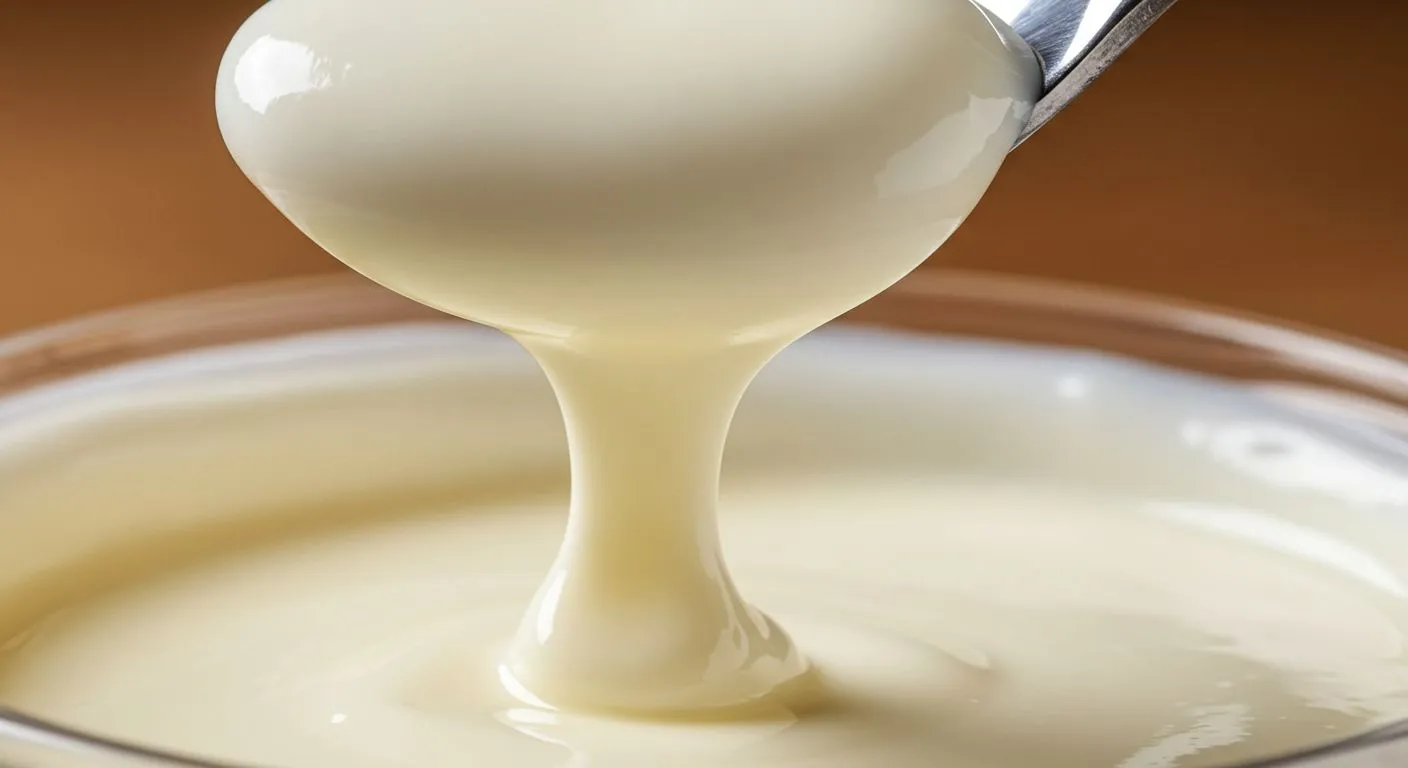
Learn how to make thick, creamy homemade Greek yogurt that’s superior to store-bought versions using just milk and starter culture.
Ingredients
Instructions
-
1Heat milk in heavy-bottomed pot to 180°F, stirring occasionally to prevent scorching.
-
2Cool milk to exactly 110°F, approximately 45-60 minutes.
-
3Whisk in starter yogurt until completely smooth.
-
4Pour into clean containers and incubate in warm environment (100-110°F) for 6-12 hours.
-
5Refrigerate for 4 hours, then strain through cheesecloth for 2-4 hours until desired thickness.
Ingredients: Building Blocks of Perfect Greek Yogurt
Understanding Key Ingredients and Their Role
The beauty of homemade Greek yogurt lies in its simplicity – you only need two essential ingredients: milk and a starter culture. The milk serves as your canvas, providing the proteins and sugars that beneficial bacteria will transform into that tangy, thick yogurt we love. The starter culture, which can be a small amount of store-bought plain yogurt with live active cultures or a specialized yogurt starter, contains the Lactobacillus bulgaricus and Streptococcus thermophilus bacteria that work their magic during fermentation.
When making homemade Greek yogurt, the milk’s fat content directly impacts your final product’s richness and texture. Whole milk creates the creamiest, most luxurious yogurt, while 2% milk offers a lighter version that’s still satisfying. The proteins in milk are what give Greek yogurt its characteristic thickness after straining, making this one of those delicious dishes that’s both indulgent and nutritious.
The starter culture is your yogurt’s secret weapon. Those live bacteria don’t just create the tangy flavor – they also break down lactose, making homemade Greek yogurt easier to digest than regular milk for many people. This is why learning how to make Greek yogurt at home can be particularly beneficial for those with mild lactose sensitivities.
Tips for Selecting the Best Quality Ingredients
Choosing the right milk is crucial for successful homemade Greek yogurt. Look for milk that’s as fresh as possible, preferably with a sell-by date that’s at least a week away. Avoid ultra-pasteurized milk, as the high-heat treatment can interfere with the yogurt-making process. Organic milk often produces superior results because it typically comes from grass-fed cows, resulting in milk with better flavor and higher nutrient content.
For your starter culture, select a high-quality plain Greek yogurt from the store that contains live active cultures. Check the label carefully – you want to see names like Lactobacillus bulgaricus, Streptococcus thermophilus, and other beneficial bacteria. Avoid yogurts with additives, thickeners, or artificial ingredients, as these can interfere with the culturing process. Greek yogurt brands like Fage, Chobani Plain, or local organic varieties often work excellently as starters.
Temperature control is another critical factor that many home cooks overlook. Invest in a reliable instant-read thermometer, as the difference between 110°F and 120°F can mean the difference between perfect yogurt and a failed batch. The milk needs to be heated to 180°F to denature certain proteins, then cooled to exactly 110°F before adding your starter culture.
Substitutions and Alternatives
While traditional homemade Greek yogurt uses dairy milk, there are several alternatives for those following different dietary paths. For a lighter version, you can use 1% or skim milk, though you’ll need to add 1-2 tablespoons of powdered milk to achieve the proper thickness. This creates a protein-rich yogurt that’s still creamy despite the lower fat content.
For those avoiding dairy, plant-based alternatives like coconut milk, cashew milk, or soy milk can work, though the process requires some modifications. Coconut milk creates incredibly rich yogurt, while cashew milk produces a neutral-flavored base that takes on the tangy yogurt flavor beautifully. When using plant-based milks, you’ll need to add a thickening agent like agar powder or tapioca starch to achieve that signature Greek yogurt consistency.
If you can’t find a suitable yogurt starter, you can use probiotic capsules as an alternative. Simply empty 2-3 capsules of high-quality probiotics into your cooled milk. This method works particularly well when you’re making large batches or want to control exactly which bacterial strains go into your homemade Greek yogurt.
Preparation Steps: Mastering the Art of Yogurt Making
Initial Prep and Essential Setup Tips
Before beginning your homemade Greek yogurt journey, proper preparation sets the stage for success. Start by thoroughly cleaning all your equipment – this includes your pot, thermometer, whisk, and storage containers. Any residual soap or bacteria can interfere with the culturing process, so rinse everything with very hot water and consider using a diluted bleach solution for extra sanitization.
Set up your incubation area ahead of time. Greek yogurt needs to culture in a warm, stable environment between 100-110°F for 6-12 hours. Many home cooks use their oven with just the light on, a heating pad wrapped around the container, or even a cooler with warm water bottles. Test your chosen method with a thermometer first to ensure it maintains the right temperature range consistently.
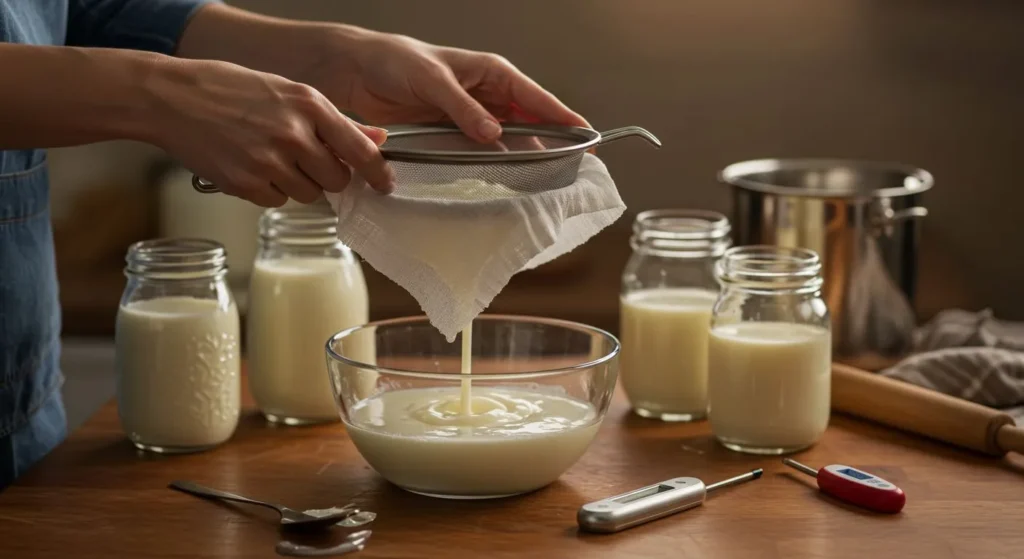
Prepare your straining setup as well, since what makes Greek yogurt “Greek” is the straining process that removes whey. Line a fine-mesh strainer with cheesecloth, coffee filters, or a clean kitchen towel, and place it over a large bowl. This setup allows you to strain your yogurt after the initial fermentation, concentrating the proteins and creating that thick, creamy texture that makes homemade Greek yogurt superior to many store-bought versions.
Step-by-Step Instructions with Professional Tips
Begin by heating one quart of milk in a heavy-bottomed pot over medium heat, stirring occasionally to prevent scorching. Heat the milk to exactly 180°F – this step is crucial as it denatures the whey proteins, allowing them to set properly during culturing. Don’t skip this step even if you’re using pasteurized milk; this temperature treatment is essential for proper texture development in homemade Greek yogurt.
Once your milk reaches 180°F, remove it from heat and let it cool to 110°F. This cooling process usually takes 45-60 minutes, but you can speed it up by placing the pot in an ice bath. The temperature must be precise – too hot and you’ll kill the beneficial bacteria, too cool and they won’t activate properly. While waiting, take your starter yogurt out of the refrigerator to come to room temperature.
When the milk reaches 110°F, whisk in 2-3 tablespoons of your starter yogurt until completely smooth. Pour this mixture into clean glass jars or a yogurt maker, cover, and place in your pre-prepared warm environment. The culturing process takes 6-12 hours – longer fermentation creates tangier yogurt. After fermentation, refrigerate for at least 4 hours before straining through your cheesecloth setup for 2-4 hours until it reaches your desired thickness.
Common Mistakes and How to Avoid Them
One of the most frequent errors in making homemade Greek yogurt is temperature mishaps. Adding starter culture to milk that’s too hot will kill the beneficial bacteria, resulting in milk that never thickens. Conversely, if the milk is too cool, the bacteria won’t activate properly, leading to thin, weakly flavored yogurt. Always use an accurate thermometer and be patient with temperature monitoring.
Another common mistake is using old or low-quality starter culture. Store-bought yogurt that’s been sitting in your refrigerator for weeks may not have enough active cultures to properly ferment your milk. Similarly, using yogurt with thickeners or additives can interfere with the natural culturing process. Always use fresh, plain yogurt with clearly labeled live active cultures for best results.
Inconsistent incubation temperature is another culprit behind failed batches. If your homemade Greek yogurt turns out thin or doesn’t develop that characteristic tangy flavor, your incubation environment may have been too cool or experienced temperature fluctuations. Test your setup thoroughly before beginning, and consider investing in a yogurt maker if you plan to make this easy homemade recipe regularly.
Serving & Final Touches: Elevating Your Homemade Creation
Creative Presentation Ideas
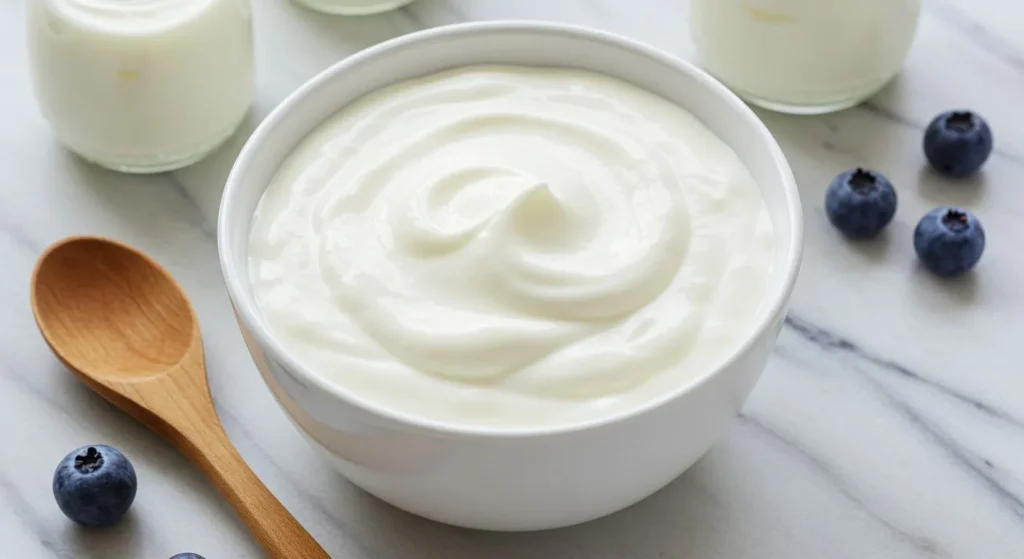
Homemade Greek yogurt is incredibly versatile and can be transformed into stunning presentations that rival any store-bought variety. Create beautiful parfait layers in clear glasses, alternating your creamy yogurt with fresh berries, granola, and drizzles of honey or maple syrup. The stark white of fresh Greek yogurt provides the perfect canvas for colorful toppings, making it one of those delicious dishes that’s as beautiful as it is nutritious.
For a more sophisticated presentation, serve your homemade Greek yogurt in small ramekins topped with toasted nuts, a sprinkle of cinnamon, and fresh mint leaves. You can also create savory presentations by mixing in herbs like dill or chives, creating a beautiful base for Mediterranean-inspired dishes. The thick consistency of properly made Greek yogurt holds its shape beautifully, allowing for elegant quenelles and dollops that maintain their form.
Consider creating a DIY yogurt bar when entertaining, with your homemade Greek yogurt as the star surrounded by various toppings: fresh and dried fruits, nuts, seeds, granola, honey, and even small amounts of fruit preserves. This interactive presentation showcases the superior quality and flavor of your homemade creation while allowing guests to customize their portions.
Recommended Pairings and Serving Suggestions
The rich, tangy flavor of homemade Greek yogurt pairs beautifully with both sweet and savory applications. For breakfast, combine it with warm oatmeal or use it as a base for smoothie bowls topped with fresh fruit and chia seeds. The protein content makes it more satisfying than store-bought varieties, keeping you full until lunch.
In savory applications, homemade Greek yogurt makes an excellent substitute for sour cream in recipes, offering more protein and probiotics with less fat. Use it as a base for tzatziki sauce with cucumber and garlic, or create cooling raita with mint and cilantro to accompany spicy dishes. The thickness and stability of properly made Greek yogurt means it won’t curdle when mixed with acidic ingredients like lemon juice or vinegar.
For dessert applications, homemade Greek yogurt can be transformed into healthier versions of traditional treats. Mix it with a small amount of vanilla extract and stevia for a protein-rich dessert base, or use it in baking as a substitute for oil or butter in muffins and quick breads. The natural tang complements sweet flavors while adding moisture and protein to your family favorite recipes.
Storage Tips and Maintaining Quality
Proper storage is essential for maintaining the quality and safety of your homemade Greek yogurt. Always store it in clean, airtight glass containers in the refrigerator, where it will maintain peak quality for up to two weeks. Glass containers are preferable to plastic as they don’t absorb odors or flavors and are easier to thoroughly sanitize between batches.
Label your containers with the date of production, as homemade Greek yogurt doesn’t contain the preservatives found in commercial varieties. The yogurt will gradually become more tangy over time as the beneficial bacteria continue their slow fermentation process even under refrigeration. This natural evolution of flavor is actually one of the advantages of homemade varieties over store-bought options.
If you notice any separation (whey collecting on top), simply stir it back in or drain it off if you prefer thicker consistency. This is completely normal and doesn’t indicate spoilage. However, if you notice any off odors, unusual colors, or fuzzy growth, discard the batch immediately. Save a few tablespoons of each successful batch to use as starter culture for your next batch, creating a continuous cycle of fresh, homemade Greek yogurt.
Frequently Asked Questions
Q: How long does it take to make homemade Greek yogurt from start to finish? A: The active preparation time is only about 30 minutes, but the total process takes 12-18 hours including fermentation and straining. The milk heating and cooling takes about 2 hours, fermentation requires 6-12 hours depending on desired tanginess, and straining takes 2-4 hours. Most of this time is hands-off, making it perfect for starting in the evening and finishing the next day.
Q: Can I reuse homemade Greek yogurt as a starter for the next batch? A: Yes, you can use your homemade Greek yogurt as a starter for several generations, typically 4-6 batches before the bacterial cultures weaken. Save 2-3 tablespoons from each batch as your next starter. However, eventually you’ll need fresh store-bought starter or specialized cultures to maintain optimal fermentation strength and prevent off-flavors from developing.
Q: Why is my homemade Greek yogurt not as thick as store-bought versions? A: Store-bought Greek yogurt often contains thickeners like pectin or gelatin that homemade versions lack. To achieve similar thickness, ensure you’re straining your yogurt long enough (2-4 hours) and using whole milk. You can also add 1-2 tablespoons of powdered milk before fermentation to increase protein content and final thickness.
Q: Is homemade Greek yogurt more cost-effective than store-bought? A: Yes, significantly so. A quart of milk costing $3-4 can produce about 2 cups of Greek yogurt, compared to paying $5-6 for the same amount of premium store-bought Greek yogurt. Over time, the savings are substantial, especially for families who consume yogurt regularly. Plus, you control the quality and avoid unnecessary additives.
Q: What should I do with the whey that drains from my Greek yogurt? A: The whey is nutritious and shouldn’t be wasted! Use it in smoothies for added protein, substitute it for water in bread recipes, feed it to plants as a natural fertilizer, or drink it plain for probiotics. Some people use whey as a starter for fermenting vegetables or as a protein boost in soups and stews. It keeps in the refrigerator for about a week.
 DINNER
  LUNCH
LUNCH  CAKE
CAKE  BREAKFAST
 For more amazing recipes, be sure to check out our other sections to explore a variety of ideas that will enrich your cooking experience. Each section offers its own unique flavors to ensure a delightful culinary journey:
- Easy and Quick Recipes: A collection of dishes that guarantee delicious meals with minimal effort and time.
- Healthy Recipes: Discover healthy and delicious options that fit your lifestyle.
- Desserts: A diverse selection of sweets that will add a special touch of sweetness to your table.
- Lunch Recipes: Tasty lunch ideas that you can easily prepare to delight your family.
- Dinner Recipes: Delicious and easy-to-make recipes that will make your dinner a memorable occasion.
Conclusion: Your Journey to Yogurt Mastery
Making homemade Greek yogurt isn’t just about saving money or avoiding additives – it’s about connecting with a time-honored tradition that transforms simple ingredients into something extraordinary. Every batch you make builds your confidence and deepens your understanding of this beautiful fermentation process. The thick, creamy results will spoil you for store-bought versions forever.
I encourage you to start your first batch this week. Begin with a simple approach using the basic method outlined here, and don’t worry if your first attempt isn’t perfect – even imperfect homemade Greek yogurt is often superior to many commercial varieties. As you become more comfortable with the process, you can experiment with different milk types, fermentation times, and flavor additions.
Share your yogurt-making journey with friends and family. There’s something deeply satisfying about serving homemade Greek yogurt to loved ones, knowing that you’ve created something wholesome and delicious from just milk and beneficial bacteria. Take photos of your creations, experiment with different presentations, and most importantly, enjoy every creamy, tangy spoonful of your homemade masterpiece.
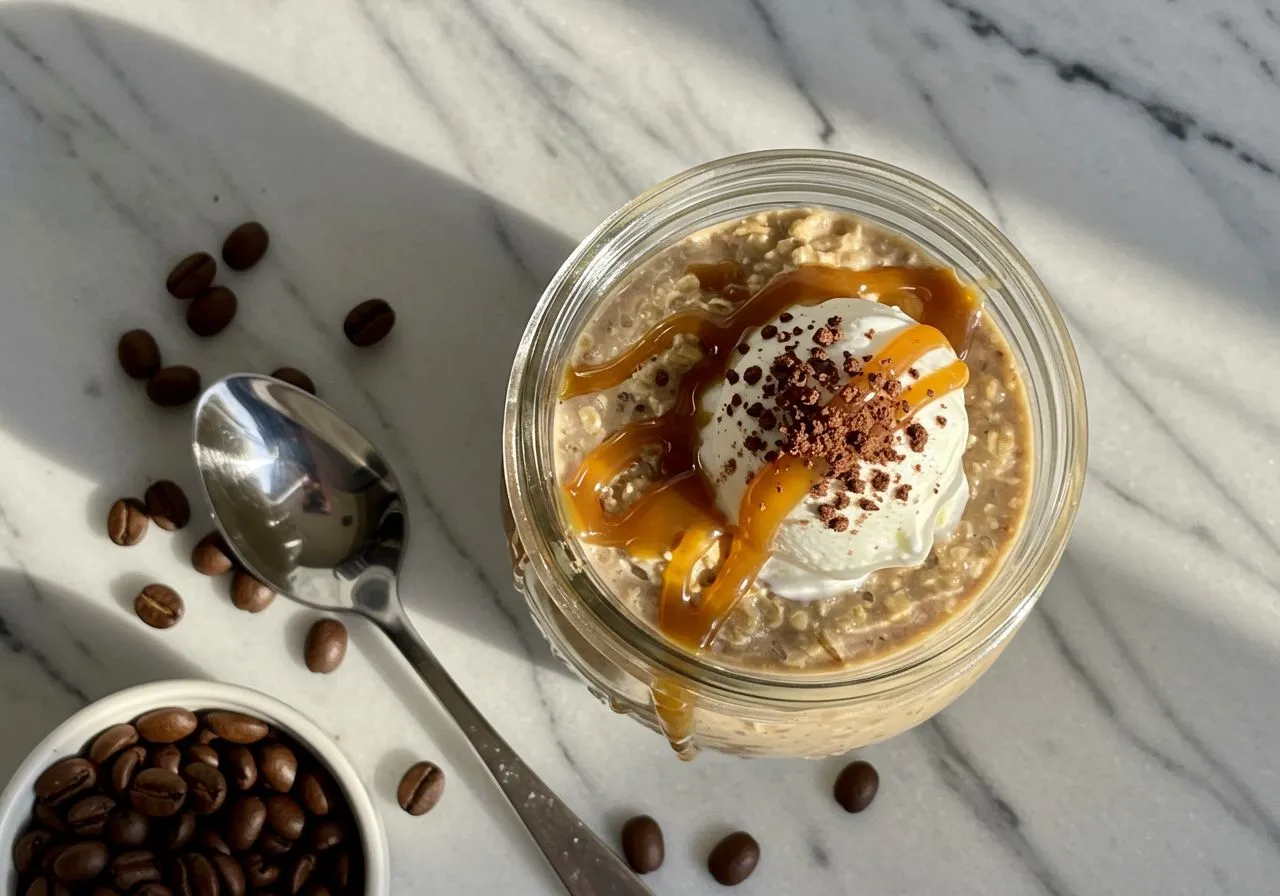
Espresso Overnight Oats (Viral Coffee Breakfast)
Delicious espresso overnight oats recipe that is creamy and packed with coffee flavor — a perfect breakfast to start your day.
Read More →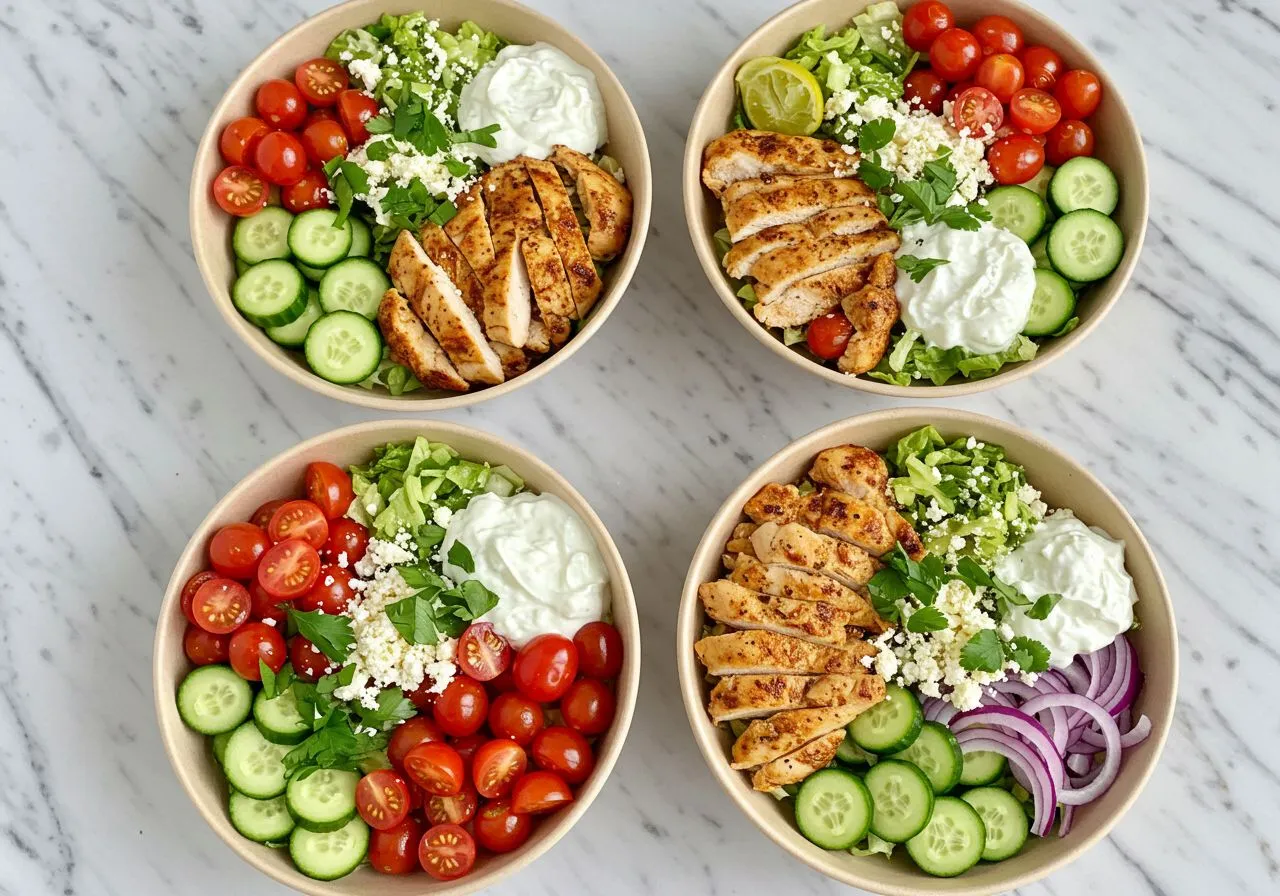
Greek Chicken Gyro Bowls
Fresh and flavorful Greek chicken gyro bowls with tzatziki sauce and veggies — a healthy, easy meal.
Read More →
Marry Me Chicken Recipe
A creamy, savory chicken recipe that lives up to its name — perfect for a special dinner.
Read More →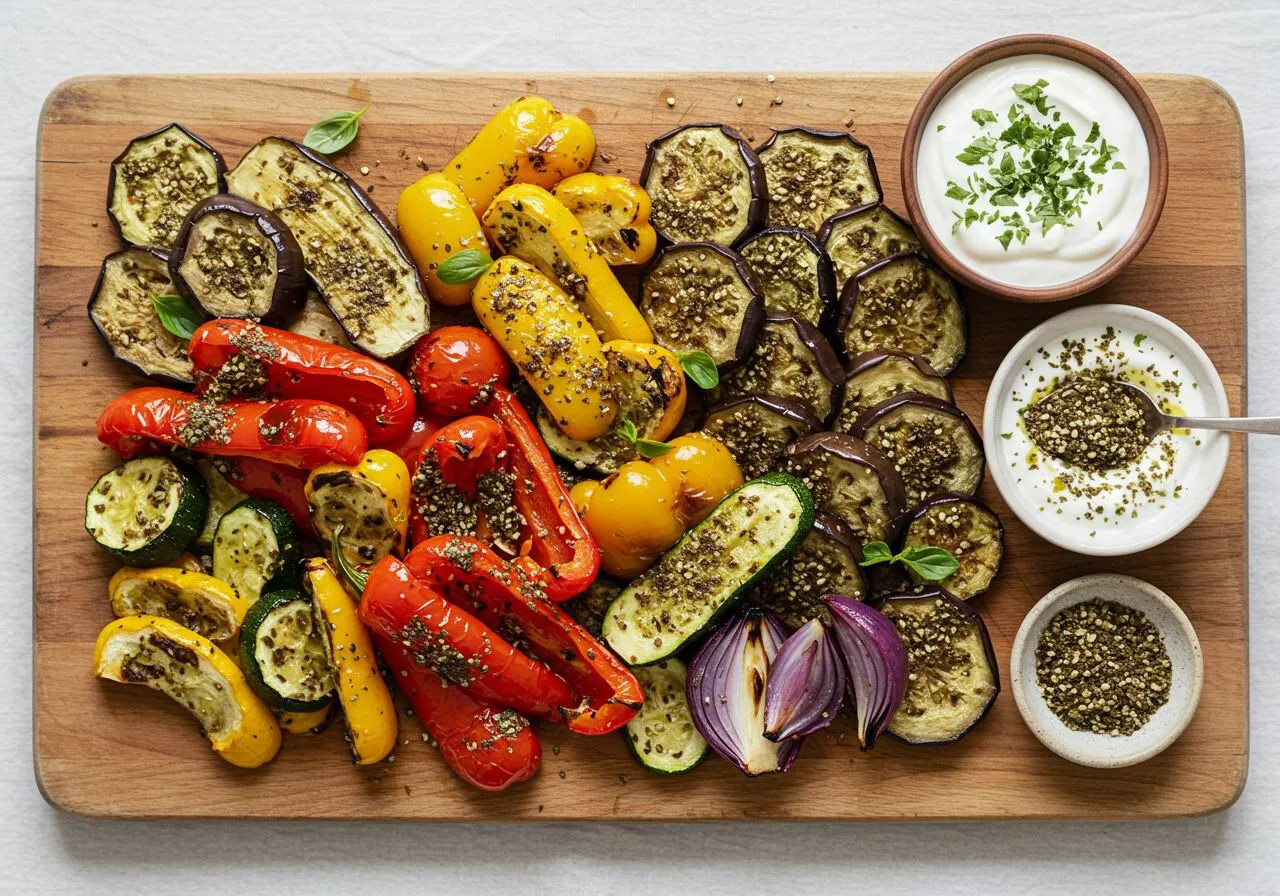
Zaatar Roasted Vegetables with Yogurt Sauce
Roasted veggies with fragrant zaatar and a cooling yogurt sauce — a perfect side dish.
Read More →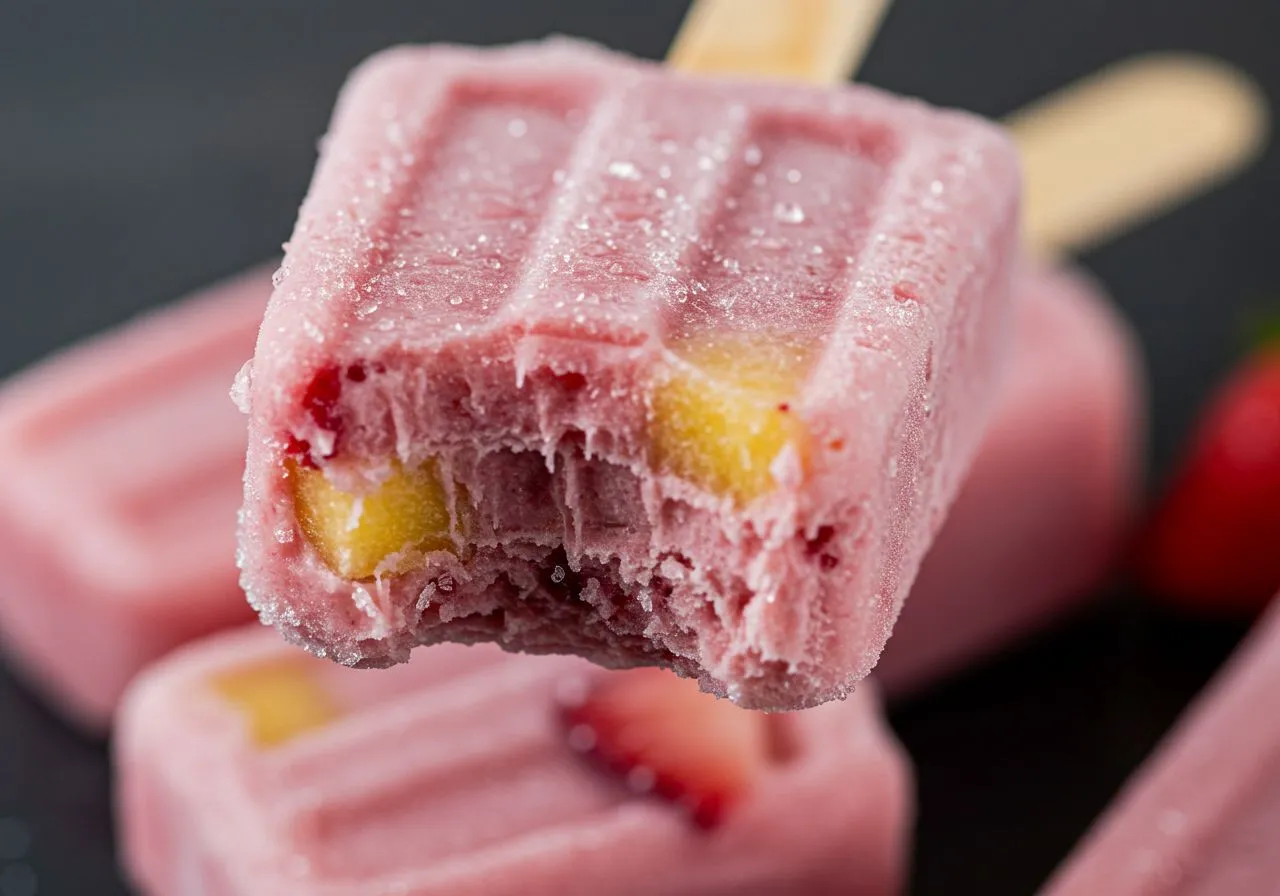
Make Homemade Fruit
Easy steps to make delicious homemade fruit snacks and preserves.
Read More →
Stuffed Bell Peppers with Ground Beef
Classic stuffed bell peppers with seasoned ground beef — hearty and comforting.
Read More →
Arabic Rice Pilaf with American Twist
A fusion of classic Arabic rice pilaf with a modern American twist for a unique taste.
Read More →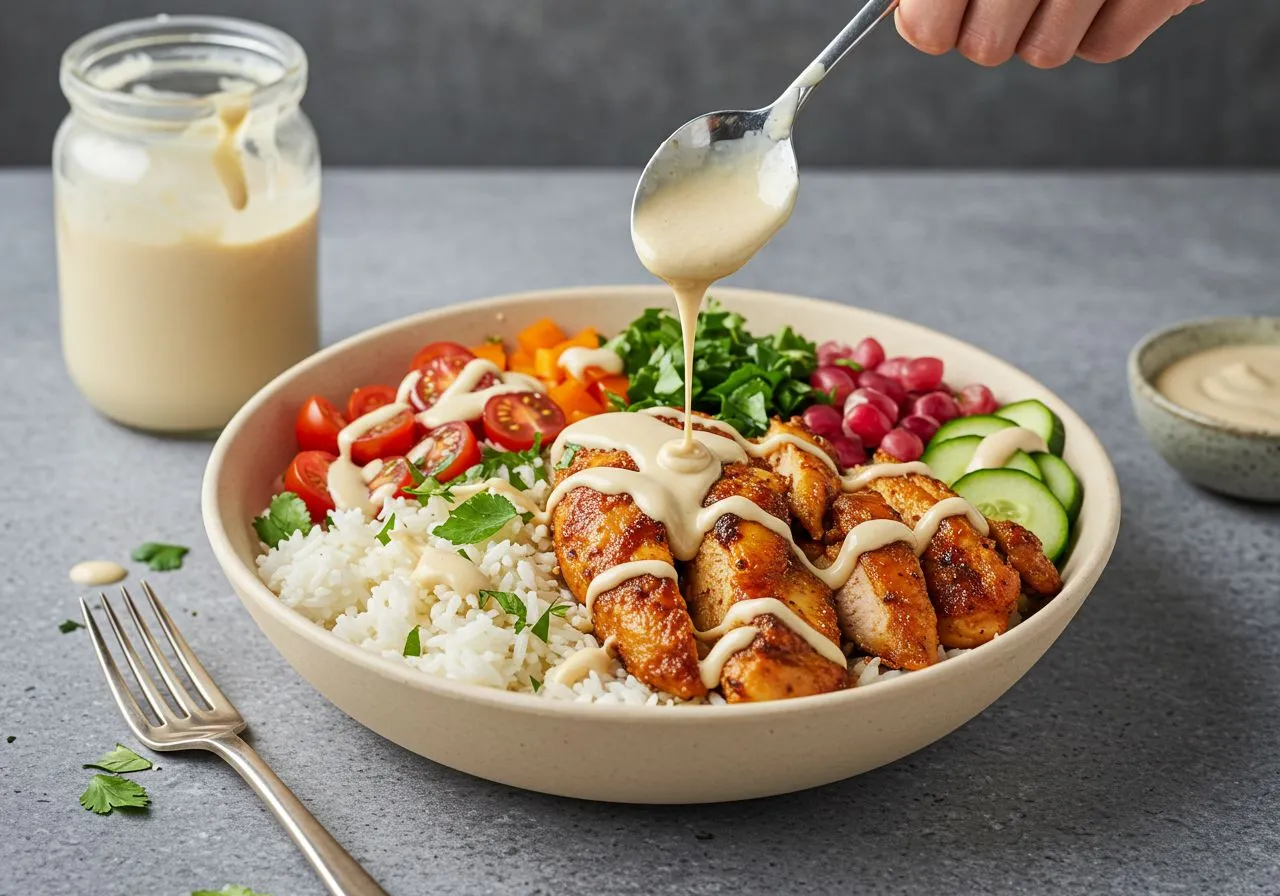
Lebanese Chicken Shawarma Bowls
Tender chicken shawarma served with fresh veggies in a bowl — easy and flavorful.
Read More →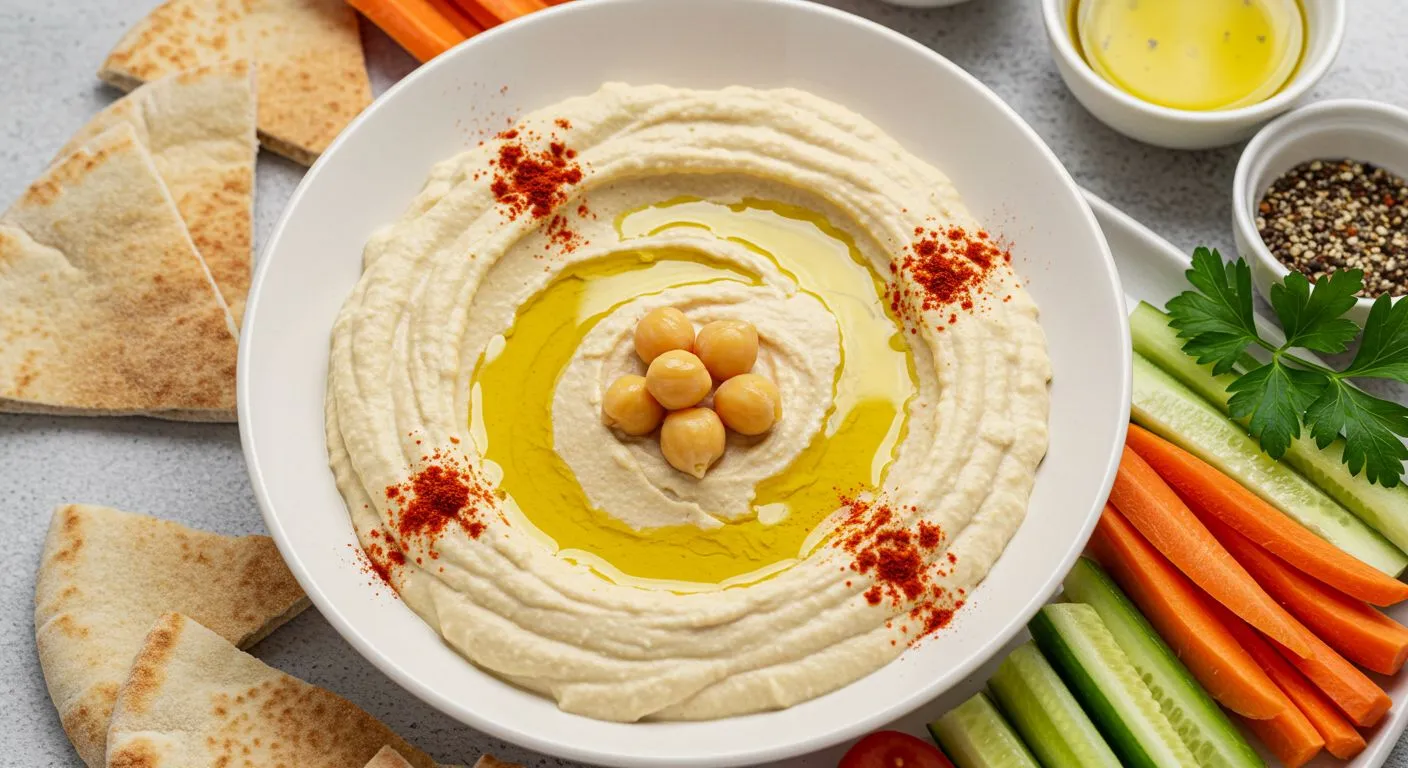
Homemade Hummus Better Than Store
Learn how to make creamy and flavorful homemade hummus that beats any store-bought version.
Read More →
Mango Lassi Recipe
Refreshing and creamy mango lassi recipe — perfect for summer or as a cooling drink.
Read More →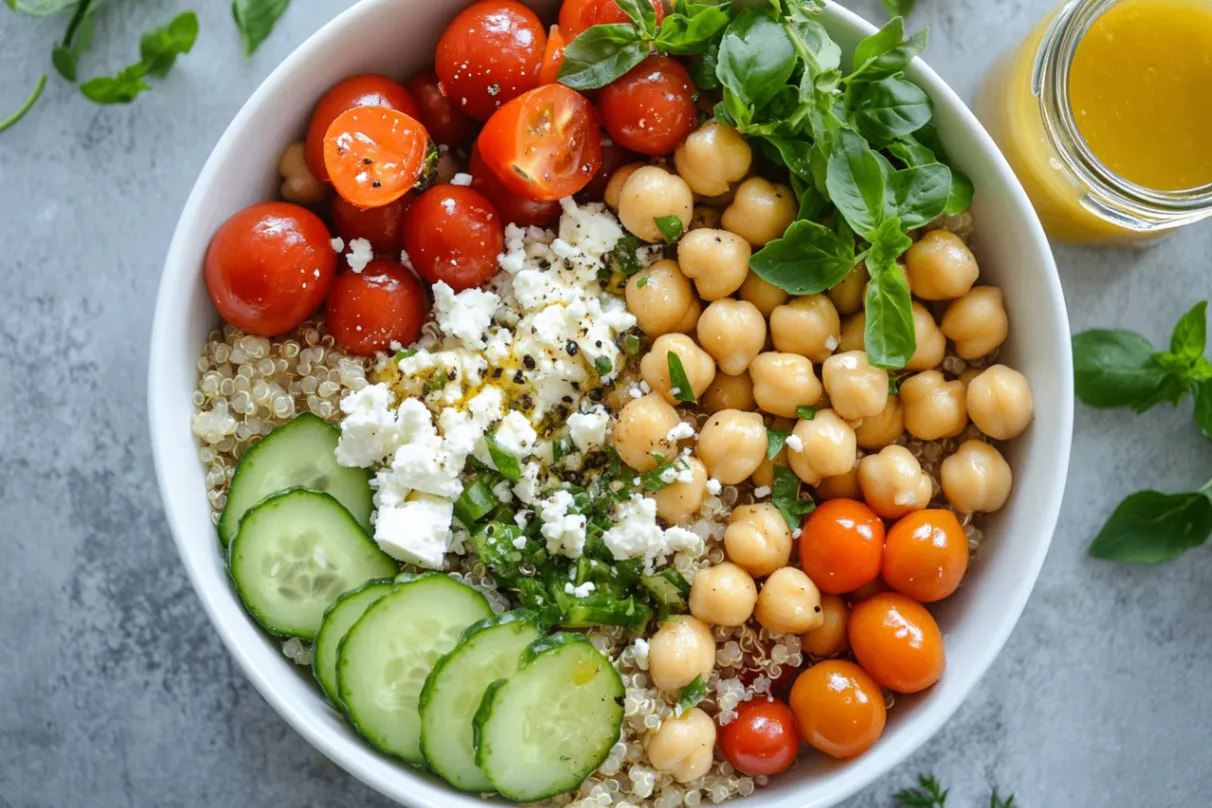
Vegan Quinoa Salad
Healthy and vibrant vegan quinoa salad with fresh vegetables and tangy dressing.
Read More →