Table of Contents
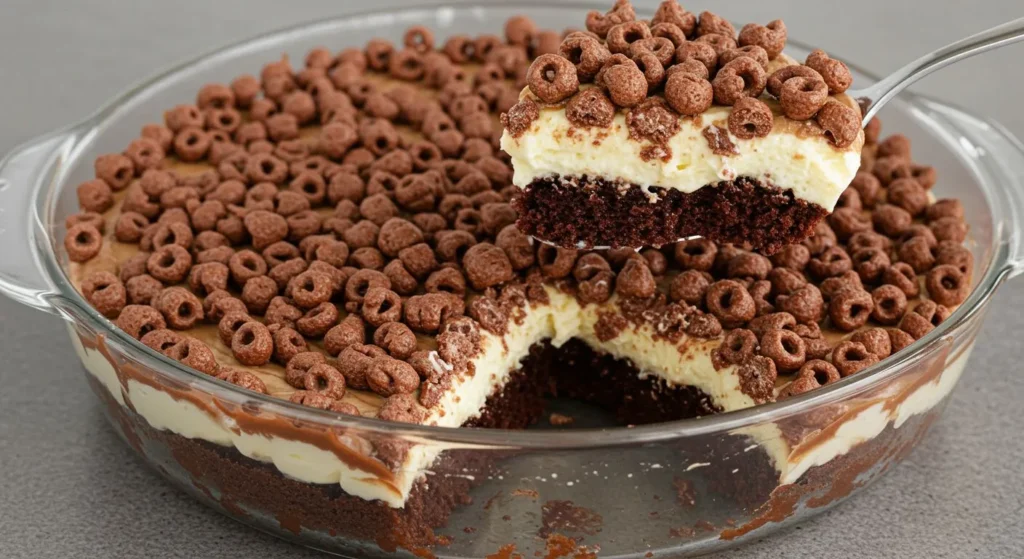
To make Ahmed Al-Zamel Cake the best way, start by layering crisp biscuits with rich cream and chocolate ganache, then chill for a perfect no-bake dessert. This tried and tested recipe shows you every step—ingredients, instructions, decoration ideas, and tips to avoid common mistakes—so you can recreate this viral favorite with ease.
Why is Ahmed Al-Zamel Cake So Popular?
This cake has gained fame for its perfect balance of textures – a soft, moist cake base, a crispy crunch layer, and a luscious chocolate ganache. It’s a show-stopping dessert that not only looks amazing but also tastes heavenly. Whether you’re a baking enthusiast or a beginner, you can recreate this cake effortlessly by following this detailed recipe.
Additionally, the cake is versatile – you can customize it with different flavors, fillings, and toppings to make it uniquely yours. It is also great for birthdays, celebrations, and special occasions because of its impressive presentation and delicious taste.
Ingredients Needed for Ahmed Al-Zamel Cake
Before we start, gather all the necessary ingredients to ensure a smooth baking experience.
1. Cake Base (Soft and Moist Sponge)
- 2 cups (250g) all-purpose flour
- 1/2 cup (60g) cocoa powder
- 1 1/2 teaspoons baking powder
- 1/2 teaspoon baking soda
- 1/4 teaspoon salt
- 1 cup (200g) granulated sugar
- 1/2 cup (100g) brown sugar
- 1/2 cup (120ml) vegetable oil
- 2 large eggs
- 1 cup (240ml) buttermilk (or regular milk + 1 tsp vinegar)
- 1 teaspoon vanilla extract
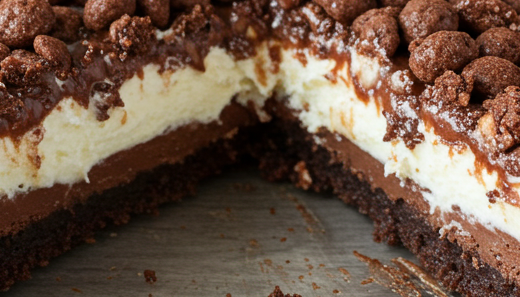
2. Crunch Layer (The Signature Crisp)
- 1 1/2 cups (150g) chocolate rice cereal (Coco Pops or similar)
- 1/2 cup (100g) melted chocolate (milk or dark)
- 2 tablespoons peanut butter or Nutella (optional for extra richness)
3. Chocolate Frosting & Ganache
- 1 cup (230g) unsalted butter, softened
- 2 cups (250g) powdered sugar
- 1/2 cup (60g) cocoa powder
- 1/4 cup (60ml) heavy cream
- 1 teaspoon vanilla extract
- 200g dark chocolate + 100ml heavy cream (for ganache topping)
4. Optional Cream Layer (As Seen in Image)
- 1 cup (240ml) heavy whipping cream
- 3 tablespoons powdered sugar
- 1 teaspoon vanilla extract
Step-by-Step Instructions
Step 1: Prepare the Cake Base
- Preheat & Prepare: Heat oven to 175°C (350°F). Grease and line two 8-inch cake pans with parchment paper.
- Mix Dry Ingredients: In a bowl, whisk together flour, cocoa powder, baking powder, baking soda, and salt.
- Mix Wet Ingredients: In another bowl, whisk sugar, brown sugar, oil, eggs, vanilla, and buttermilk until well combined.
- Combine & Bake: Gradually mix the wet and dry ingredients, stirring until just combined. Pour the batter evenly into the prepared cake pans.
- Bake for 30-35 Minutes: Insert a toothpick into the center—if it comes out clean, your cakes are ready. Allow them to cool completely before assembling.
Chef’s Tip: For an extra moist cake, wrap the still-warm cakes in plastic wrap and refrigerate for 1-2 hours before assembly. This locks in moisture and makes the cake easier to work with.
Step 2: Make the Crunch Layer
- Melt the Chocolate: In a bowl, melt chocolate and peanut butter together until smooth.
- Mix with Cereal: Stir in the chocolate rice cereal, ensuring each piece is well coated.
- Chill: Spread onto parchment paper and freeze for 15 minutes to set the crunch layer.
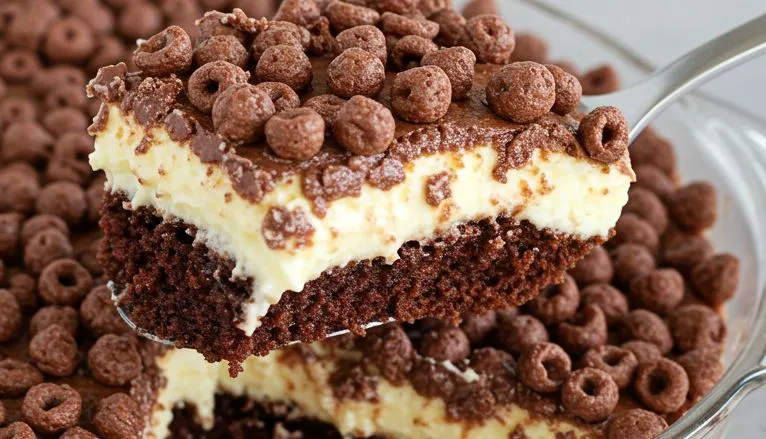
Texture Secret: For an even crunchier layer, add 2 tablespoons of crushed wafer cookies or graham crackers to the mixture.
Step 3: Prepare the Frosting & Ganache
- Beat Butter & Sugar: In a large bowl, beat butter, powdered sugar, and cocoa powder until smooth.
- Add Cream & Vanilla: Pour in heavy cream and vanilla extract, then mix until creamy and fluffy.
- Make Ganache: Heat 100ml heavy cream, pour over 200g chopped chocolate, and stir until silky smooth. Let it cool slightly.
Temperature Tip: The ganache should be pourable but not hot when you apply it. Test by dropping a small amount on a plate—it should spread slowly, not run.
Step 4: Prepare White Cream Layer (As Shown in Image)
- Whip Cream: In a chilled bowl, whip heavy cream until soft peaks form.
- Add Sweetness: Gradually add powdered sugar and vanilla, continuing to whip until stiff peaks form.
- Refrigerate: Keep chilled until ready to assemble the cake.
Stabilizing Trick: Add 1 tablespoon of instant vanilla pudding mix to your whipped cream to help it hold shape longer, especially in warm weather.
Step 5: Assemble the Cake
- Layer 1: Cake Base – Place the first cake layer on a serving plate.
- Layer 2: Crunch Mix – Spread the chilled crunchy chocolate layer evenly over the cake.
- Layer 3: White Cream – If using the white cream layer as shown in the image, spread it evenly over the crunch layer.
- Layer 4: Second Cake – Gently place the second cake layer on top.
- Layer 5: Chocolate Frosting – Cover the entire cake with chocolate frosting.
- Layer 6: Ganache Drizzle – Pour the slightly cooled ganache over the cake, letting it drip down the sides.
- Layer 7: Cereal Topping – Sprinkle additional chocolate cereal on top for decoration and extra crunch.
Assembly Trick: Refrigerate the cake for 15-20 minutes between each layer addition to prevent sliding and melting, especially important for the cream and ganache layers.
Additional Tips for the Perfect Cake
- Use Room Temperature Ingredients: Especially eggs and butter, for better incorporation and texture.
- Quality Matters: Use high-quality chocolate (at least 60% cocoa) for a richer ganache.
- Use a Cake Leveler: For professional-looking layers, trim the domed tops before assembling.
- Let the Cake Rest Overnight: Allowing the flavors to develop enhances the overall taste.
- Try Different Fillings: Swap the crunch layer for caramel, nuts, or fruit preserves for variety.
- Use a Turntable for Frosting: This makes it easier to spread the frosting evenly.
Common Mistakes to Avoid
- Overmixing the Batter: This develops gluten and makes the cake tough. Mix just until combined.
- Opening the Oven Door Too Early: This causes the cake to sink in the middle.
- Assembling a Warm Cake: Always allow the layers to cool completely to prevent melting.
- Rushing the Process: Give yourself plenty of time—this cake deserves patience.
- Neglecting the Crunch Factor: The contrast between soft cake and crispy layer is what makes this cake special.
Serving Suggestions
- Perfect Pairing: Serve with a scoop of vanilla ice cream or a dollop of fresh whipped cream.
- Beverage Match: Pairs wonderfully with Turkish coffee, hot chocolate, or a glass of cold milk.
- Temperature Tip: Take the cake out of the refrigerator 20-30 minutes before serving to allow flavors to fully develop.
Advanced Decoration Ideas
- Chocolate Curls & Shavings: Add an elegant chocolatey touch on top.
- Piped Buttercream Designs: Use a piping bag for floral or decorative designs.
- Layered Drizzle: Alternate between dark and white chocolate drizzles.
- Gold Leaf Accents: Make your cake look like a masterpiece with edible gold accents.
- Mirror Glaze Finish: For a show-stopping effect, replace the ganache with a mirror glaze.
- Custom Chocolate Decorations: Melt chocolate, pipe designs onto parchment paper, chill until set, then use to garnish.
 DINNER
  LUNCH
LUNCH 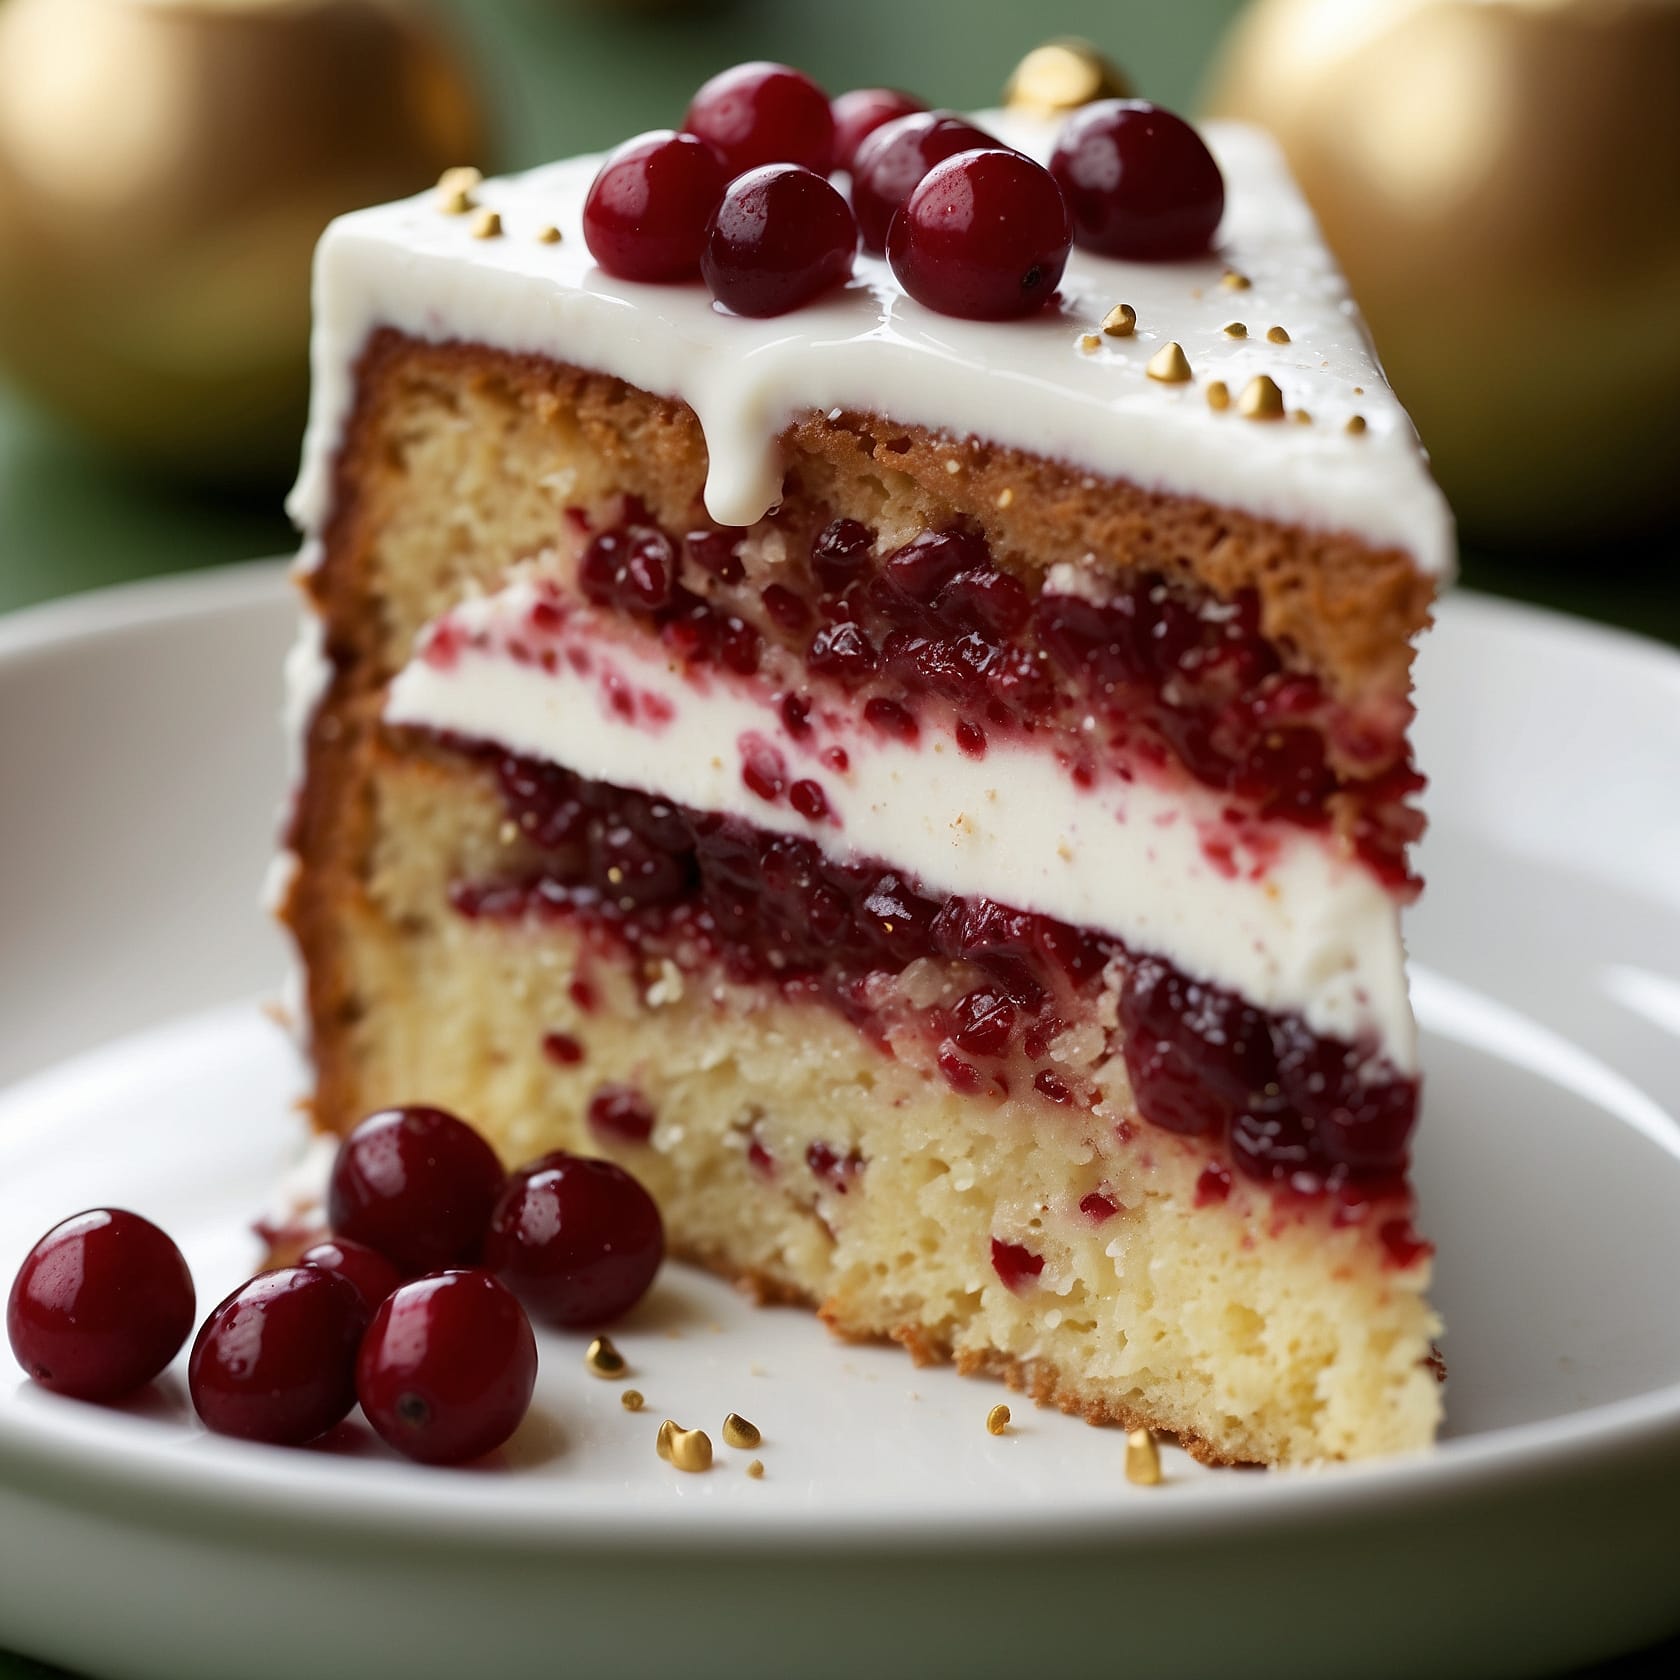 CAKE
CAKE  BREAKFAST
 For more amazing recipes, be sure to check out our other sections to explore a variety of ideas that will enrich your cooking experience. Each section offers its own unique flavors to ensure a delightful culinary journey:
- Easy and Quick Recipes: A collection of dishes that guarantee delicious meals with minimal effort and time.
- Healthy Recipes: Discover healthy and delicious options that fit your lifestyle.
- Desserts: A diverse selection of sweets that will add a special touch of sweetness to your table.
- Lunch Recipes: Tasty lunch ideas that you can easily prepare to delight your family.
- Dinner Recipes: Delicious and easy-to-make recipes that will make your dinner a memorable occasion.
Make-Ahead and Storage Guidelines
- Make-Ahead: The cake layers can be baked up to 2 days ahead and stored wrapped in plastic at room temperature.
- Refrigeration: The assembled cake keeps well refrigerated for up to 5 days.
- Freezing: Individual slices can be frozen for up to 1 month—wrap tightly in plastic wrap and foil.
- Transport Tips: Transport in a cake carrier with ice packs underneath during hot weather to maintain structure.
I’ll update the FAQ section to specifically mention Ahmed Al-Zamel Cake in the questions:
Frequently Asked Questions (FAQ) about Ahmed Al-Zamel Cake
What makes Ahmed Al-Zamel Cake different from other chocolate cakes?
Ahmed Al-Zamel Cake is distinguished by its perfect balance of textures – a soft chocolate cake base, crunchy chocolate cereal layer, smooth white cream, and glossy ganache topping. This specific combination of layers creates a unique textural and flavor experience that sets it apart from standard chocolate cakes.
Where did Ahmed Al-Zamel Cake originate?
Ahmed Al-Zamel Cake has gained popularity in the Middle East, particularly through social media and culinary blogs. The cake is named after its creator who perfected this multi-textured chocolate dessert that combines traditional cake elements with modern presentation techniques.
Is Ahmed Al-Zamel Cake difficult for beginners to make?
While Ahmed Al-Zamel Cake looks impressive, it’s actually quite approachable for beginners. The key is patience – take your time with each layer and allow proper chilling between steps. The visual impact of the finished cake makes it seem more complex than the actual preparation process.
What type of dish works best for presenting Ahmed Al-Zamel Cake?
A clear glass pie dish or tart pan works perfectly for Ahmed Al-Zamel Cake as it showcases the beautiful layers and allows for easy serving. A 9-inch (23cm) dish is ideal for the proportions shown in the image.
How do I achieve the perfect glossy ganache topping on Ahmed Al-Zamel Cake?
For Ahmed Al-Zamel Cake’s signature glossy finish, use high-quality dark chocolate (60-70% cocoa) and ensure your cream is hot but not boiling when pouring over the chopped chocolate. Let it sit for 2-3 minutes before stirring gently. Allow the ganache to cool until slightly thickened but still pourable before applying to the cake.
What are the chocolate pieces typically used on top of Ahmed Al-Zamel Cake?
The traditional topping for Ahmed Al-Zamel Cake uses chocolate cereal balls like Cocoa Puffs or similar chocolate rice puffs. For a more upscale version, you could use chocolate-covered rice crisps or malt balls cut in half while maintaining the authentic look.
How do I prevent the white cream layer from mixing with the ganache in Ahmed Al-Zamel Cake?
For a perfect Ahmed Al-Zamel Cake, refrigerate it for at least 30 minutes after applying the white cream layer before adding the ganache. Make sure the ganache has cooled to room temperature (but is still pourable) before carefully pouring over the chilled cake.
Can I make Ahmed Al-Zamel Cake in advance for special occasions?
Yes! Ahmed Al-Zamel Cake actually benefits from being made a day ahead as it allows the layers to set properly and flavors to meld. Store in the refrigerator but bring to room temperature for about 20-30 minutes before serving. This makes it perfect for preparing ahead of special events.
How do I achieve such clean cake slices as shown in the Ahmed Al-Zamel Cake image?
For picture-perfect slices of Ahmed Al-Zamel Cake, use a long, sharp knife dipped in hot water and wiped clean between each cut. Cut with a single downward motion rather than sawing back and forth to maintain the distinct layered appearance.
What’s the secret to keeping the Ahmed Al-Zamel Cake layers distinct and well-defined?
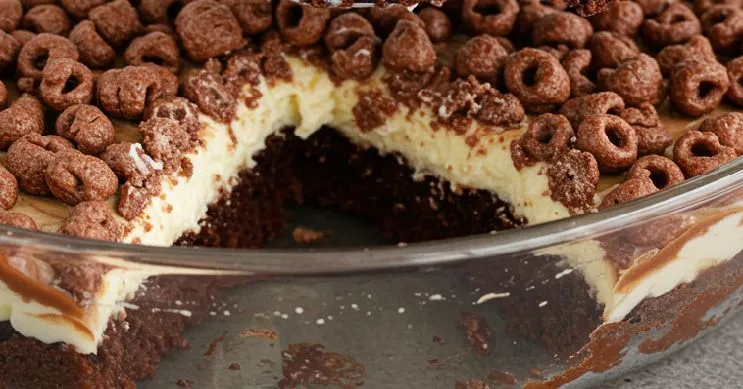
The key to Ahmed Al-Zamel Cake’s stunning layered appearance is working with chilled components – refrigerate each layer for 15-20 minutes before adding the next one. This is especially important between the white cream and ganache layers to achieve the professional look seen in the image.
Conclusion: The Perfect Ahmed Al-Zamel Cake Experience!
Making Ahmed Al-Zamel Cake at home is easier than you think, and the results are truly worth the effort. Follow this tried and tested recipe to achieve a soft, moist cake with a crunchy twist and a rich chocolate finish. Whether it’s for a special occasion or a sweet craving, this cake is sure to impress.
Now, it’s your turn to try it! Bake this amazing cake and share your results with friends and family. Happy baking! 🍰✨
