Table of Contents
There’s something magical about the moment you take that first spoonful of homemade mint chocolate chip ice cream. The cool, refreshing mint paired with rich chocolate chunks creates a symphony of flavors that store-bought versions simply can’t match. As someone who’s spent countless summer afternoons perfecting this recipe, I can tell you that learning how to make mint chocolate chip ice cream from scratch is one of the most rewarding culinary adventures you’ll ever embark upon.
I still remember the first time I decided to make mint chocolate chip ice cream at home. It was during a particularly hot July evening, and my family was craving something cool and refreshing. The local ice cream shop had closed early, and I found myself staring at a carton of disappointing store-bought ice cream that tasted more like toothpaste than the creamy, dreamy dessert I was craving. That’s when I decided to take matters into my own hands and create this easy homemade recipe that has since become our family favorite recipe.
The beauty of making your own mint chocolate chip ice cream lies not just in the superior taste, but in the control you have over every ingredient. You can adjust the mintiness to your preference, choose high-quality chocolate, and avoid the artificial additives that plague commercial versions. This delicious dish has become a staple in our household, especially during summer gatherings when friends and family gather around our kitchen island, watching in anticipation as the ice cream maker churns away.
Homemade Mint Chocolate Chip Ice Cream
Learn to make creamy, delicious mint chocolate chip ice cream from scratch with fresh ingredients and expert techniques for the perfect homemade treat.
Ingredients
Instructions
- 1Ensure ice cream maker bowl is frozen for at least 24 hours before use.
- 2Gently heat heavy cream and milk in a saucepan over medium-low heat. Add mint leaves and steep for 10-15 minutes until fragrant. Strain out mint leaves.
- 3Whisk egg yolks and sugar until pale and thick, reaching ribbon stage.
- 4Slowly add hot cream to egg mixture while whisking constantly to prevent scrambling.
- 5Return mixture to saucepan and cook over low heat, stirring constantly until it coats the back of a spoon (170°F/77°C).
- 6Strain custard into a bowl set in ice bath. Add vanilla and salt. Cool completely and refrigerate for at least 4 hours.
- 7Churn custard in ice cream maker according to manufacturer’s instructions. Add chocolate chips in final 2-3 minutes.
- 8Transfer to airtight container and freeze for at least 2 hours before serving.
Essential Ingredients for Perfect Mint Chocolate Chip Ice Cream
Understanding Key Ingredients and Their Crucial Roles
When you make mint chocolate chip ice cream from scratch, each ingredient plays a vital role in creating that perfect texture and flavor balance. The foundation of any exceptional ice cream starts with high-quality heavy cream, which provides the rich, luxurious mouthfeel that makes homemade ice cream so superior to store-bought alternatives. Heavy cream contains at least 36% fat, and this fat content is crucial for achieving that smooth, creamy texture that doesn’t become icy when frozen.
Whole milk works in harmony with the heavy cream, providing additional liquid while maintaining richness without making the ice cream too heavy. The combination of these two dairy components creates the perfect base that allows flavors to shine through while maintaining structural integrity during the freezing process.
Egg yolks are the secret weapon in creating a custard-based ice cream that’s silky smooth and scoopable even when frozen solid. The lecithin in egg yolks acts as a natural emulsifier, helping to bind the fat and water molecules together, preventing ice crystals from forming and ensuring your homemade creation rivals any premium ice cream shop.
Sugar isn’t just for sweetness – it’s a crucial component that affects texture and freezing properties. Sugar lowers the freezing point of the mixture, which helps prevent the ice cream from becoming too hard and keeps it scoopable. The right amount of sugar also enhances the mint flavor and balances the slight bitterness that can come from high-quality dark chocolate chips.
Expert Tips for Selecting the Best Quality Ingredients
The difference between good and extraordinary mint chocolate chip ice cream lies in ingredient selection. When choosing heavy cream, look for pasteurized (not ultra-pasteurized) cream, as it whips better and creates a superior texture. Ultra-pasteurized cream has been heated to higher temperatures, which can affect its ability to incorporate air and create that light, fluffy texture we’re after.
For the mint flavoring, fresh mint leaves are incomparable to artificial extracts. Choose bright green spearmint or peppermint leaves that are free from brown spots or wilting. The oils in fresh mint leaves create a complex, natural flavor that develops beautifully when steeped in warm cream. If you must use extract, choose pure peppermint extract over artificial mint flavoring, and use it sparingly – a little goes a long way.
When selecting chocolate for your chips, opt for high-quality dark chocolate with at least 60% cocoa content. The chocolate should have a clean break when snapped and a glossy appearance. Avoid chocolate chips specifically designed for baking, as they often contain stabilizers that prevent melting – while this is great for cookies, it can create an unpleasant waxy texture in ice cream. Instead, roughly chop a good chocolate bar into irregular pieces for the best texture and flavor distribution.
Eggs should be fresh and preferably from free-range chickens. Fresh eggs have firmer yolks that are less likely to break when separating, and they create a more stable custard base. Always check the expiration date and do the float test – fresh eggs will sink in water, while older eggs will float.
Smart Substitutions and Delicious Alternatives
Understanding substitutions allows you to make mint chocolate chip ice cream even when you don’t have every ingredient on hand. If you’re avoiding dairy, you can create a surprisingly delicious version using full-fat coconut milk in place of heavy cream and whole milk. The key is to use the thick cream that separates at the top of the can, which provides similar richness to dairy cream.
For those watching their sugar intake, natural sweeteners like maple syrup or honey can replace granulated sugar, though you’ll need to adjust quantities since these liquid sweeteners aren’t as concentrated. Use about 3/4 the amount of liquid sweetener compared to granulated sugar, and be aware that the flavor will be slightly different – maple syrup adds a subtle caramel note that pairs beautifully with mint.
If you’re out of fresh mint, dried mint can work in a pinch, though the flavor won’t be quite as bright. Use about half the amount of dried mint compared to fresh, and steep it longer in the warm cream to extract maximum flavor. Essential oils are another alternative, but use them extremely sparingly – just a drop or two of food-grade peppermint essential oil can flavor an entire batch.
For chocolate alternatives, consider using cacao nibs for a more intense, less sweet chocolate flavor, or experiment with different types of chocolate – white chocolate creates an interesting contrast with the mint, while milk chocolate offers a gentler chocolate presence that some prefer.
Mastering the Preparation Process
Initial Preparation and Essential Cleaning Tips
Success in making homemade ice cream starts long before you begin mixing ingredients. Proper preparation and cleanliness are crucial for both food safety and achieving the best possible results. Begin by ensuring all your equipment is impeccably clean – any residual flavors or bacteria can compromise your final product.
Your ice cream maker bowl should be frozen for at least 24 hours before use. I always keep mine in the freezer so it’s ready whenever inspiration strikes. The bowl needs to be completely frozen throughout for the churning process to work effectively. You’ll know it’s ready when you can’t hear any liquid sloshing around inside when you shake it gently.
Clean all utensils, bowls, and measuring cups with hot, soapy water and rinse thoroughly. Even a tiny amount of residual soap can affect the flavor and texture of your ice cream. Pay special attention to your thermometer if you’re using one – it should be clean and calibrated for accuracy.
Prepare an ice bath by filling a large bowl with ice and cold water. This will be essential for quickly cooling your custard base and preventing the eggs from scrambling. Have this ready before you start cooking, as timing is crucial in the custard-making process.
Step-by-Step Instructions with Professional Secrets
The secret to perfect mint chocolate chip ice cream lies in creating a proper custard base, and this is where many home cooks stumble. Start by gently heating 2 cups of heavy cream and 1 cup of whole milk in a heavy-bottomed saucepan over medium-low heat. Add 1 cup of fresh mint leaves to the warming cream – don’t let it boil, just heat until you see small bubbles forming around the edges. This gentle steeping process extracts the mint oils without cooking them, which would create a bitter flavor.
While the cream is heating, whisk 6 large egg yolks with 3/4 cup of granulated sugar in a separate bowl until the mixture is pale and thick. This process, called ribbon stage, is crucial for the final texture. The mixture should fall in ribbons when you lift the whisk, and the color should lighten significantly.
Here’s where the magic happens, and timing is everything. You need to temper the egg mixture to prevent scrambling. Remove the mint-infused cream from heat and strain out the mint leaves through a fine-mesh sieve. Working quickly but carefully, add about 1/4 cup of the hot cream to the egg mixture while whisking constantly. This gradually raises the temperature of the eggs without cooking them. Continue adding hot cream in small amounts, whisking constantly, until you’ve incorporated about half the cream.
Now pour the tempered egg mixture back into the saucepan with the remaining cream, whisking constantly. Return to low heat and stir continuously with a wooden spoon or heat-resistant spatula. The mixture is ready when it coats the back of the spoon and you can draw a line through it with your finger that doesn’t immediately fill in. This typically takes 5-8 minutes and should reach about 170°F (77°C) on an instant-read thermometer.
Immediately strain the custard through a fine-mesh sieve into a bowl set in your prepared ice bath. This stops the cooking process and removes any lumps. Add 1 teaspoon of vanilla extract and a pinch of salt to enhance the flavors. Stir occasionally until completely cool, then refrigerate for at least 4 hours or overnight – this aging process allows flavors to meld and improves the final texture.
Common Mistakes and How to Avoid Them
Even experienced cooks can stumble when learning to make mint chocolate chip ice cream, but understanding common pitfalls helps ensure success. The most frequent mistake is scrambling the eggs by adding hot cream too quickly or heating the custard too aggressively. Always keep your heat low and your whisk moving – patience is your best friend in custard-making.
Another common error is over-steeping the mint, which creates a bitter, medicinal flavor rather than the fresh, clean taste you’re after. Mint should be steeped just until the cream is fragrant and has a subtle green tint – usually 10-15 minutes in hot (not boiling) cream.
Many home cooks add the chocolate chips too early in the churning process, causing them to sink to the bottom or get pulverized by the paddle. Wait until the ice cream is almost fully churned – it should look thick and creamy – then add your chocolate pieces in the final 2-3 minutes of churning.
Temperature control is crucial throughout the process. If your custard base isn’t cold enough when it goes into the ice cream maker, it won’t churn properly. Conversely, if it’s too cold and starts to freeze, it won’t incorporate air properly, resulting in dense, icy ice cream.
Serving Perfection and Final Touches
Creative Presentation Ideas That Wow
The presentation of your homemade mint chocolate chip ice cream can elevate it from a simple dessert to a memorable experience. Consider serving it in chilled glass bowls to showcase the beautiful pale green color speckled with dark chocolate pieces. For special occasions, scoop the ice cream into sugar cones and dip the tops in melted chocolate, then roll in crushed mint cookies for an extra special touch.
Create an elegant sundae bar by offering complementary toppings like hot fudge sauce, whipped cream, fresh berries, and crushed chocolate cookies. The contrast between the cool, creamy ice cream and warm fudge sauce is absolutely divine. For a sophisticated presentation, serve small scoops in brandy snifters with a crisp wafer cookie on the side.
During summer gatherings, consider making ice cream sandwiches using homemade chocolate chip cookies or brownies. The combination of textures and temperatures creates an irresistible treat that both children and adults adore. You can even make these ahead of time and wrap them individually for a party favor that guests will remember long after the event ends.
For dinner parties, serve the ice cream alongside a warm chocolate dessert like brownies or chocolate lava cake. The temperature contrast and complementary flavors create a restaurant-quality dessert experience that will have your guests asking for the recipe.
Perfect Pairings and Complementary Flavors
When you make mint chocolate chip ice cream, understanding flavor pairings can enhance the overall dessert experience. Fresh berries, particularly strawberries and raspberries, provide a bright, acidic contrast that cuts through the richness of the cream while complementing the mint’s freshness. The natural sweetness of ripe berries also balances any slight bitterness from high-quality dark chocolate.
Coffee and espresso are natural partners with mint chocolate chip ice cream. The bitter notes in coffee enhance the chocolate while the caffeine provides an interesting contrast to the cooling mint. Consider serving small scoops alongside espresso shots for an Italian-inspired affogato, or crumble amaretti cookies over the top for added texture and almond flavor.
Warm fruit desserts like apple crisp or pear cobbler benefit tremendously from a scoop of mint chocolate chip ice cream. The cool, creamy texture provides relief from the warm, spiced fruit while the mint adds an unexpected but delightful flavor dimension that keeps the dessert from being too heavy.
For chocolate lovers, consider pairing your homemade ice cream with chocolate-based desserts, but choose items with different textures – a dense chocolate tart with your light, airy ice cream, or crispy chocolate tuile cookies that provide textural contrast.
Storage Tips and Maintaining Quality
Proper storage is essential for maintaining the quality of your homemade mint chocolate chip ice cream. Unlike commercial ice cream, homemade versions don’t contain stabilizers and emulsifiers, making them more susceptible to ice crystal formation and texture degradation. Transfer your freshly churned ice cream to an airtight container, pressing a piece of plastic wrap directly onto the surface before sealing with the lid. This prevents air exposure and ice crystal formation.
Store your ice cream in the coldest part of your freezer, typically the back, where temperature fluctuations are minimal. Avoid storing it in the door, where frequent opening and closing can cause temperature variations that lead to texture problems. Homemade ice cream is best consumed within one week for optimal texture and flavor, though it will remain safe to eat for up to one month.
When serving, remove the ice cream from the freezer 5-10 minutes before scooping to allow it to soften slightly. This makes scooping easier and improves the eating experience. If your ice cream becomes too hard, you can soften it more quickly by placing the container in the refrigerator for 15-20 minutes rather than leaving it at room temperature, which can cause uneven melting.
For long-term storage, consider portioning your ice cream into individual serving containers. This reduces the number of times the main container is exposed to temperature changes and helps maintain quality longer. Small mason jars work beautifully for this purpose and make charming individual servings for parties.
 DINNER
 LUNCH
LUNCH CAKE
CAKE BREAKFAST
For more amazing recipes, be sure to check out our other sections to explore a variety of ideas that will enrich your cooking experience. Each section offers its own unique flavors to ensure a delightful culinary journey:
- Easy and Quick Recipes: A collection of dishes that guarantee delicious meals with minimal effort and time.
- Healthy Recipes: Discover healthy and delicious options that fit your lifestyle.
- Desserts: A diverse selection of sweets that will add a special touch of sweetness to your table.
- Lunch Recipes: Tasty lunch ideas that you can easily prepare to delight your family.
- Dinner Recipes: Delicious and easy-to-make recipes that will make your dinner a memorable occasion.
Frequently Asked Questions
Can I make mint chocolate chip ice cream without an ice cream maker?
Absolutely! While an ice cream maker produces the smoothest results, you can make delicious ice cream using the freeze-and-stir method. Pour your chilled custard base into a shallow, freezer-safe container and freeze for 45 minutes. Remove and vigorously stir with a fork, breaking up any ice crystals. Repeat this process every 30-45 minutes for 3-4 hours until the ice cream reaches your desired consistency. Add chocolate chips during the final stirring session.
Why does my homemade ice cream turn out icy instead of creamy?
Icy texture usually results from ice crystal formation, which can be caused by several factors: the custard base wasn’t cold enough before churning, the freezer temperature is too low, or the ice cream maker bowl wasn’t completely frozen. Additionally, homemade ice cream without stabilizers naturally forms larger ice crystals than commercial versions. Ensure your base is thoroughly chilled, maintain proper freezer temperature (0°F/-18°C), and consume within a week for best texture.
How can I make my mint flavor stronger without it tasting artificial?
The key to intense, natural mint flavor is using fresh mint leaves and proper steeping technique. Use more fresh mint leaves (up to 1.5 cups for a strong flavor) and steep them longer in the warm cream, up to 20 minutes. You can also bruise the mint leaves gently with a muddler before steeping to release more oils. If you need to use extract, add it gradually and taste-test – start with 1/2 teaspoon and increase as needed.
What’s the best way to chop chocolate for ice cream?
A: The ideal chocolate pieces for ice cream are irregularly shaped chunks about 1/4 to 1/2 inch in size. Use a sharp knife to roughly chop a chocolate bar rather than using uniform chocolate chips. The irregular shapes distribute better throughout the ice cream and provide varied textures in each bite. Avoid chopping the chocolate too finely, as small pieces can become lost in the ice cream, or too large, as they can be difficult to scoop and eat.
Can I make this recipe dairy-free?
Yes! Replace the heavy cream and milk with full-fat coconut milk (use 2 cans, refrigerated overnight, and use only the thick cream that separates at the top). For the egg custard base, you can use cornstarch as a thickener instead – mix 2 tablespoons cornstarch with 1/4 cup of the coconut milk until smooth, then proceed with the recipe, heating the mixture until thickened. The texture will be slightly different but still delicious. Ensure your chocolate is also dairy-free.
Conclusion: Your Journey to Ice Cream Mastery
Learning to make mint chocolate chip ice cream from scratch is more than just following a recipe – it’s about creating memories, sharing joy, and mastering a skill that will bring happiness to your family and friends for years to come. The satisfaction of creating something so delicious and personal in your own kitchen is unmatched, and the superior taste of homemade ice cream will spoil you for store-bought versions forever.
This easy homemade recipe has become one of my most treasured family favorite recipes, not just because of its incredible flavor, but because of the joy it brings to every gathering. There’s something magical about the anticipation as the ice cream maker churns, the excitement of that first taste, and the smiles that spread across faces when people realize they’re experiencing something truly special.
I encourage you to embrace the process, experiment with variations, and make this recipe your own. Perhaps you’ll discover that you prefer a bit more chocolate, or maybe you’ll find that a touch of vanilla enhances the mint in just the right way. The beauty of homemade ice cream lies in this customization – you’re not just following a recipe, you’re creating your own signature delicious dish.
Don’t be discouraged if your first attempt isn’t perfect. Like any culinary skill, making exceptional ice cream takes practice, but the learning process is delicious. Each batch teaches you something new about temperature, timing, and technique. Soon, you’ll be confidently creating this and other homemade frozen treats that will become the highlight of your summer entertaining.
I’d love to hear about your mint chocolate chip ice cream adventures! Share your experiences, variations, and creative serving ideas. After all, the best recipes are those that bring people together and create lasting memories around the table.
Meta Description: Learn to make mint chocolate chip ice cream from scratch with this comprehensive guide. Fresh ingredients, expert tips, and step-by-step instructions for creamy homemade perfection.
Image Generation Descriptions
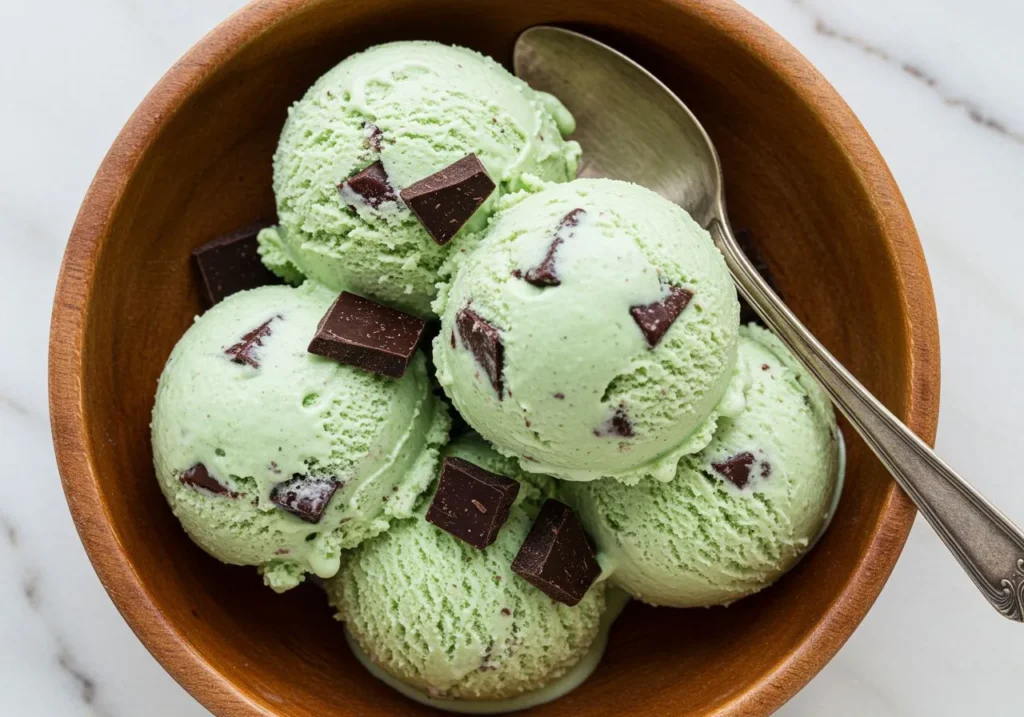
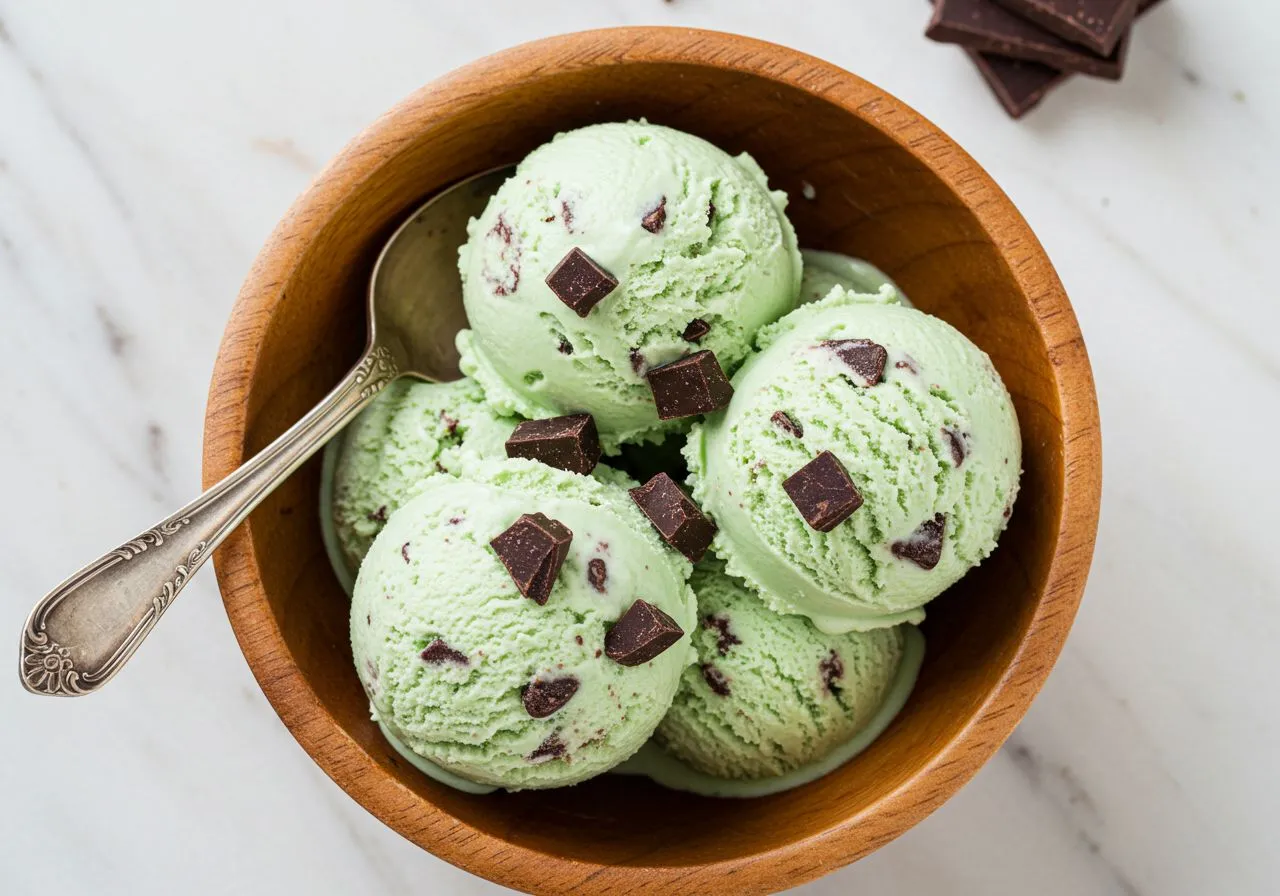
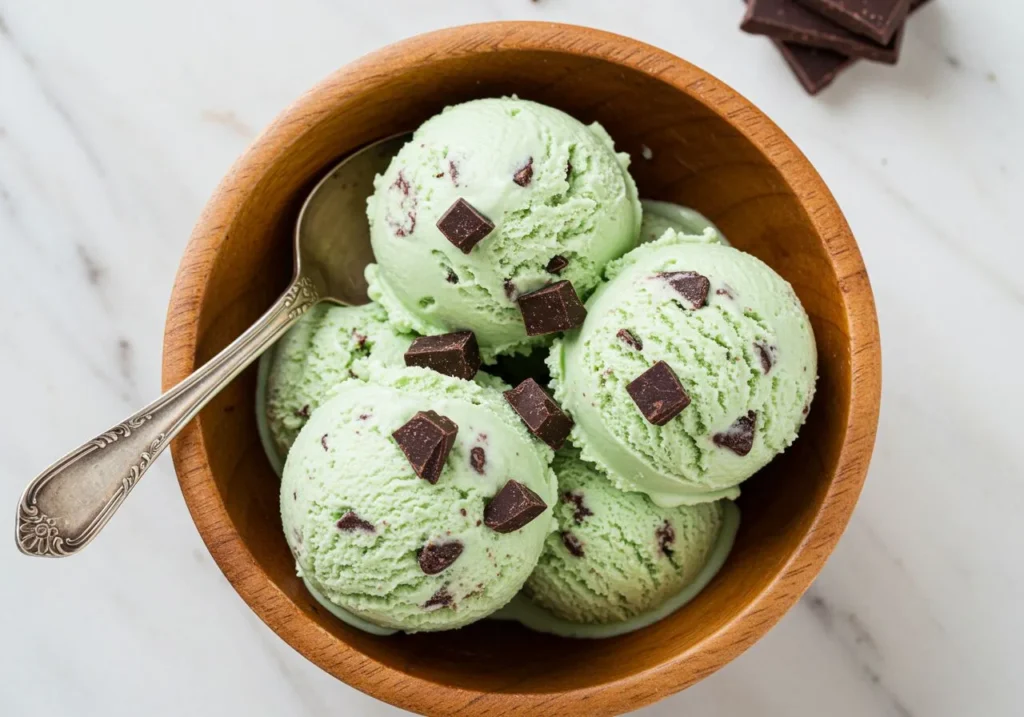
Image 1 – Top-down Full Dish Shot: A beautiful overhead view of homemade mint chocolate chip ice cream served in a rustic wooden bowl, showing the pale green ice cream dotted with irregular dark chocolate chunks. The ice cream has a creamy, smooth texture with visible chocolate pieces throughout. Garnished with a fresh mint sprig and served with a vintage silver spoon on a white marble surface. Natural lighting highlights the creamy texture and vibrant mint color against the dark chocolate contrasts.
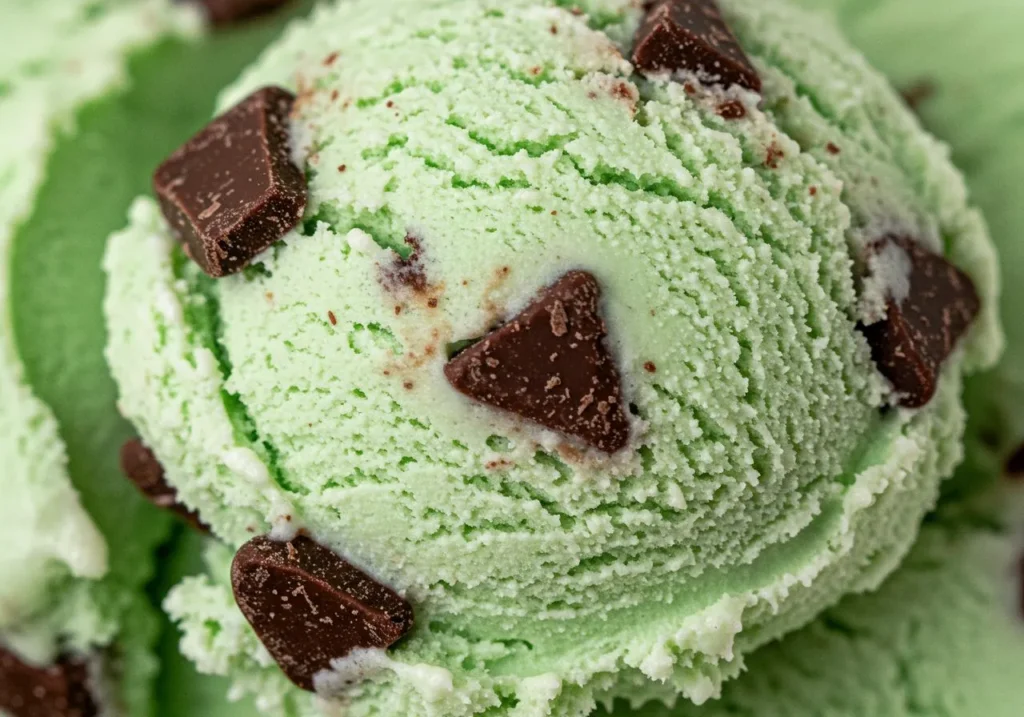
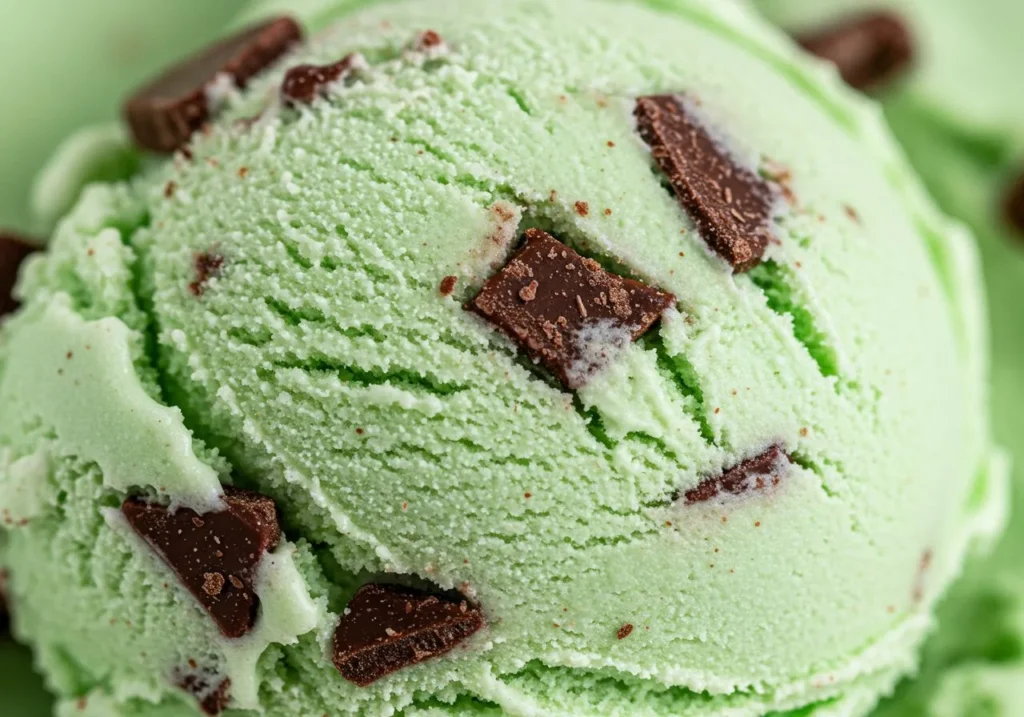
Image 2 – Close-up Texture Shot: An extreme close-up macro shot of a single scoop of mint chocolate chip ice cream, focusing on the smooth, creamy texture and the irregular chocolate chunks embedded throughout. The pale green color is clearly visible, and you can see the rich, dense texture of the homemade ice cream. A few chocolate pieces are prominently displayed, showing their rough, hand-chopped appearance. The lighting emphasizes the creamy, luxurious texture and the contrast between the mint ice cream and dark chocolate pieces.
Image 3 – Action Kitchen Preparation Shot: A warm, inviting kitchen scene showing hands churning ice cream in a traditional ice cream maker. The custard base is visible, beginning to thicken, with fresh mint leaves scattered on the marble countertop nearby. A bowl of roughly chopped dark chocolate sits ready to be added. Vintage kitchen utensils, including a wooden spoon and wire whisk, are artfully arranged. The scene captures the homemade, artisanal process with warm lighting and a cozy, welcoming atmosphere that emphasizes the craft of making ice cream from scratch.