By Jowel – Home Cook & Food Enthusiast
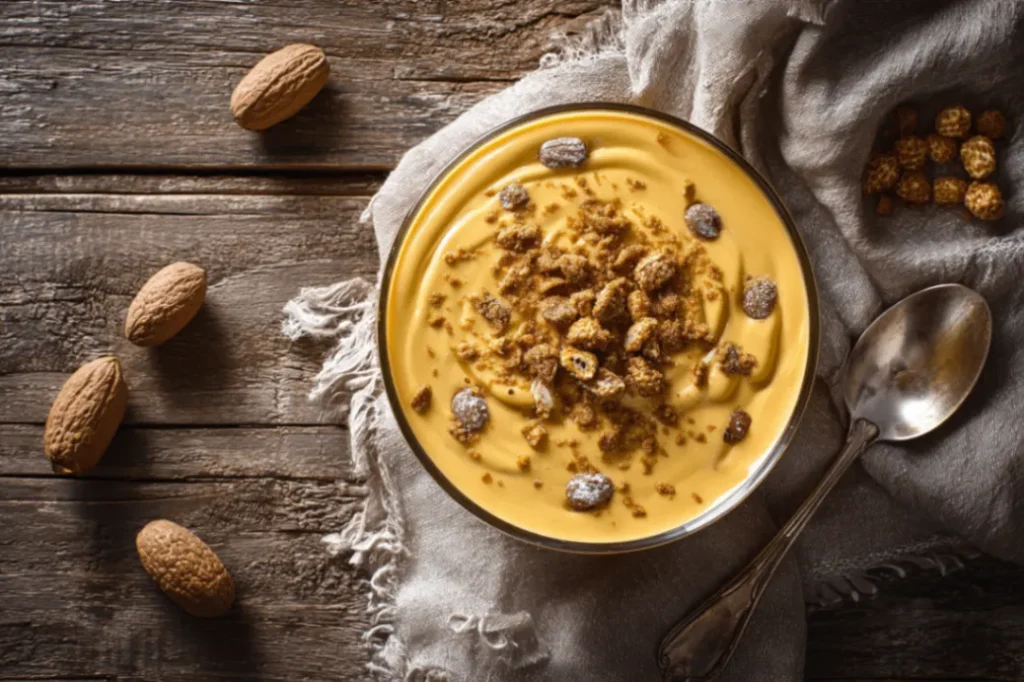
There’s something magical about the moment when you take your first spoonful of homemade paçoca mousse recipe – that perfect blend of creamy texture meeting the distinctive nutty sweetness of Brazil’s beloved paçoca candy. After years of perfecting this dessert in my own kitchen, I can tell you that this paçoca mousse recipe has become the crown jewel of my dessert repertoire, and today I’m thrilled to share every secret I’ve learned along the way.
Growing up with Brazilian influences in my cooking, I’ve always been fascinated by how simple ingredients can create extraordinary flavors. The paçoca – that iconic Brazilian peanut candy with its crumbly, melt-in-your-mouth texture – has been transformed in this recipe into something that feels both familiar and completely new. What started as an experiment in my kitchen three years ago has now become the dessert my family requests for every special occasion.
This isn’t just another mousse recipe; it’s a celebration of Brazilian flavors adapted for home cooks who want to create something truly special. Whether you’re already familiar with paçoca or discovering it for the first time, this paçoca mousse recipe will guide you through creating a dessert that’s both sophisticated enough for dinner parties and simple enough for a Tuesday night treat.
Ingredients: The Foundation of Perfect Paçoca Mousse Recipe
Key Ingredients and Their Essential Roles
The beauty of this paçoca mousse recipe lies in its simplicity – just five ingredients that work together to create something extraordinary. Let me walk you through each component and why it matters:
12 Paçocas (Cork-Style): These are the stars of our show. Paçoca is a traditional Brazilian candy made from ground peanuts, sugar, and salt, pressed into small cylindrical shapes. The “cork-style” refers to the classic cylindrical shape that’s perfect for crumbling. In my experience, using exactly 12 pieces gives you the ideal balance – 10 for the mousse base and 2 for that beautiful textured topping.
1 Can of Sweetened Condensed Milk: This provides the creamy base and adds the perfect level of sweetness that complements the paçoca without overwhelming it. I’ve tried making this paçoca mousse recipe with homemade condensed milk, but honestly, the canned version gives more consistent results.
1 Can of Heavy Cream: This is what gives our mousse its light, airy texture. Some recipes call for table cream, but I’ve found that heavy cream (with at least 35% fat content) creates the most luxurious mouthfeel.
1 Packet of Unflavored Gelatin: The secret to a mousse that holds its shape beautifully. This is what transforms our mixture from a simple cream into a proper mousse with structure.
How to Choose High-Quality Ingredients for Your Paçoca Mousse Recipe
After making this paçoca mousse recipe countless times, I’ve learned that ingredient quality makes a noticeable difference:
Selecting the Best Paçocas: Look for paçocas that are firm but not rock-hard. They should have a golden color and a fresh peanut aroma. Avoid any that look pale or smell rancid – fresh paçocas will make or break your mousse. I prefer brands like Amor aos Pedaços or Santa Helena when I can find them, but any quality Brazilian paçoca will work.
Cream Quality Matters: For the heavy cream, choose a brand with the highest fat content you can find. Lower-fat creams can sometimes cause the mousse to be less stable. I always check the expiration date and give it a smell test – fresh cream should have almost no odor.
Gelatin Considerations: I use Knox unflavored gelatin, but any quality brand works. The key is ensuring it’s not expired, as old gelatin can lose its setting power.
Substitutions That Work Well (Tested in My Kitchen)
Through trial and error, I’ve discovered several successful substitutions for this paçoca mousse recipe:
No Paçocas Available? If you can’t find paçocas, you can make a substitute by mixing 1 cup of unsalted roasted peanuts (finely ground) with ½ cup powdered sugar and a pinch of salt. It’s not identical, but it creates a similar flavor profile.
Cream Alternatives: Table cream works, though the texture will be slightly different – still delicious, just not as rich. For a lighter version, I’ve successfully used half heavy cream and half Greek yogurt, though this changes the flavor profile slightly.
Dairy-Free Option: For lactose-intolerant friends, I’ve had success using coconut condensed milk and coconut cream, though the flavor becomes more tropical than traditional.
Preparation Steps: Mastering the Perfect Paçoca Mousse Recipe
How I Prepare Before Cooking
Success with this paçoca mousse recipe starts with proper preparation. Here’s my pre-cooking routine that ensures perfect results every time:
First, I remove all ingredients from the refrigerator about 30 minutes before starting. Room temperature ingredients blend more easily and create a smoother final texture. I also prepare my mold by lightly greasing it with neutral oil or cooking spray – this makes unmolding effortless later.
I always read through the gelatin package instructions before starting, as different brands can have slightly different hydration requirements. Having a small bowl of cold water ready for the gelatin is essential, and I measure out exactly ¼ cup of cold water for hydration.
Step-by-Step Instructions with Professional Tips
Step 1: Hydrate the Gelatin (The Foundation) Sprinkle the gelatin evenly over ¼ cup of cold water in a small bowl. Let it sit for 5 minutes until it becomes spongy and absorbs all the water. This step is crucial – properly hydrated gelatin is what gives our paçoca mousse recipe its perfect texture.
Pro Tip: Don’t stir the gelatin while it’s hydrating. Just sprinkle and wait. Stirring can create lumps that are difficult to dissolve later.
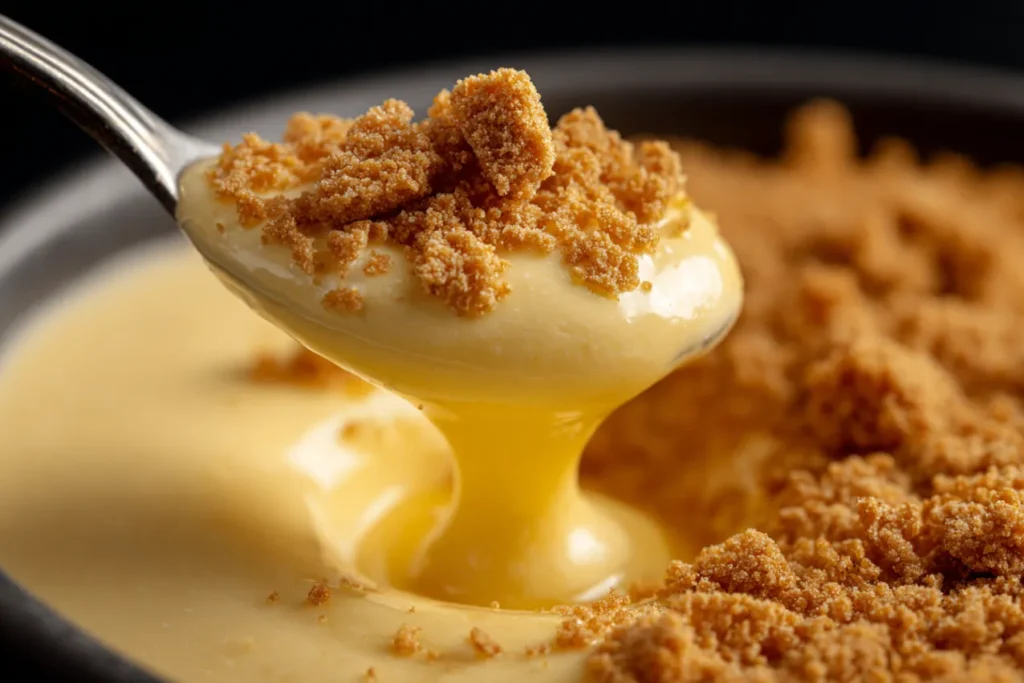
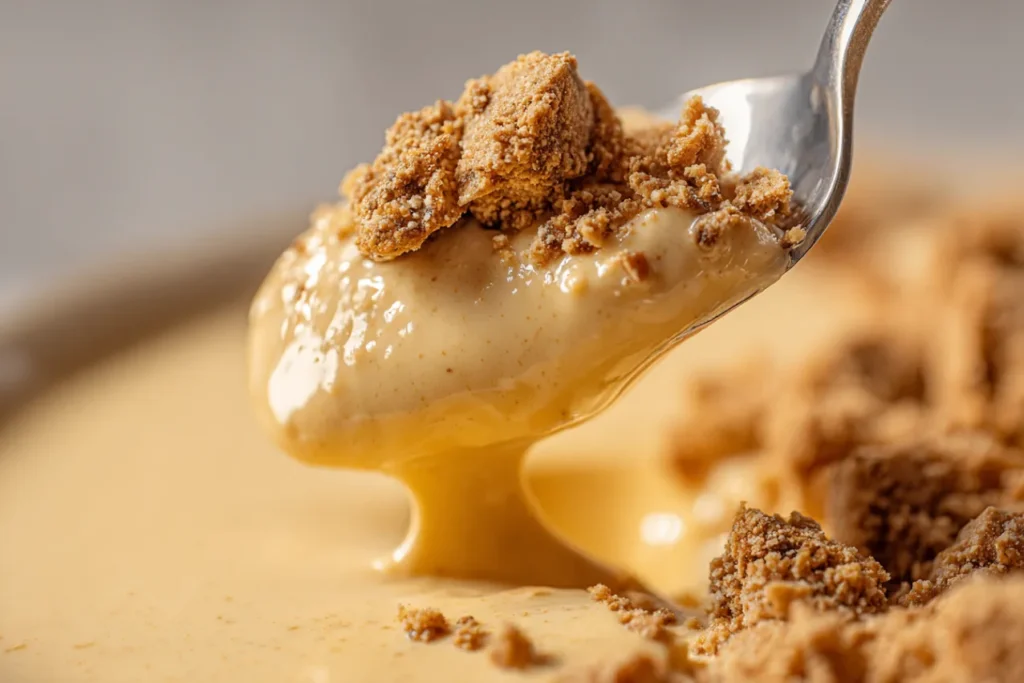
Step 2: Create the Base Mixture In your blender, combine the sweetened condensed milk, heavy cream, and 10 crumbled paçocas. Blend on medium speed for 2-3 minutes until completely smooth. The mixture should be pale golden and completely uniform.
Pro Tip: Crumble the paçocas by hand before adding them to the blender. This prevents large chunks from getting stuck in the blades and ensures even blending.
Step 3: Dissolve and Incorporate Gelatin After the gelatin has hydrated, dissolve it completely by microwaving for 15-20 seconds or placing the bowl in a small pan of simmering water. The gelatin should be completely liquid and clear.
With the blender running on low speed, slowly pour the dissolved gelatin into the paçoca mixture. Blend for another 30 seconds to ensure complete incorporation.
Pro Tip: The gelatin must be liquid but not hot when you add it. If it’s too hot, it can cause the cream to curdle. If it starts to set before you add it, simply reheat it gently.
Step 4: Final Assembly Pour the mixture into your prepared mold, smoothing the top with a spatula. Crumble the remaining 2 paçocas over the surface, creating an attractive textured topping.
Pro Tip: Tap the mold gently on the counter to release any air bubbles. This ensures a smooth, professional-looking final product.
Common Mistakes to Avoid (Learned from My Real Trials)
In my journey perfecting this paçoca mousse recipe, I’ve made every mistake possible. Here are the ones to watch out for:
Overblending: This is the most common error I see. Overblending can cause the cream to start separating or even turning into butter. Blend just until smooth and combined.
Adding Hot Gelatin: I learned this the hard way when my first attempt turned into sweet scrambled eggs! The gelatin must be cooled to room temperature before adding.
Not Greasing the Mold: Trust me, you want to grease that mold. I’ve lost beautiful mousses to stubborn molds that wouldn’t release properly.
Impatience with Setting: I know it’s tempting, but don’t check the mousse every hour. Let it set undisturbed for at least 4 hours. Opening the refrigerator repeatedly can affect the setting process.
Serving & Final Touches: Presenting Your Paçoca Mousse Recipe
Beautiful and Creative Presentation Ideas
After perfecting the taste of this paçoca mousse recipe, I became obsessed with making it look as amazing as it tastes. Here are my favorite presentation techniques:
Individual Portions: Instead of one large mold, try making individual servings in small ramekins or glasses. This creates an elegant, restaurant-style presentation and makes serving easier for dinner parties.
Layered Effect: Create visual interest by reserving some of the mixture and adding extra crumbled paçoca to create distinct layers. Pour half the mixture, add a layer of crumbled paçoca, then top with the remaining mixture.
Garnish Game: Fresh mint leaves, a light dusting of cocoa powder, or even a few whole paçocas arranged artfully around the plate can elevate the presentation dramatically.
Textural Contrast: I love serving this with a few toasted peanuts or a crispy wafer cookie on the side. The contrast between the smooth mousse and crunchy elements is delightful.
Best Sides and Pairings (Family-Tested)
Through countless dinner parties and family gatherings, I’ve discovered the perfect companions for this paçoca mousse recipe:
Coffee Pairings: This mousse is phenomenal with strong Brazilian coffee or espresso. The bitter notes complement the sweet, nutty flavors beautifully.
Fresh Fruit: Sliced strawberries or bananas provide a fresh, acidic contrast that cuts through the richness. My family particularly loves it with fresh mango slices.
Textural Additions: Serve with crispy wafer cookies, toasted coconut flakes, or even a small portion of Brazilian brigadeiro for an all-Brazilian dessert experience.
Wine Pairing: For special occasions, this pairs surprisingly well with a light dessert wine or even a smooth bourbon for adults.
Storing and Reheating Leftovers Safely
Proper storage is crucial for maintaining the quality of your paçoca mousse recipe:
Refrigeration: This mousse will keep in the refrigerator for up to 5 days when covered with plastic wrap or stored in an airtight container. The gelatin keeps it stable and safe.
Freezing: While possible, I don’t recommend freezing this mousse as the texture changes significantly upon thawing. The gelatin can become grainy, and the cream can separate.
Serving from Storage: Always serve this mousse chilled. If it’s been sitting out for more than an hour, return it to the refrigerator for 30 minutes before serving to ensure the best texture.
Make-Ahead Tips: This is actually one of the best make-ahead desserts I know. The flavors develop and improve after 24 hours in the refrigerator, making it perfect for planned entertaining.
Frequently Asked Questions About This Paçoca Mousse Recipe
1. Can I prepare this paçoca mousse recipe in advance?
Absolutely! In fact, I recommend it. This mousse tastes even better after sitting in the refrigerator for 24 hours. The flavors meld together beautifully, and the texture becomes perfectly set. I often make it two days before serving for special occasions. Just cover it well with plastic wrap to prevent it from absorbing other refrigerator odors.
2. What’s the best way to store leftovers?
Store any leftover paçoca mousse in the refrigerator, covered tightly with plastic wrap or in an airtight container. It will stay fresh for up to 5 days. I’ve learned that placing a piece of parchment paper directly on the surface before covering helps prevent a skin from forming on top.
3. How can I make this paçoca mousse recipe healthier?
While this is definitely an indulgent dessert, I’ve experimented with lighter versions. You can substitute half the heavy cream with Greek yogurt for protein and probiotics, though this will change the texture slightly. For a lower-sugar option, you can use sugar-free condensed milk, but be aware that the flavor will be different. I’ve also made portion-controlled individual servings to help with moderation.
4. Can I double the ingredients for a party?
Yes, but with some considerations. I’ve successfully doubled this paçoca mousse recipe for larger gatherings, but you’ll need to blend in batches unless you have a very large blender. Also, use a larger mold or multiple smaller ones. The setting time remains the same, but make sure your refrigerator has enough space for proper air circulation around the mold.
5. What’s the biggest mistake people make with this paçoca mousse recipe?
The most common mistake I see is rushing the process. People either don’t let the gelatin hydrate properly, add it while it’s too hot, or don’t allow enough setting time. Another big mistake is overblending, which can cause the cream to separate. Remember, this recipe requires patience, but the results are worth it. Take your time with each step, and you’ll have perfect results.
 DINNER
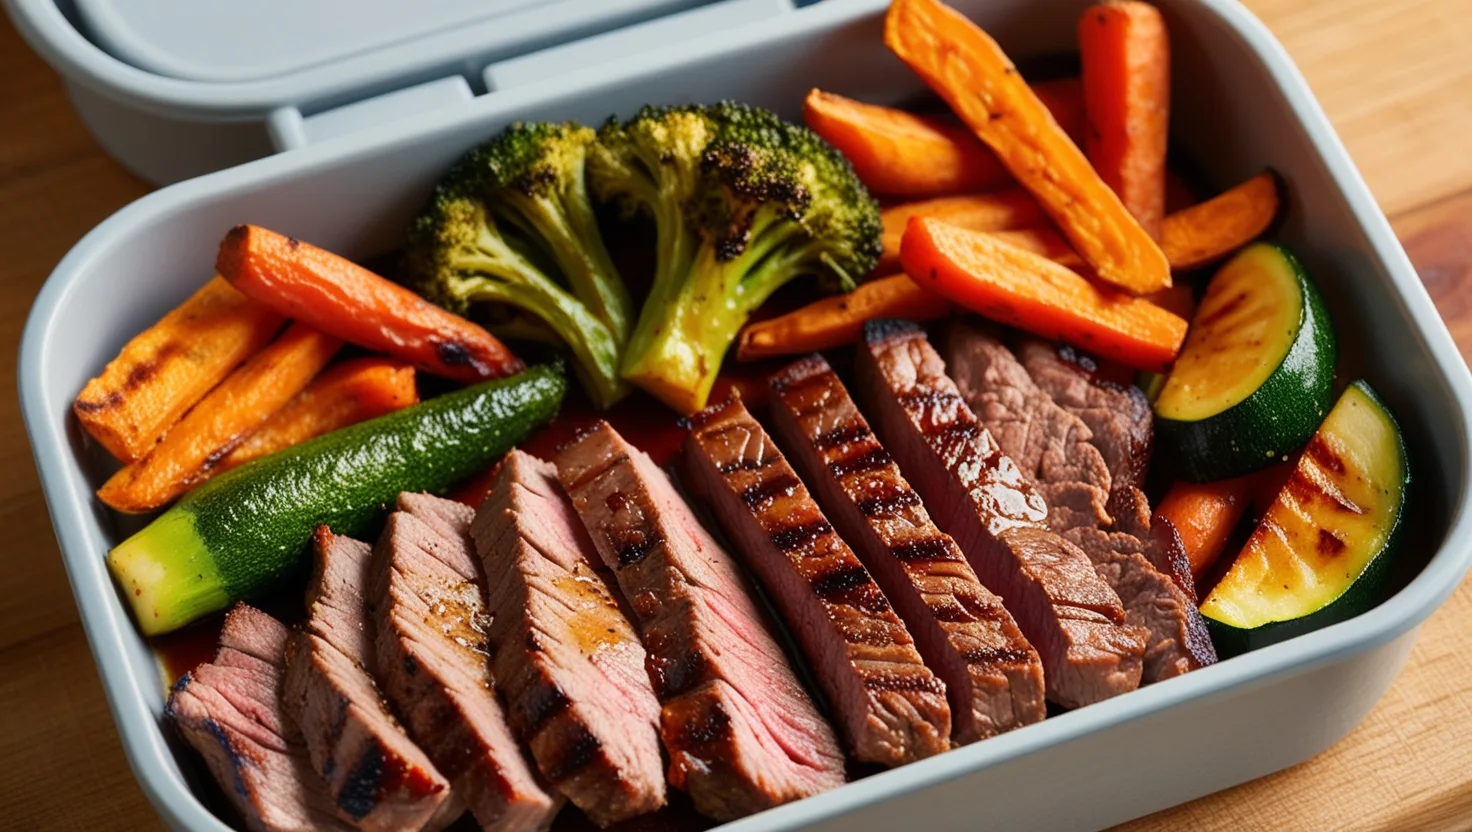 LUNCH
LUNCH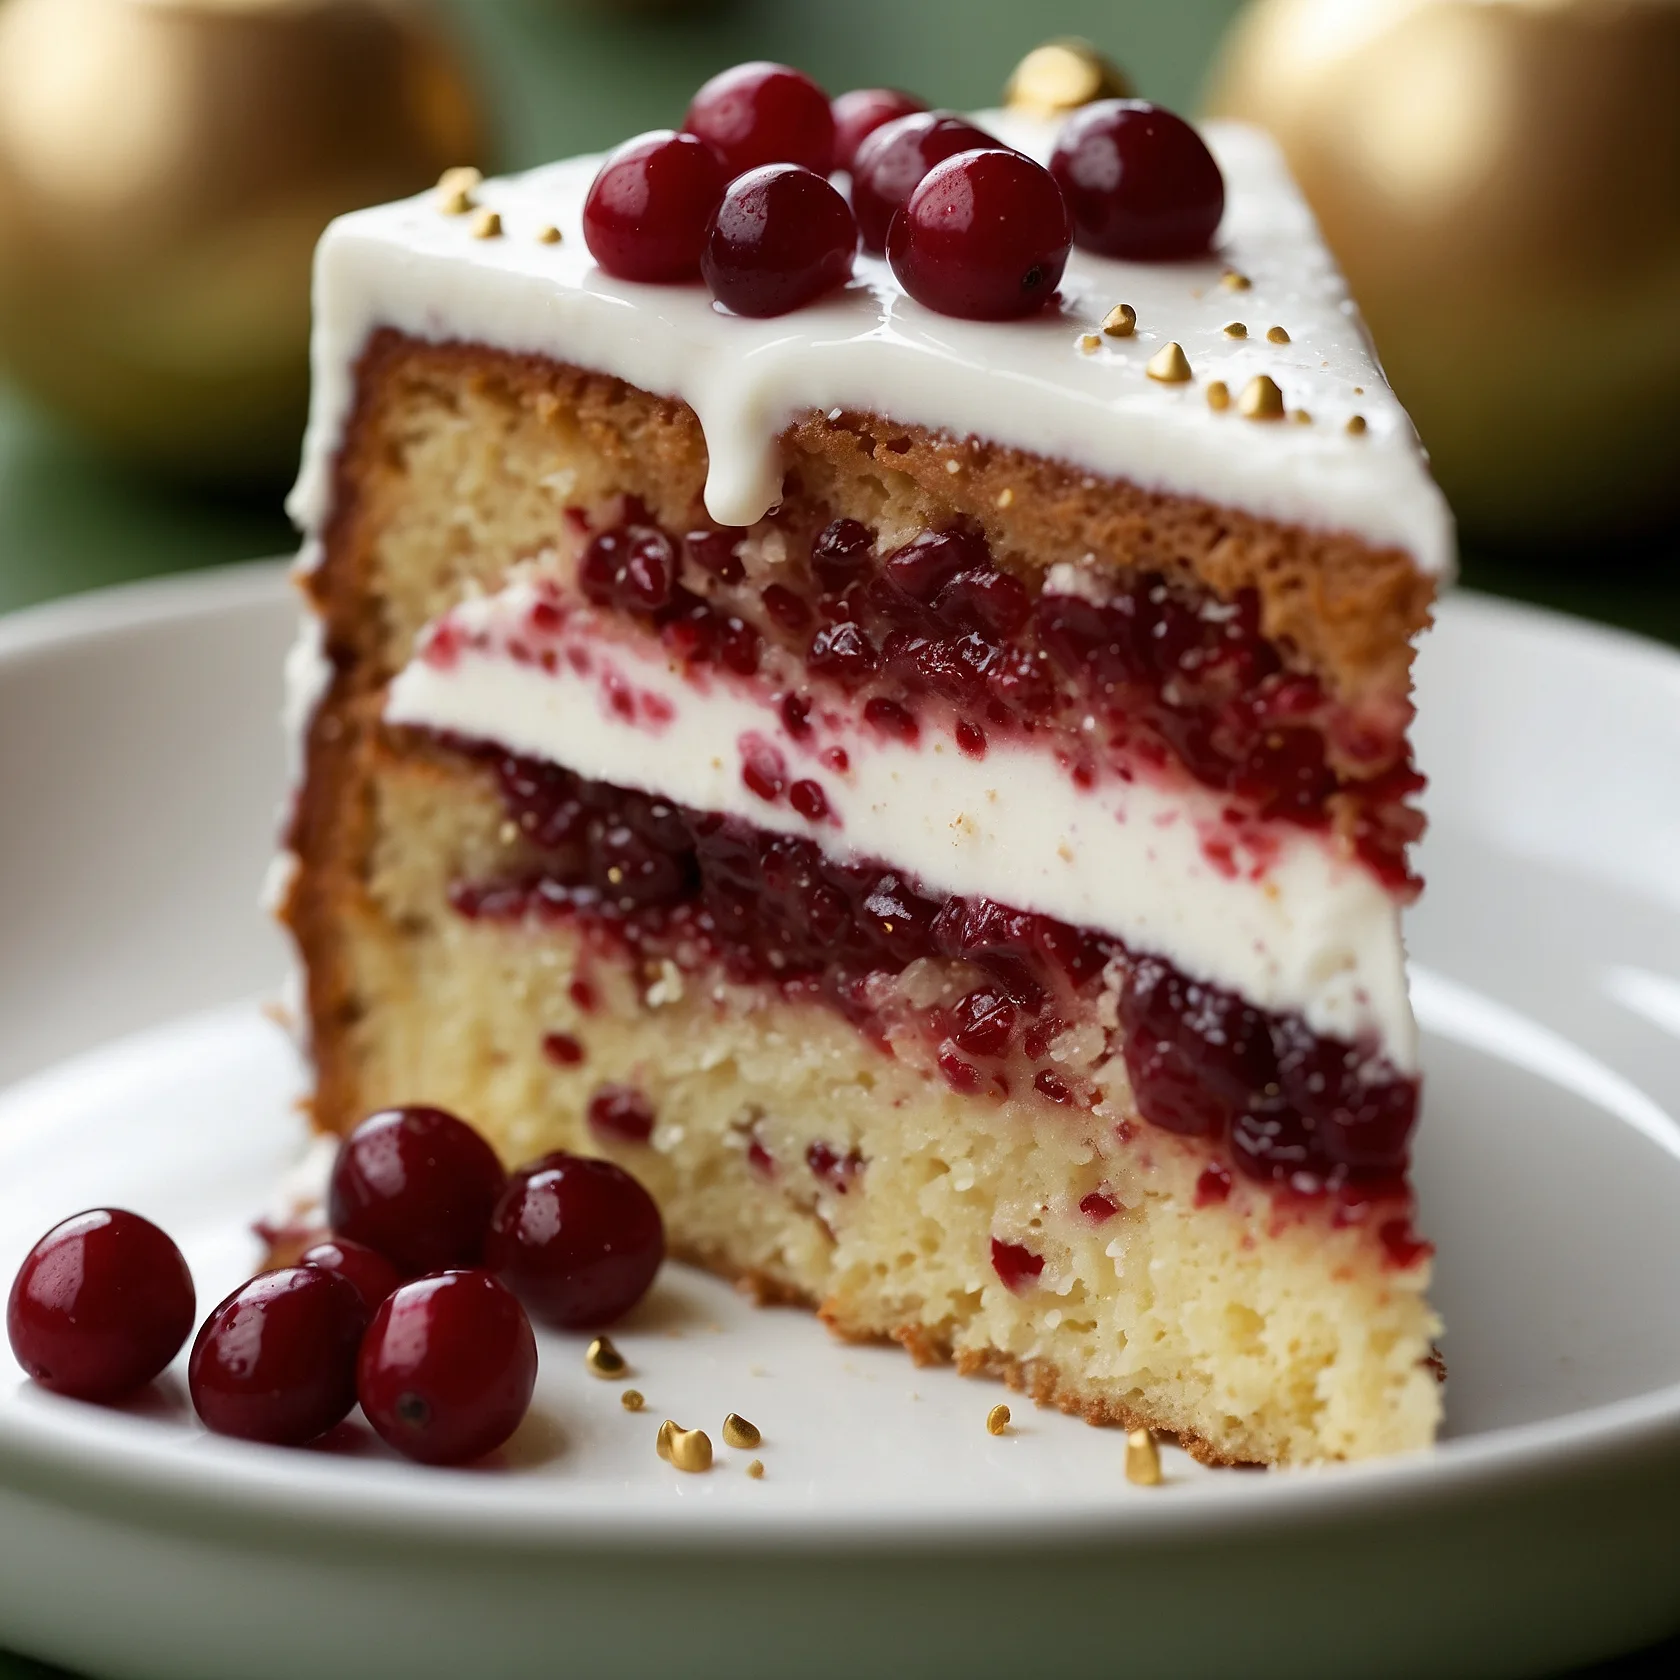 CAKE
CAKE BREAKFAST
For more amazing recipes, be sure to check out our other sections to explore a variety of ideas that will enrich your cooking experience. Each section offers its own unique flavors to ensure a delightful culinary journey:
- Easy and Quick Recipes: A collection of dishes that guarantee delicious meals with minimal effort and time.
- Healthy Recipes: Discover healthy and delicious options that fit your lifestyle.
- Desserts: A diverse selection of sweets that will add a special touch of sweetness to your table.
- Lunch Recipes: Tasty lunch ideas that you can easily prepare to delight your family.
- Dinner Recipes: Delicious and easy-to-make recipes that will make your dinner a memorable occasion.
Conclusion: Your Journey to Paçoca Mousse Perfection
Creating the perfect paçoca mousse recipe is more than just following instructions – it’s about understanding how each ingredient contributes to the final masterpiece and taking the time to do each step with care and attention. After years of making this dessert, I can tell you that the joy on people’s faces when they taste it for the first time never gets old.
This paçoca mousse recipe represents everything I love about home cooking: it’s approachable enough for beginners, sophisticated enough to impress guests, and flexible enough to make your own. Whether you’re introducing friends to Brazilian flavors or satisfying your own sweet tooth, this dessert delivers every single time.
I encourage you to try this recipe and make it your own. Maybe you’ll discover that you prefer a bit more paçoca crumbled on top, or perhaps you’ll find the perfect wine pairing I haven’t thought of yet. Cooking is about exploration and personal touch, and this paçoca mousse recipe is the perfect canvas for your creativity.
Have you tried this recipe? I’d love to hear about your experience! Leave a comment below sharing how your paçoca mousse turned out, any modifications you made, or questions you might have. And if you share photos on social media, tag me – there’s nothing I love more than seeing how fellow home cooks make this recipe their own.
Happy cooking, and may your kitchen always be filled with the sweet aroma of Brazilian-inspired desserts!