Table of Contents
There’s something magical about the aroma of a homemade coffee cake baking in the oven. The warm cinnamon-sugar scent that fills your kitchen, the anticipation of that first tender bite, and the joy of sharing something made with love – these are the moments that make cooking truly special. I’m Jowel, and after years of perfecting this homemade coffee cake recipe, I can confidently say it’s become one of our family’s most treasured treats.
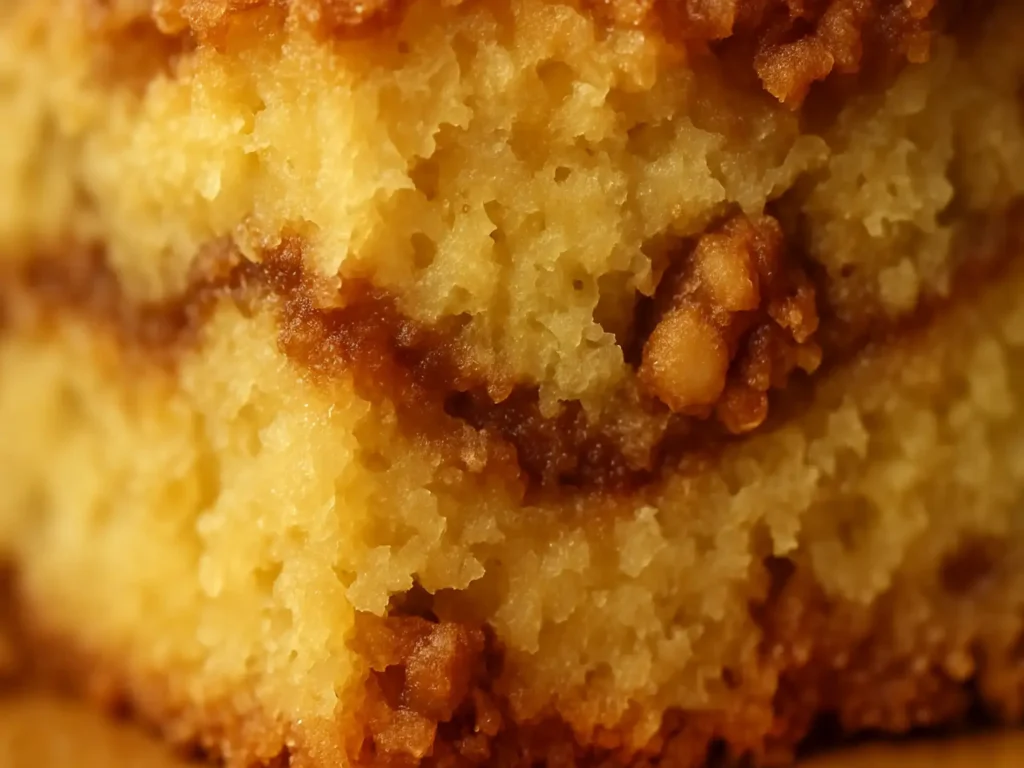
This isn’t just any coffee cake – it’s the result of countless Sunday mornings, family gatherings, and the sweet satisfaction of watching loved ones light up with that first taste. What makes this recipe special is its perfect balance of tender crumb, rich flavor, and that irresistible cinnamon-walnut topping that creates the most delightful contrast of textures.
In this comprehensive guide, I’ll share not just the recipe, but all the little secrets I’ve learned along the way. From choosing the right ingredients to avoiding common pitfalls, you’ll discover everything you need to create a homemade coffee cake that rivals any bakery creation. Whether you’re a beginner baker or someone looking to perfect your technique, this recipe will become your go-to for creating memorable moments around the breakfast table.

Perfect Homemade Coffee Cake
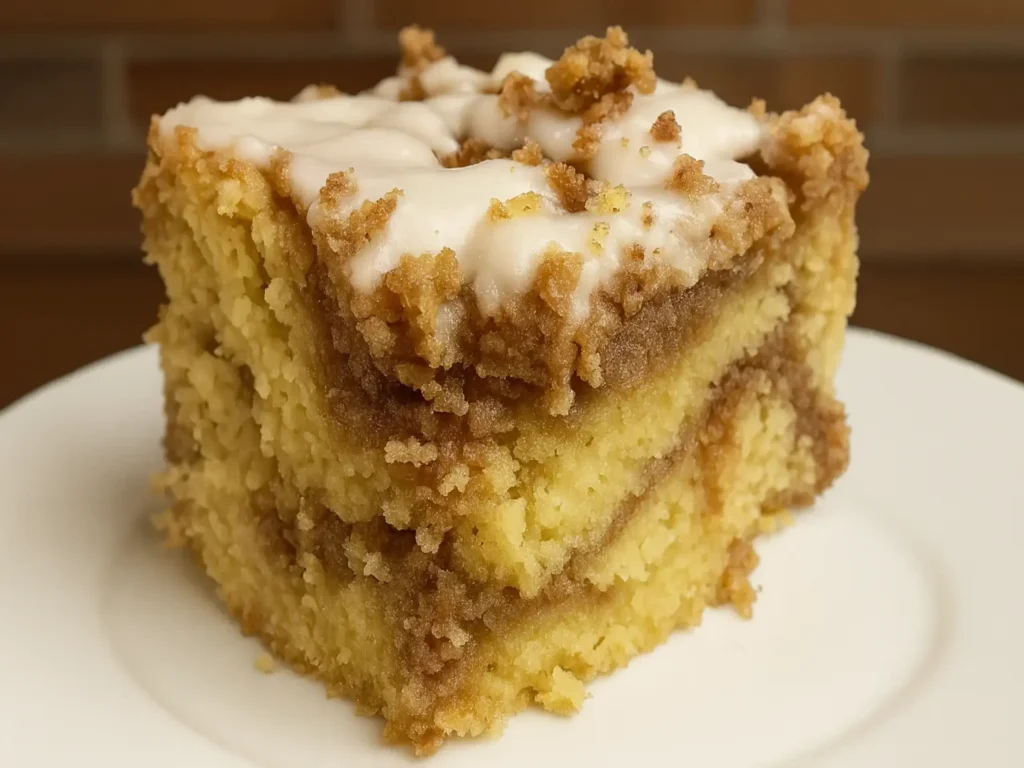
A moist and tender homemade coffee cake topped with a crunchy cinnamon-walnut crumble, perfect for cozy mornings or brunch gatherings.
Ingredients
Instructions
- 1Preheat oven to 350°F (175°C). Grease a 9-inch round cake pan with butter and dust with flour.
- 2Whisk together flour, baking powder, baking soda, and salt in a medium bowl.
- 3In a large bowl, cream softened butter and sugar until light and fluffy, about 3–4 minutes.
- 4Add eggs one at a time, mixing well after each addition, then stir in vanilla extract.
- 5Gradually mix in dry ingredients on low speed until just combined. Stir in sour cream until smooth.
- 6In a small bowl, mix chopped walnuts, brown sugar, cinnamon, and nutmeg to make the crumble topping.
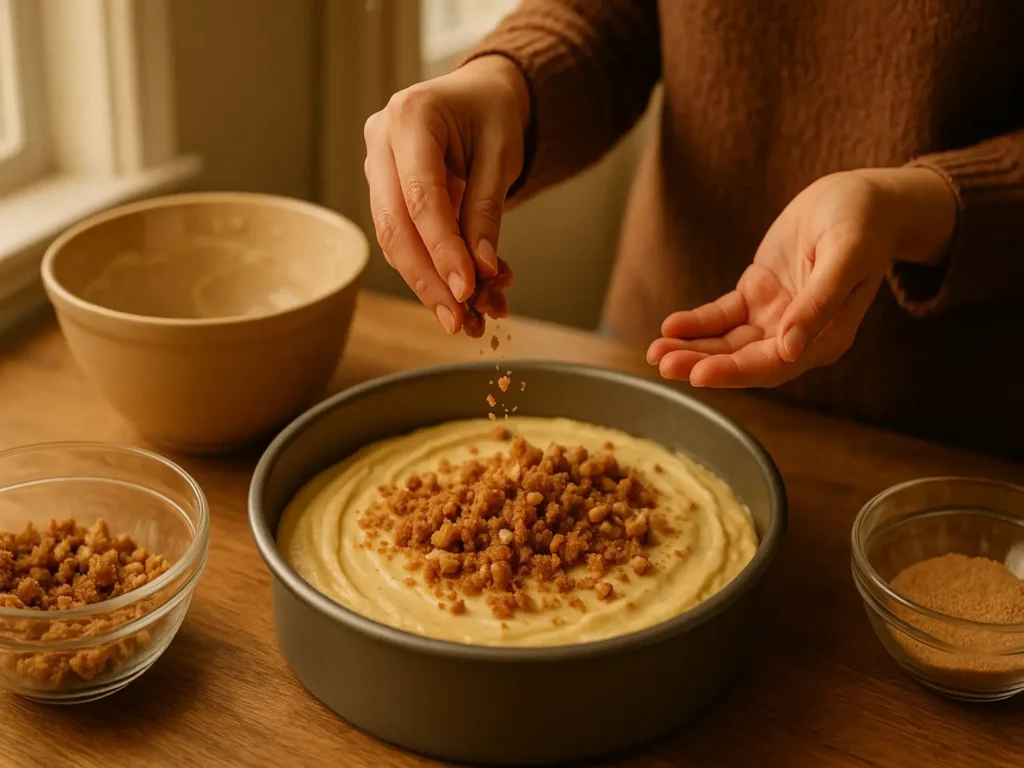
- 7Pour batter into the prepared pan, spread evenly, and sprinkle the cinnamon-walnut topping over the batter.
- 8Bake for 35–40 minutes or until a toothpick inserted in the center comes out clean. Let cool before serving.
Ingredients: The Foundation of Perfect Homemade Coffee Cake
Creating an exceptional homemade coffee cake starts with understanding your ingredients. Each component plays a crucial role in achieving that perfect texture and flavor that makes this recipe so special. Let me walk you through what you’ll need and why each ingredient matters.
For the Cake:
- 2 cups all-purpose flour
- 1 teaspoon baking powder
- 1/2 teaspoon baking soda
- 1/2 teaspoon salt
- 1/2 cup (1 stick) unsalted butter, softened
- 1 cup granulated sugar
- 2 large eggs
- 1 teaspoon vanilla extract
- 1 cup sour cream
For the Topping:
- 1/2 cup chopped walnuts
- 1/2 cup packed light brown sugar
- 1 teaspoon ground cinnamon
- 1/4 teaspoon ground nutmeg
Key Ingredients and Their Role
The beauty of this homemade coffee cake lies in how each ingredient contributes to the final result. The sour cream is perhaps the most important element – it creates that incredibly moist, tender crumb that keeps people coming back for more. I learned this through trial and error; my early attempts without sour cream resulted in drier, less flavorful cakes.
The combination of baking powder and baking soda provides the perfect lift, while the salt enhances all the other flavors. The butter, when properly creamed with sugar, creates those essential air pockets that give the cake its light texture. I always make sure my butter is at room temperature – this makes all the difference in achieving that light, fluffy consistency.
How to Choose High-Quality Ingredients
After years of making this recipe, I’ve learned that ingredient quality directly impacts the final result. For the best homemade coffee cake, choose fresh, high-quality components. Your eggs should be at room temperature – I take mine out about an hour before baking. This helps them incorporate more easily into the batter.
When it comes to vanilla extract, pure vanilla makes a noticeable difference over imitation. For the walnuts, I prefer to buy them whole and chop them myself – pre-chopped nuts often lack the fresh, robust flavor that elevates this cake. The brown sugar should be soft and packable; if it’s hard, it won’t distribute evenly in the topping.
Substitutions That Work Well
One of the things I love about this homemade coffee cake recipe is its adaptability. Through experimentation, I’ve discovered several substitutions that work beautifully. If you don’t have sour cream, Greek yogurt works wonderfully – use the same amount and you’ll get similar results with a slightly tangier flavor.
For those avoiding nuts, you can substitute the walnuts with an equal amount of rolled oats or even chocolate chips for a different twist. I’ve also successfully used pecans when walnuts weren’t available. If you’re out of brown sugar, you can make your own by mixing granulated sugar with a tablespoon of molasses.
Preparation Steps: Mastering the Art of Coffee Cake
The key to a perfect homemade coffee cake isn’t just in the ingredients – it’s in the technique. Let me guide you through each step with the insights I’ve gained from years of making this recipe.
How I Prepare Before Cooking
Preparation is everything when it comes to baking success. I always start by preheating my oven to 350°F (175°C) and greasing my 9-inch round cake pan. I’ve learned that using butter to grease the pan, then dusting it lightly with flour, prevents sticking better than cooking spray alone.
Room temperature ingredients are crucial for this recipe. I take my eggs, butter, and sour cream out of the refrigerator about an hour before I plan to bake. This ensures everything combines smoothly and creates the perfect texture. I also like to measure out all my ingredients before I start – this prevents any last-minute scrambling and ensures I don’t forget anything.
Step-by-Step Instructions with Pro Tips
Step 1: Prepare Your Dry Ingredients In a medium bowl, whisk together the flour, baking powder, baking soda, and salt. I’ve learned that properly whisking these dry ingredients ensures even distribution of the leavening agents, which prevents uneven rising.
Step 2: Cream the Butter and Sugar This is where the magic happens. In a large bowl, cream the softened butter and granulated sugar until the mixture is light and fluffy – this usually takes about 3-4 minutes with an electric mixer. The mixture should be pale and noticeably increased in volume. This step incorporates air into the batter, which is essential for a light homemade coffee cake.
Step 3: Add Eggs and Vanilla Beat in the eggs one at a time, ensuring each is fully incorporated before adding the next. This gradual addition prevents the batter from curdling. Then add the vanilla extract and mix until just combined.
Step 4: Combine Wet and Dry Ingredients Here’s where technique really matters. Gradually add the dry ingredients to the butter mixture, mixing on low speed until just combined. Overmixing at this stage can result in a tough cake. Once the flour is almost incorporated, add the sour cream and mix until the batter is smooth.
Step 5: Prepare the Topping While the batter rests, combine the chopped walnuts, brown sugar, cinnamon, and nutmeg in a small bowl. I like to mix this with a fork to ensure even distribution of the spices.
Step 6: Assemble and Bake Pour the batter into your prepared pan and spread it evenly. Sprinkle the walnut topping over the surface, making sure it’s distributed evenly. Bake for 35-40 minutes, or until a toothpick inserted in the center comes out clean or with just a few moist crumbs.
Common Mistakes to Avoid
Through my years of making this homemade coffee cake, I’ve encountered – and learned from – several common mistakes. The most frequent error is overmixing the batter once the flour is added. This develops the gluten too much, resulting in a tough, dense cake instead of the tender crumb we’re after.
Another mistake I see often is not properly softening the butter. If your butter is too cold, it won’t cream properly with the sugar, and if it’s too warm, it won’t hold the air bubbles we need for a light texture. The butter should give slightly when pressed but still hold its shape.
Temperature control is crucial. I learned the hard way that opening the oven door too early can cause the cake to sink. Resist the urge to peek until at least 30 minutes have passed. Also, don’t rely solely on the timer – every oven is different, so use the toothpick test to ensure doneness.
Serving & Final Touches
The moment your homemade coffee cake comes out of the oven is truly special, but how you serve and present it can elevate the entire experience. Let me share some presentation ideas and serving suggestions I’ve perfected over the years.
Beautiful and Creative Presentation Ideas
A homemade coffee cake deserves a beautiful presentation. I like to let the cake cool in the pan for about 10 minutes before turning it out onto a wire rack. Once completely cool, I transfer it to a cake stand or serving plate. For special occasions, I’ll dust the top lightly with powdered sugar – it adds an elegant touch and makes the cinnamon-walnut topping pop visually.
For family gatherings, I sometimes drizzle a simple glaze made from powdered sugar, vanilla, and a splash of milk over the cooled cake. This adds a touch of sweetness and makes the cake look bakery-professional. The key is to let the cake cool completely before adding any glaze, or it will simply melt and disappear.
Best Sides and Pairings
This homemade coffee cake pairs beautifully with a variety of beverages and accompaniments. Obviously, coffee is the classic choice – the cake’s sweet, spiced flavors complement both light and dark roasts perfectly. I’ve served it with everything from a delicate breakfast blend to a robust French roast, and it works wonderfully with both.
For non-coffee drinkers, black tea, particularly Earl Grey or English Breakfast, makes an excellent pairing. The cake also goes beautifully with fresh fruit – I often serve it with sliced strawberries or a small bowl of mixed berries. The fruit’s acidity balances the cake’s richness perfectly.
For brunch settings, I like to offer it alongside other breakfast items like scrambled eggs or yogurt parfaits. The cake provides a sweet contrast to savory dishes and makes any meal feel special.
Storing and Reheating Leftovers Safely
Proper storage is key to maintaining the quality of your homemade coffee cake. I store leftover cake covered at room temperature for up to three days. If your kitchen is particularly warm, refrigeration is fine, though the cake may lose some of its tender texture.
For longer storage, this cake freezes beautifully. Wrap individual slices in plastic wrap and place them in a freezer-safe container. They’ll keep for up to three months. To serve, thaw at room temperature for about 30 minutes, or warm briefly in the microwave.
When reheating, I prefer to use the oven rather than the microwave when possible. A few minutes at 300°F (150°C) will refresh the cake and restore some of its original texture. If using the microwave, heat in 15-second intervals to avoid overcooking.
 DINNER
  LUNCH
LUNCH  CAKE
CAKE  BREAKFAST
 For more amazing recipes, be sure to check out our other sections to explore a variety of ideas that will enrich your cooking experience. Each section offers its own unique flavors to ensure a delightful culinary journey:
- Easy and Quick Recipes: A collection of dishes that guarantee delicious meals with minimal effort and time.
- Healthy Recipes: Discover healthy and delicious options that fit your lifestyle.
- Desserts: A diverse selection of sweets that will add a special touch of sweetness to your table.
- Lunch Recipes: Tasty lunch ideas that you can easily prepare to delight your family.
- Dinner Recipes: Delicious and easy-to-make recipes that will make your dinner a memorable occasion.
Frequently Asked Questions
Can I prepare this coffee cake recipe in advance?
Absolutely! This is one of the beauties of homemade coffee cake – it actually improves with time. I often make it the night before serving, as the flavors have time to meld and develop. The cake stays moist and delicious for up to three days when stored properly. For busy mornings, I sometimes prepare the batter the night before and refrigerate it, then add the topping and bake fresh in the morning.
What’s the best way to store leftover coffee cake?
I store my homemade coffee cake covered at room temperature for up to three days. If you live in a humid climate, refrigeration is fine, though the cake may become slightly denser. For longer storage, wrap individual slices in plastic wrap and freeze for up to three months. I’ve found that freezing in individual portions makes it easy to enjoy a slice whenever the craving strikes.
How can I make this coffee cake healthier?
Over the years, I’ve experimented with several healthier modifications. You can substitute half the all-purpose flour with whole wheat pastry flour for added fiber. Greek yogurt can replace the sour cream for extra protein and probiotics. I’ve also reduced the sugar by a quarter cup without significantly affecting the taste or texture. For the topping, you can use chopped almonds or reduce the amount of brown sugar.
Can I double the ingredients for a party?
Yes, this recipe doubles beautifully! I often make a double batch for larger gatherings. Use two 9-inch round pans or one 9×13 inch rectangular pan. Keep in mind that the larger pan may require a slightly longer baking time – start checking for doneness around the 40-minute mark. The rectangular pan creates a thinner cake that’s perfect for serving a crowd.
What’s the biggest mistake people make with this recipe?
The most common mistake I see is overmixing the batter once the flour is added. This develops the gluten too much, resulting in a tough, dense cake instead of the tender, moist texture we want. Mix just until the ingredients are combined – the batter should look slightly lumpy, not perfectly smooth. Another frequent error is not bringing ingredients to room temperature, which can result in uneven mixing and texture.
Conclusion
There’s something truly special about creating a homemade coffee cake that brings family and friends together around the table. This recipe has been my go-to for years, and I’m confident it will become yours too. The combination of tender cake, aromatic spices, and crunchy walnut topping creates a dessert that’s both comforting and impressive.
Remember, baking is as much about the love you put into it as the ingredients you use. Don’t be afraid to make this recipe your own – try different nuts, experiment with spices, or add your own creative touches. The beauty of homemade coffee cake is that it’s forgiving and adaptable to your family’s preferences.
I’d love to hear about your experience making this recipe! Leave a comment below and share how it turned out, any modifications you made, or photos of your beautiful creation. There’s nothing I enjoy more than hearing about successful baking adventures and the memories they create.
So preheat that oven, gather your ingredients, and get ready to fill your home with the incredible aroma of homemade coffee cake. Your family and friends will thank you, and you’ll have created something truly special that brings joy to every bite.